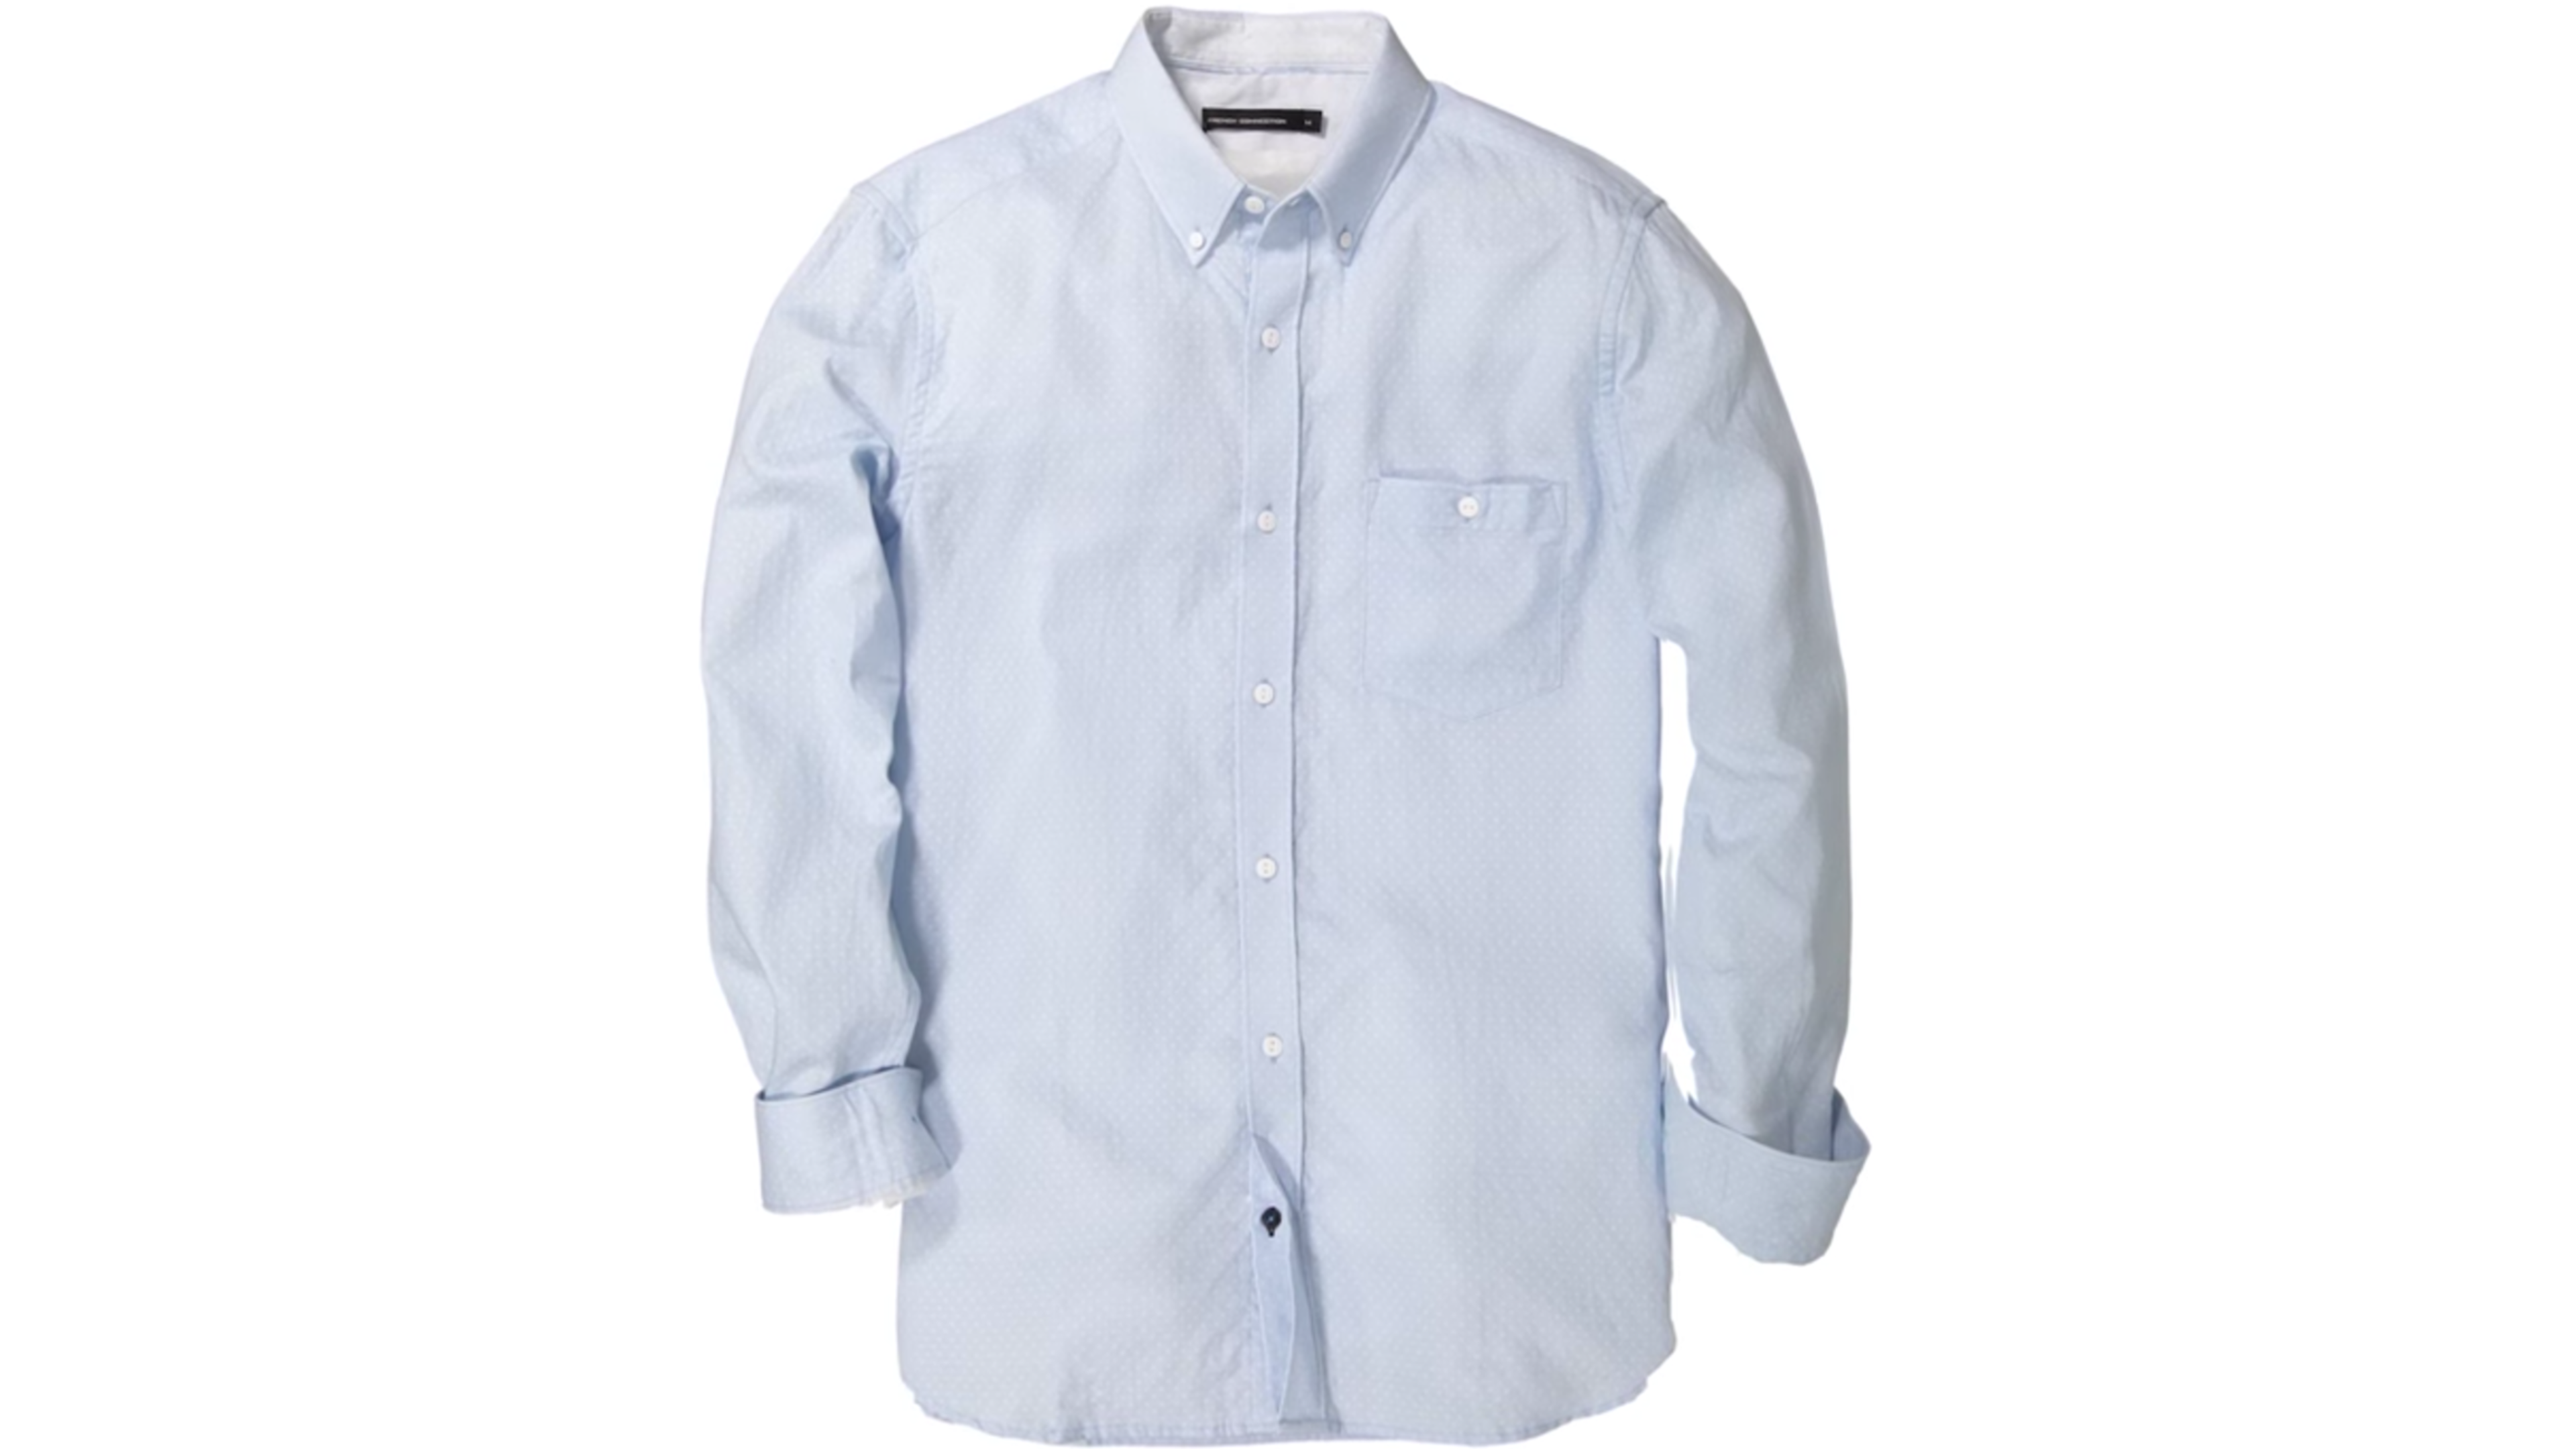
How to photograph a shirt flat lay

Photographing a shirt flat lay is a common and effective method of presenting them online, although not without its downsides - such as making sure it looks right when laid flat. In this product photography tutorial, we will explain how you can professionally style and photograph a shirt flat lay.
There are a number of benefits when using flat lay photography for presenting shirts online. For one it’s versatile and cheaper than using a model or mannequin. It’s also possible to create stylish flat lay collages showing a specific look or outfit.
Ultimately, shooting a professionally styled shirt on tabletop requires a little more work - the main downside of flat lay photography lies in the name. Shooting in this way can sometimes make your clothes look flat, lifeless, and lacking in appeal.
So in order to give your flat lay photography more life and depth, read on for 5 step-by-step instructions on a styling a flat lay shirt for your online store. But first, let’s make sure you have a few essential tools:
The equipment you need to photograph your shirts flat lay
- Camera - Any camera will suffice but a Canon EOS 5D Mk III is recommended as the industry-standard for professional product photography
- Studio lighting - A source of continuous cool LED lamps are recommended for lighting to ensure exposure, shadows and contrast are kept consistent
- Your garments - Clothes that work particularly well for this type of photography include shirts, jeans, t-shirts and childrenswear
- Tissue paper - Stuffing a shirt with paper adds depth to key areas
- Reflector - A reflector is a sturdy piece of white/bright board that reflects back light into the shot
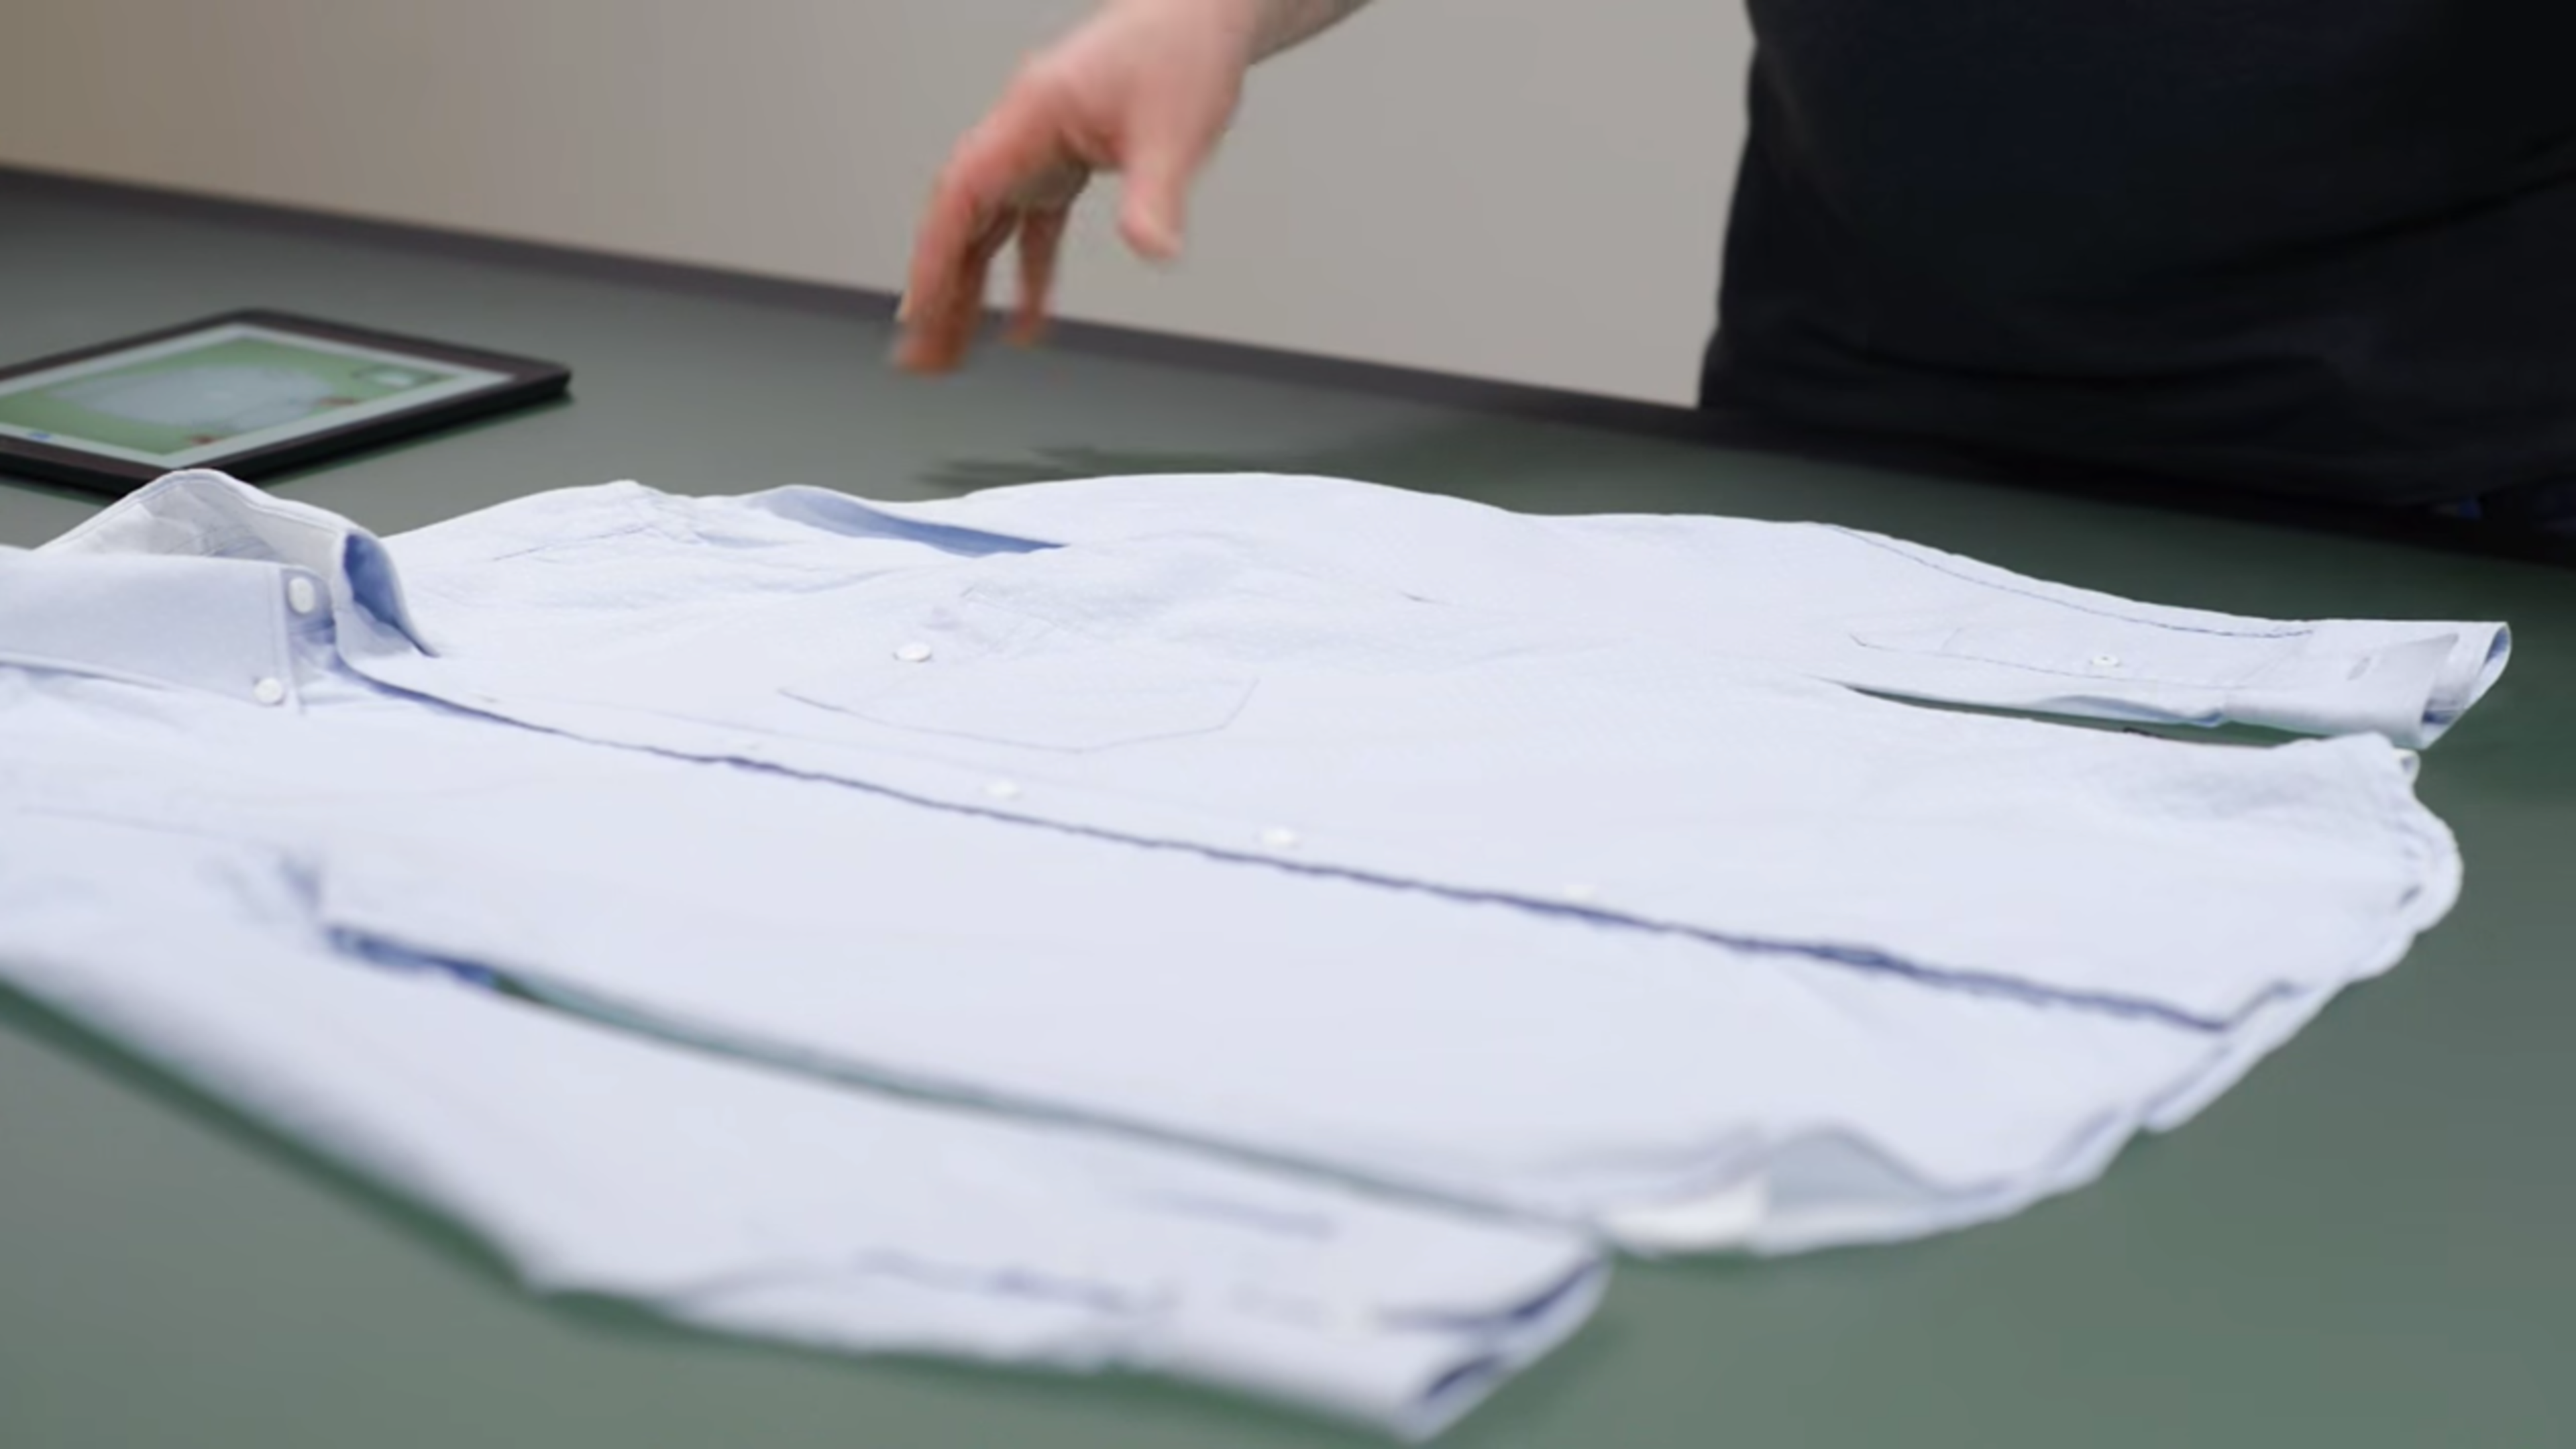
1. Lay the shirt evenly
First, to make the whole styling process easier, lay the shirt flat on the tabletop and align the shoulders so you can make a straight line between them.
Lay out the arms and smooth out any particularly problematic creases by running your hands over the fabric.
Stretch out the shirt and flare it out slightly at the bottom hem on each side to showcase a little of the inner fabric.
Again, try and imagine you can draw a straight line between the bottom corners of each side of the shirt’s hem.
2. Use tissue paper to give depth to the shirt
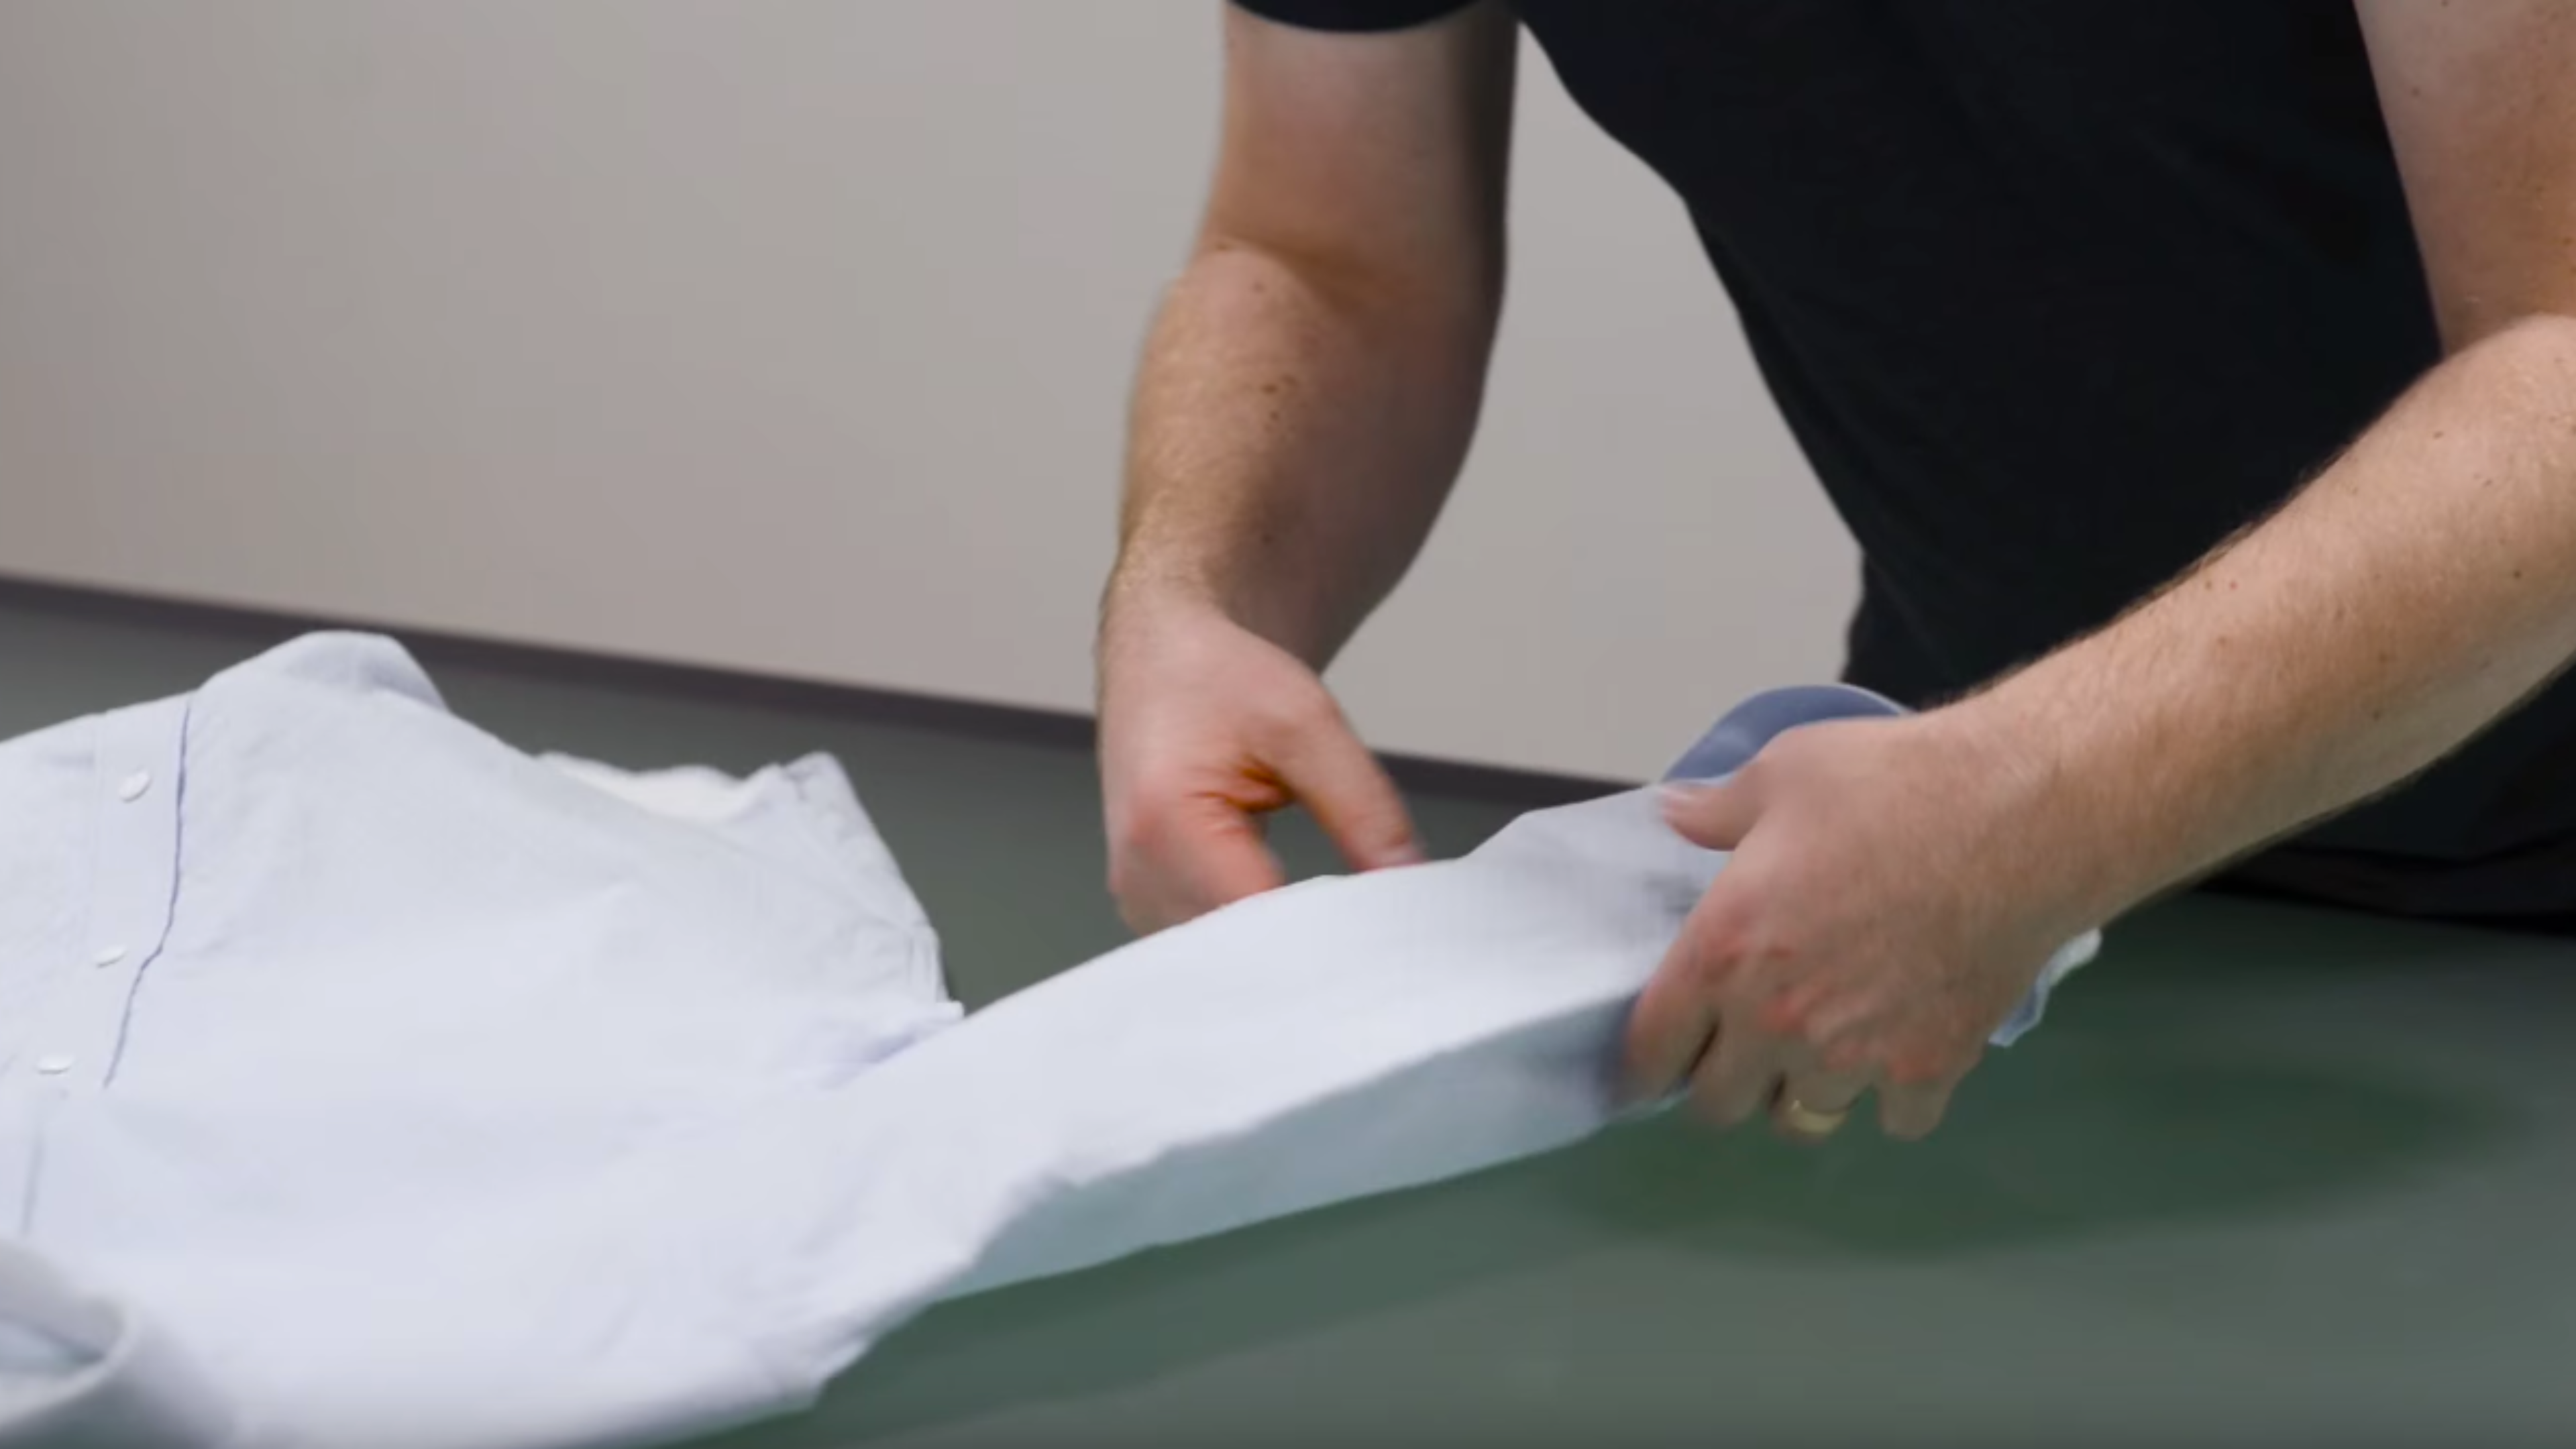
Once you’ve laid out your shirt on the tabletop, adding tissue paper to the arms and shoulders can give your garment a more bold, stand out look.
Simply take some tissue paper and scrunch it up. Insert the tissue paper into the arms, shoulder area and the main body of the shirt.
Add more tissue paper around the arms and shoulders in order to give the shirt a more natural, voluminous look.
3. Style the collar and buttoning
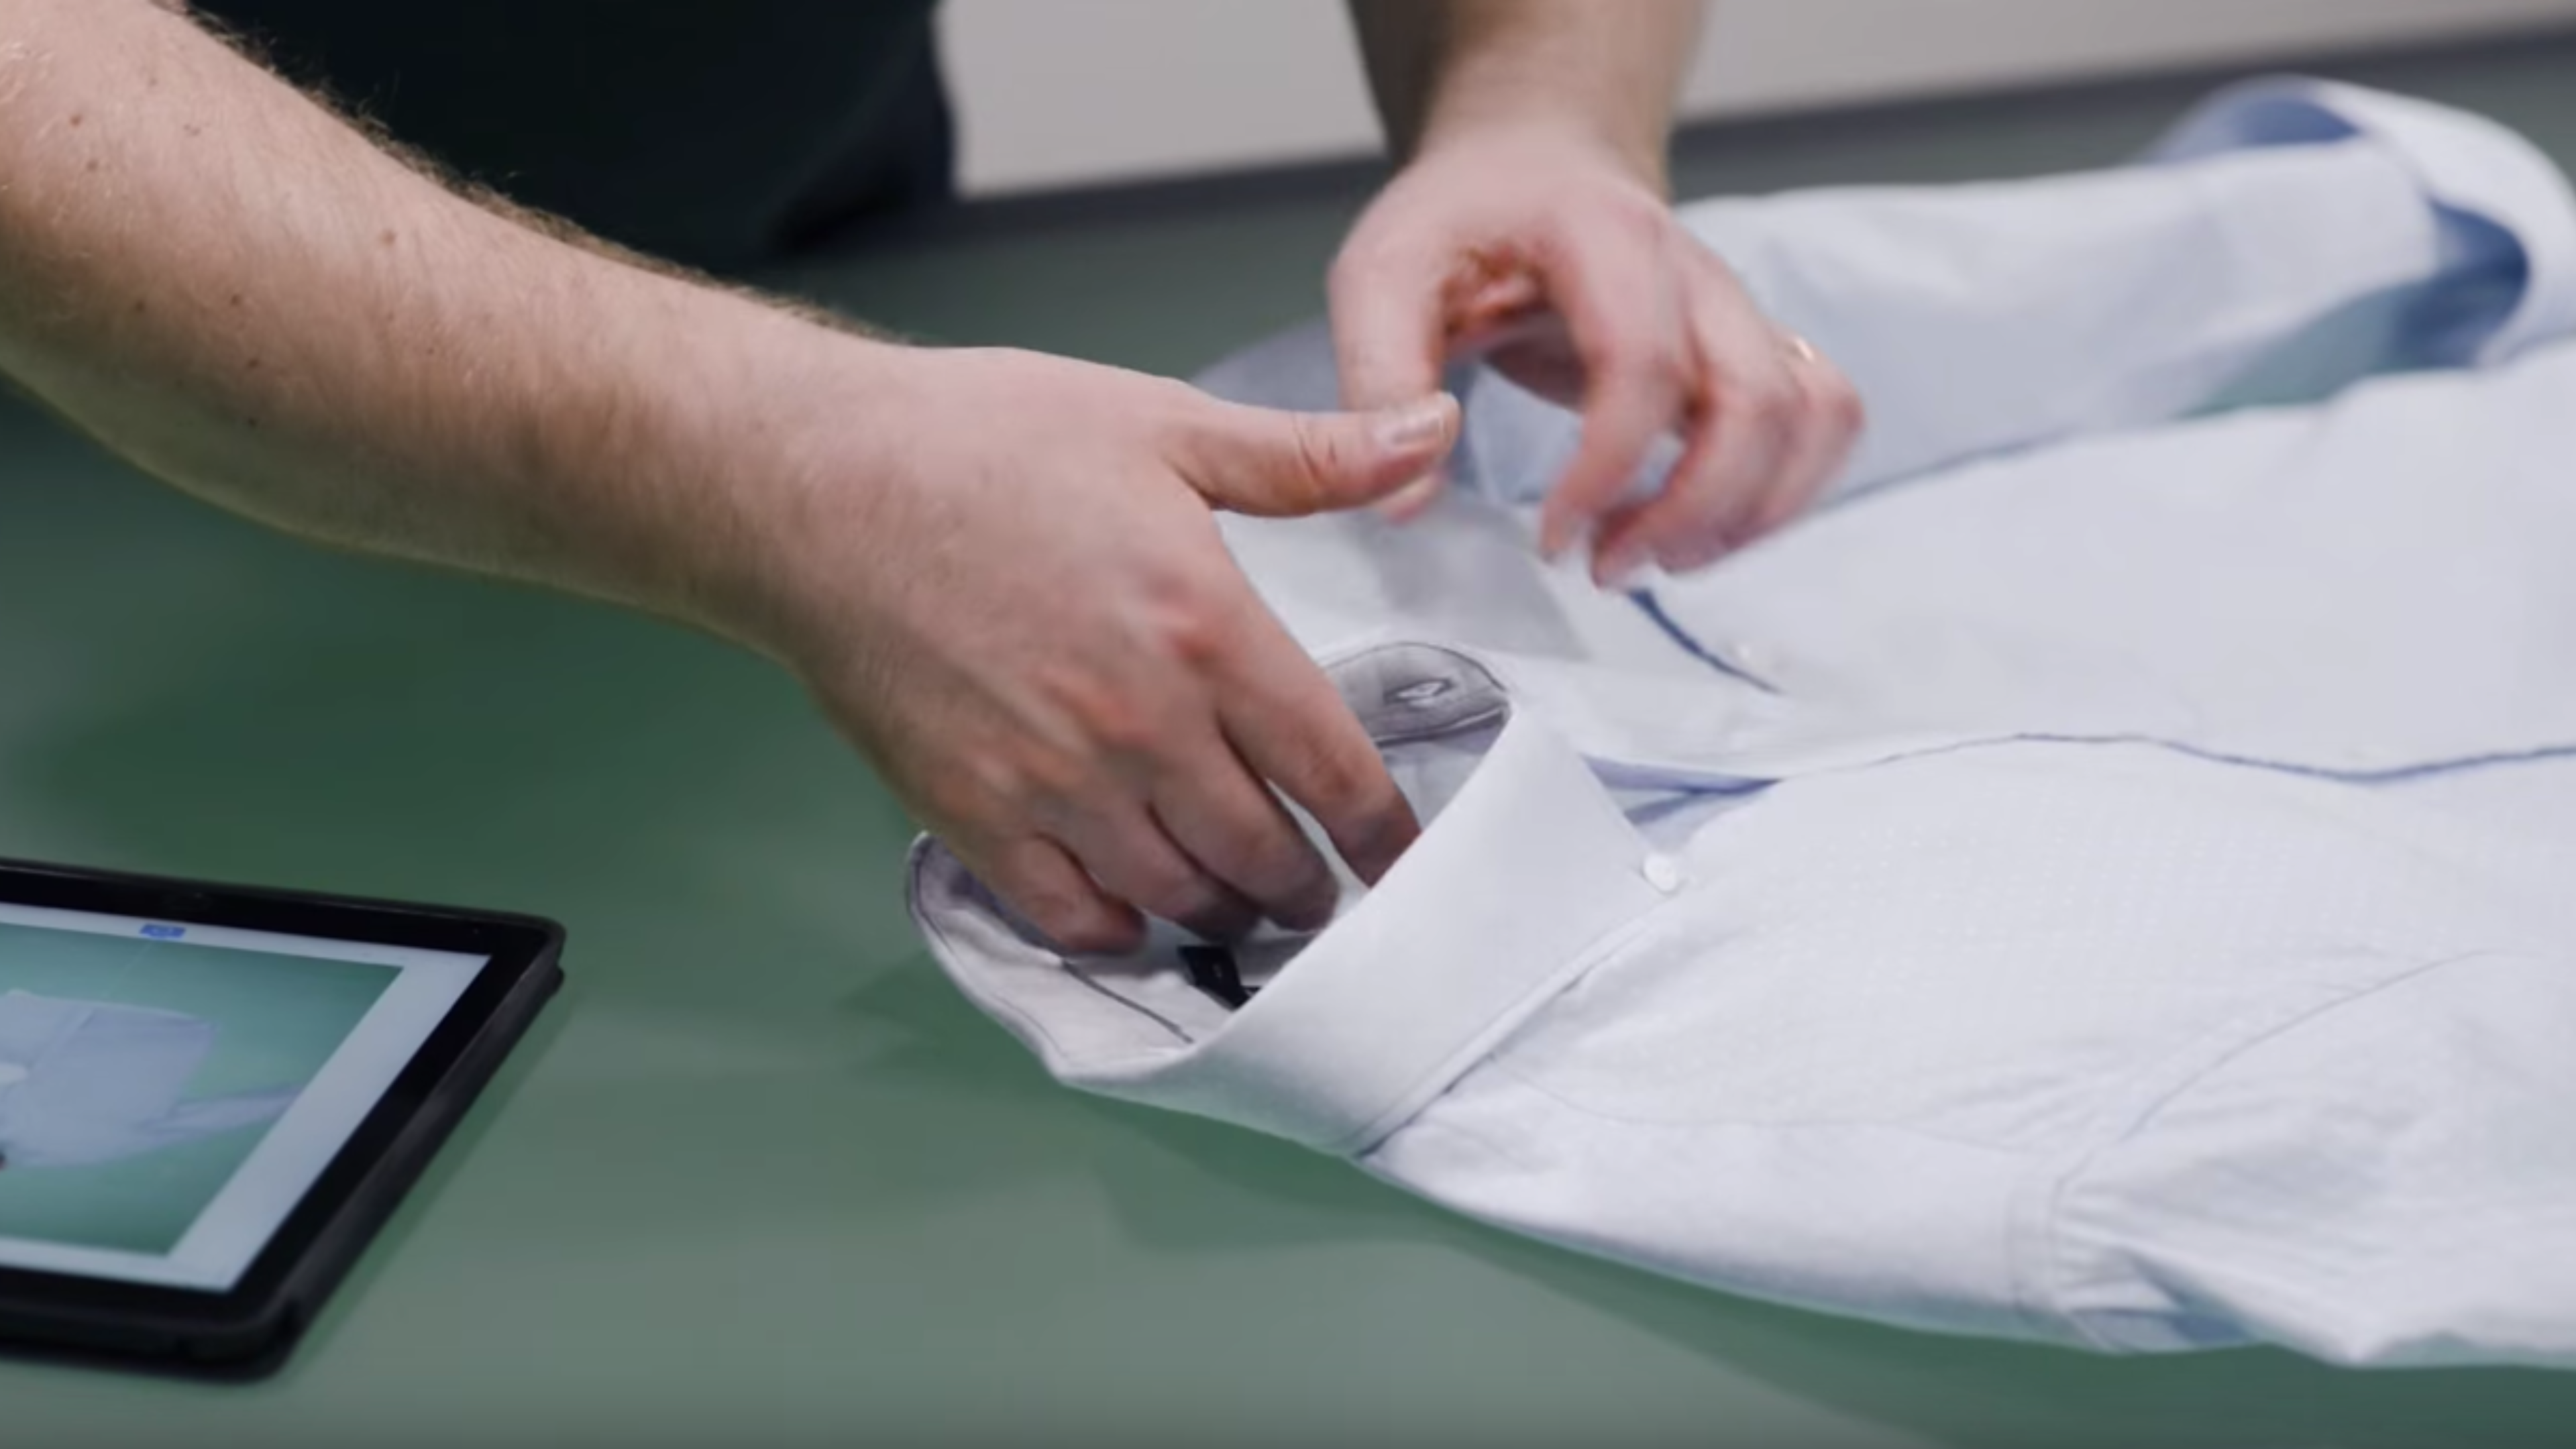
The way the collar on a shirt appears gives a good indication as to the intended style of the shirt. In this example, we’re giving this Oxford shirt a relatively casual look.
A more casual style can be achieved by keeping the top (and/or second) button undone. Ensure the collar has a nice even curve going across it.
Using the flat lay technique to photograph shirts has the tendency to distort them, particularly around the collar bone.
4. Tuck the arms into the body and create a more natural shape
When laid flat, a shirt will look a lot wider than it would be when worn. To give the shirt a more natural, as worn look, you can use a combination of pins and clever folding - particularly around the sides and arms.
Begin by folding and tucking in the sides of the shirt and pinning around the back to avoid them being seen in shot. This will give your shirt a slimmer profile. Next, add more tissue paper to the arms to make them appear slimmer and tuck in any excess fabric around the armpit area.

5. Use a reflector and play with your lighting
Lighting is crucial in drawing attention to certain features like fabrics or emphasising contrast according to your brand style guide. However, when styling a shirt flat lay, you may find certain areas too dark - even when your exposure settings have already been configured.
To brighten up these dark areas - as you can see on the shirt on the right - you can use a reflector or whiteboard to bounce the light back onto the garment. Doing so gives you a more gradual, smooth lighting gradient that achieves a more appealing look.
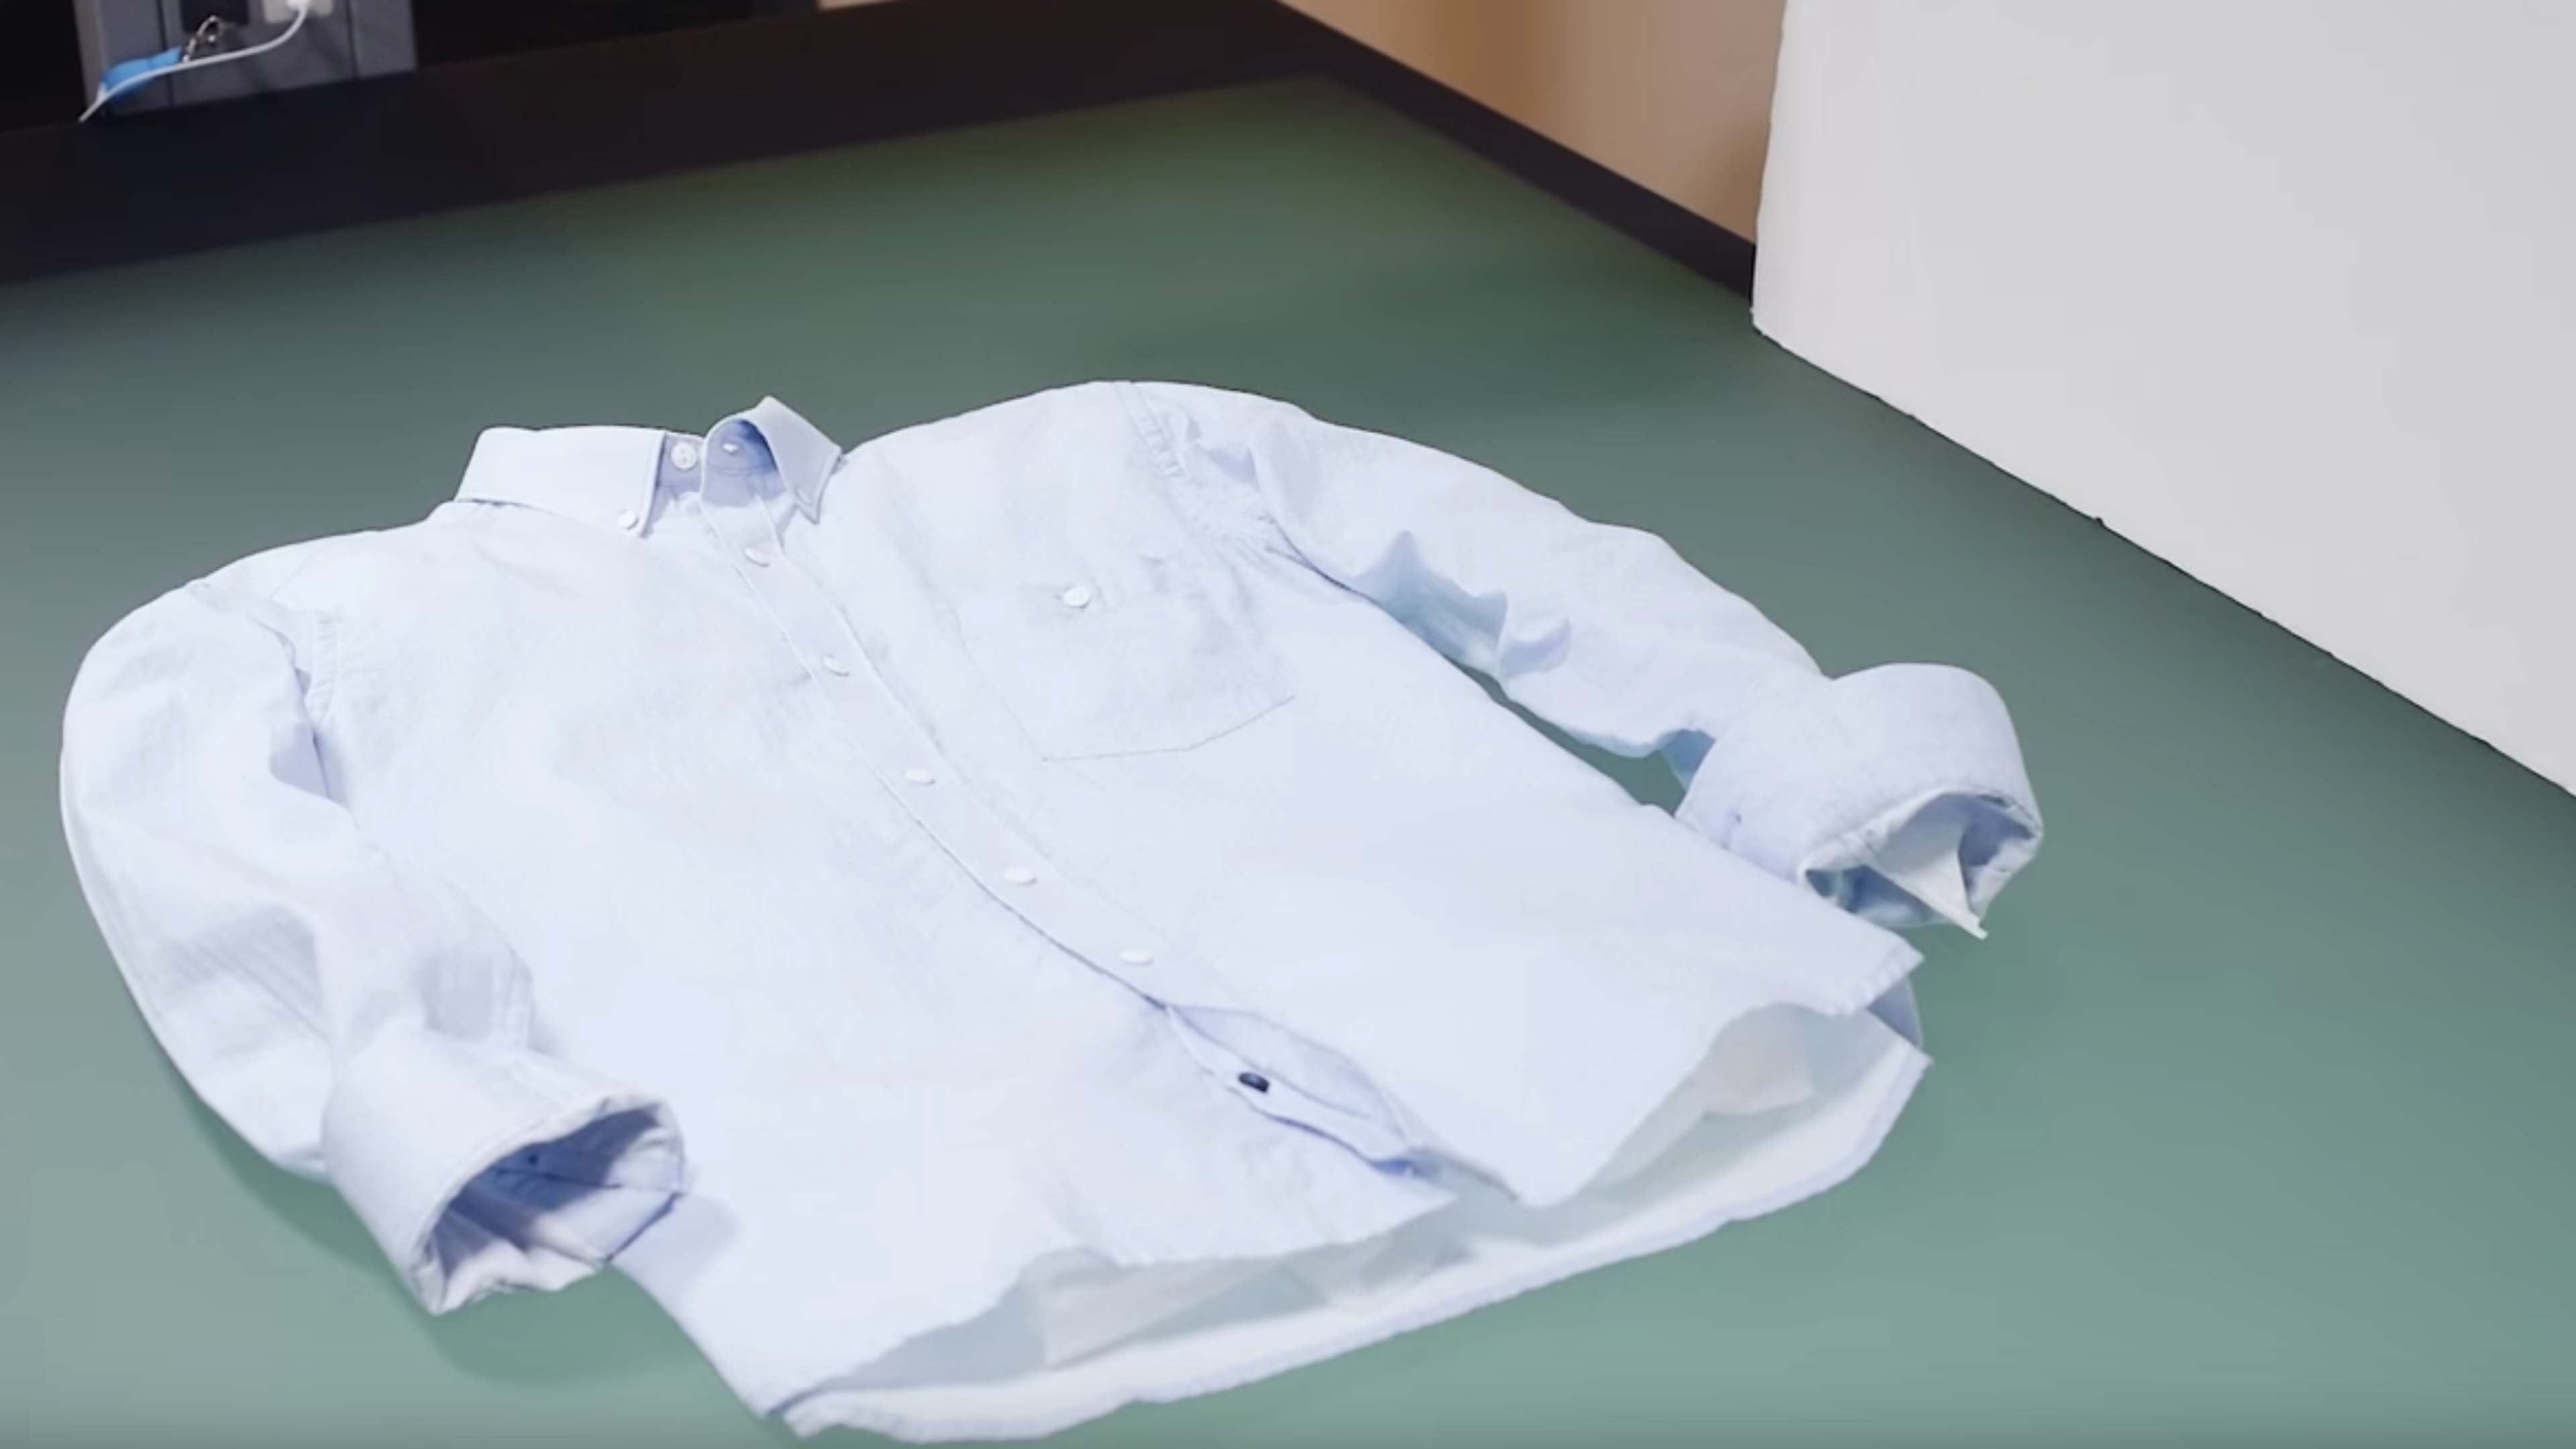
And the final look...
