Setup 4 - Environmental lighting - cinematic set
Written by: Jake Hicks
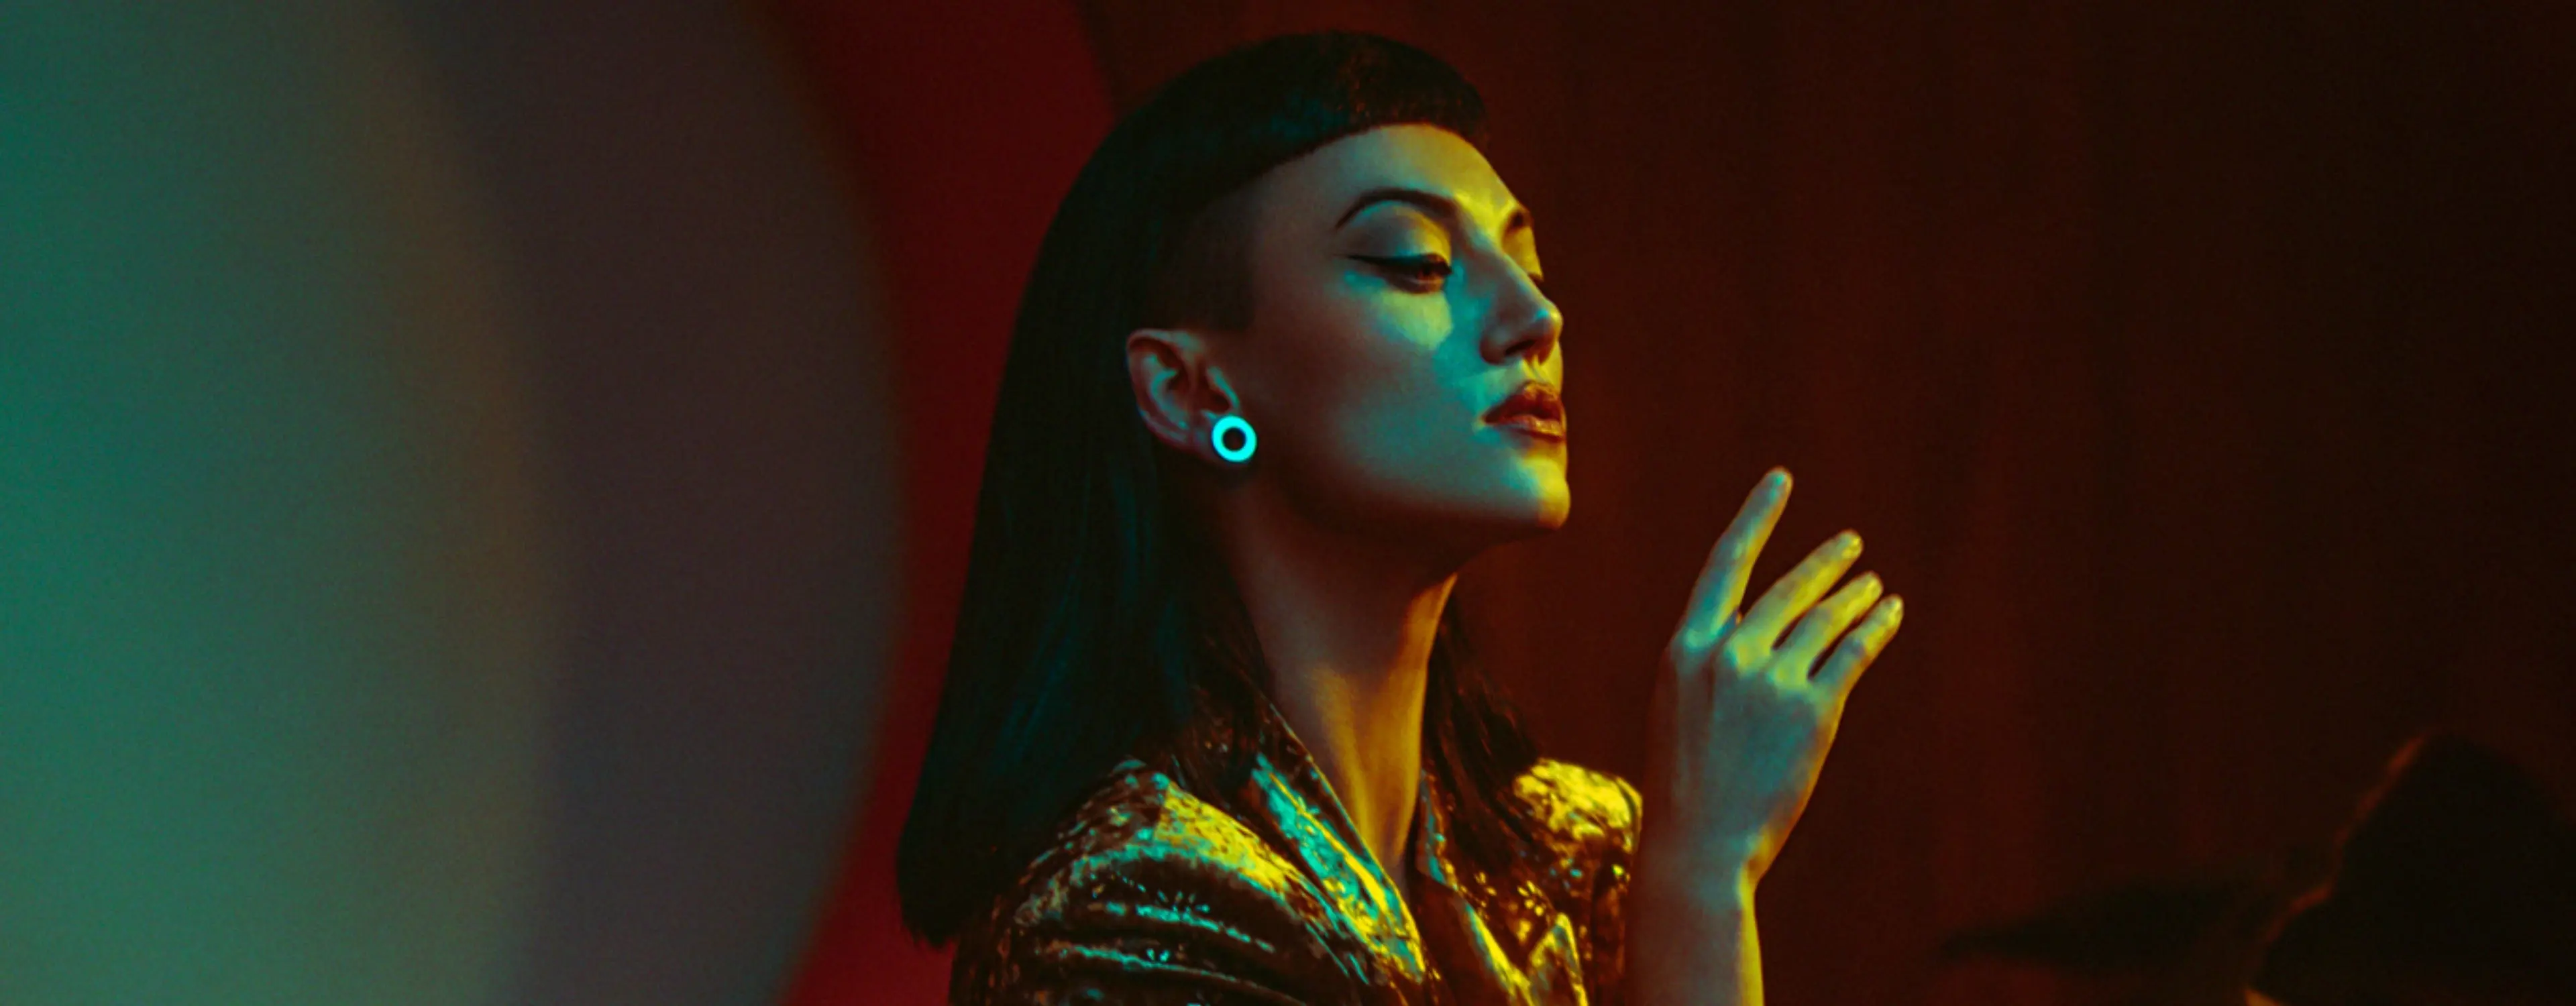
The best light in the room might already be there.
Great photographers don't always build the scene from scratch — sometimes they read it. In this setup, Jake Hicks takes a different approach: instead of overpowering the existing environment, he works with it, using the L600C's precise Kelvin control to weave his own lights seamlessly into the scene. The result is something that feels less like a studio shot and more like a moment caught in the perfect light.
Kit used
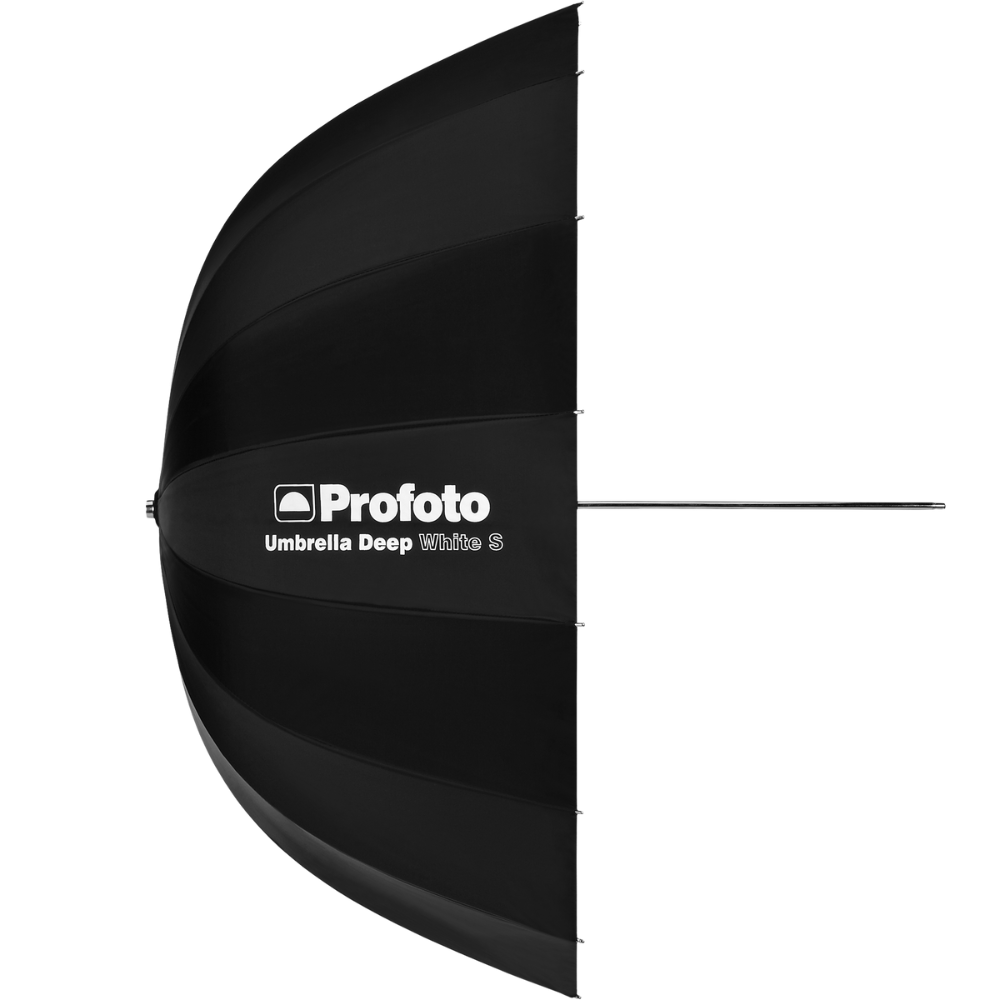
Profoto Umbrella Deep White XL
Broad, natural wraparound illumination with soft falloff.
View product →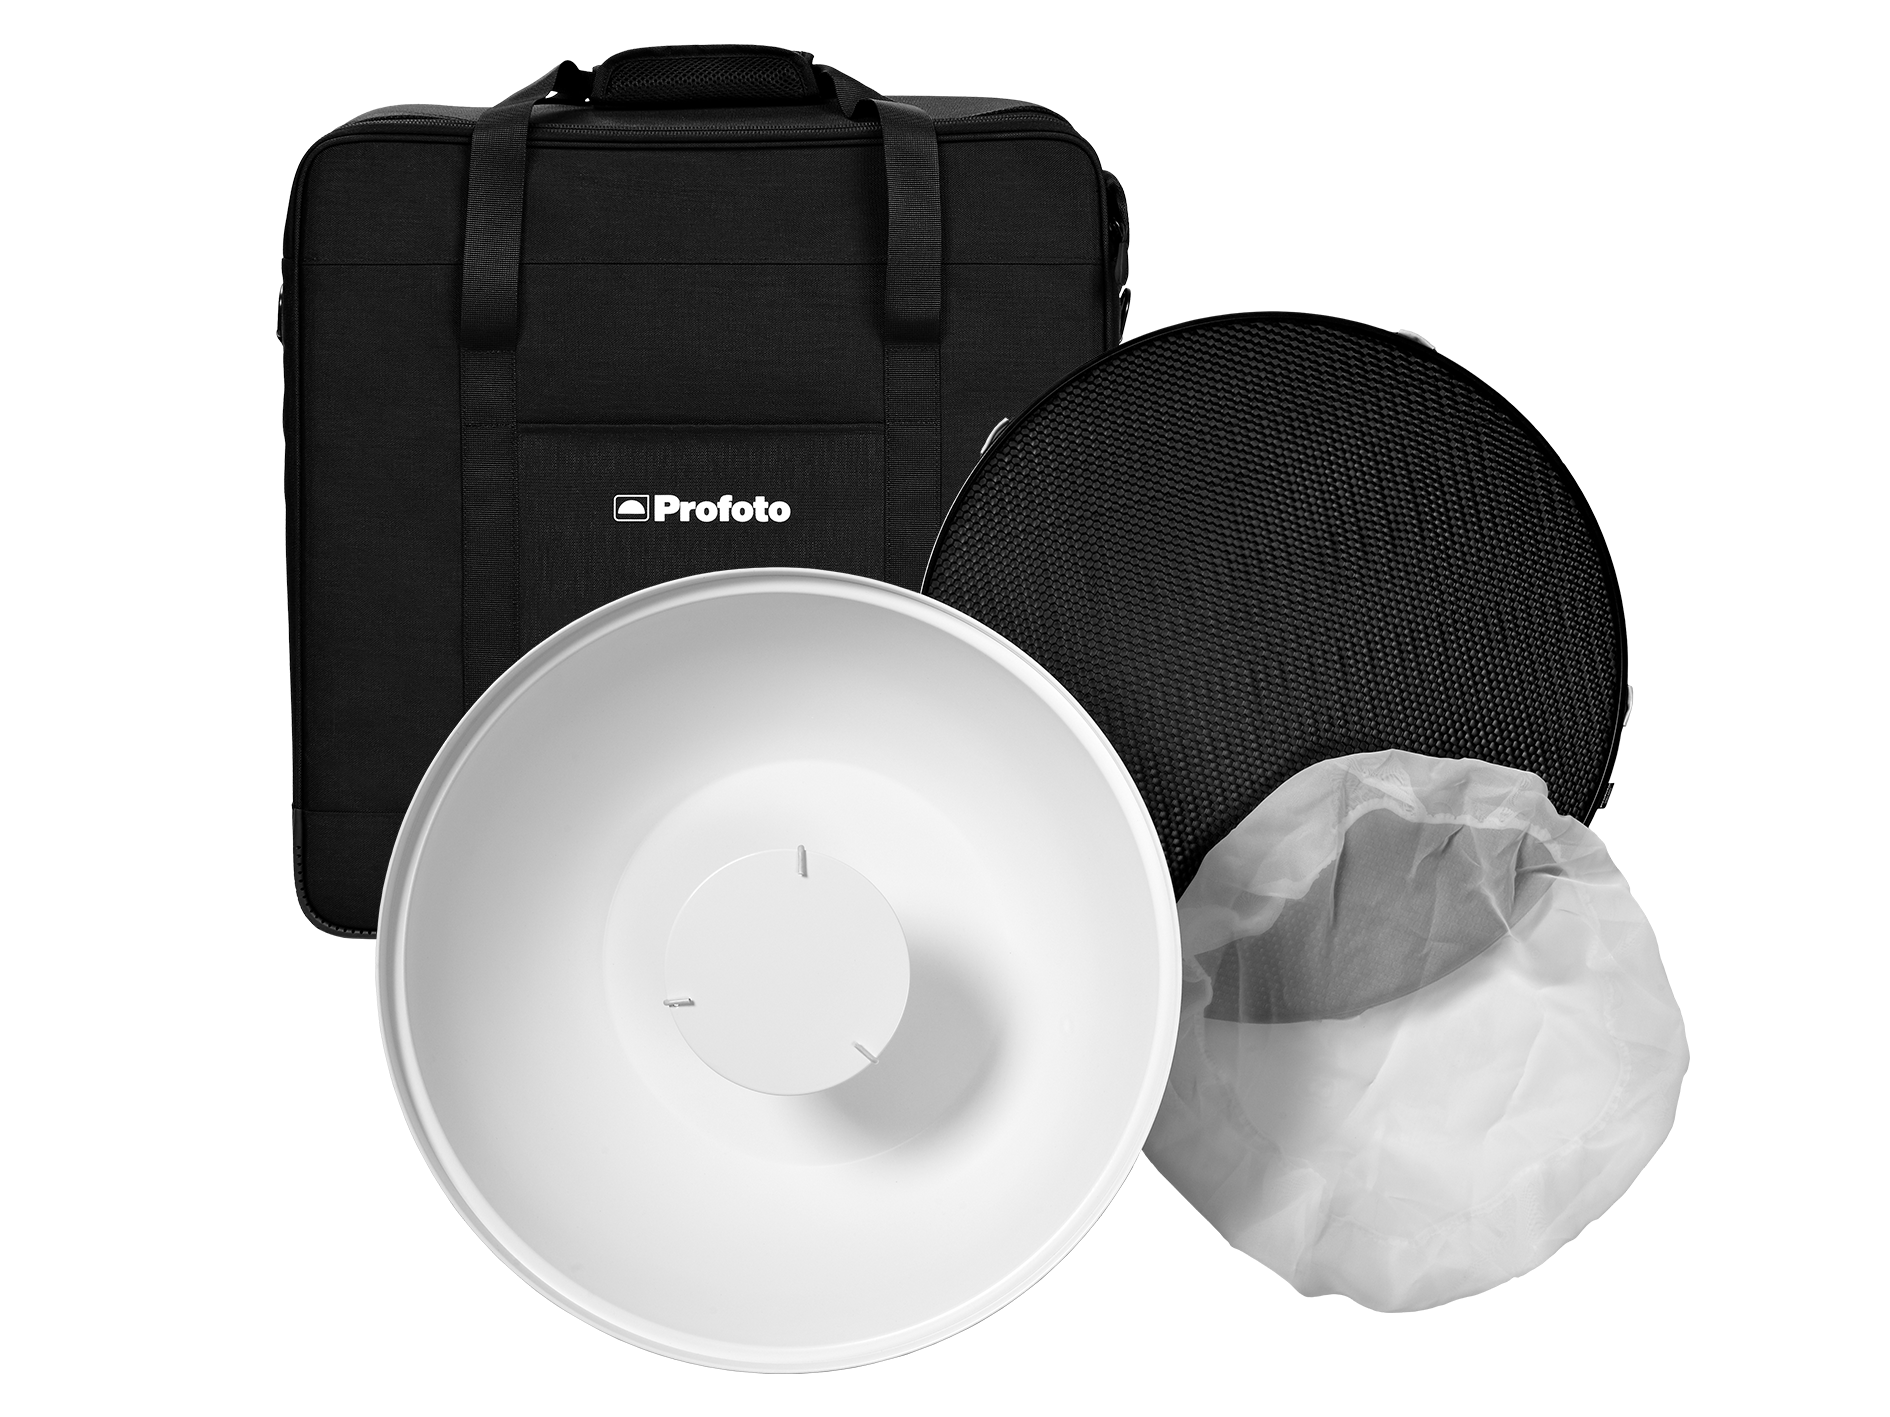
Profoto Softlight Reflector White with diffusor
Focused soft light with crisp highlights and controlled spill.
View product →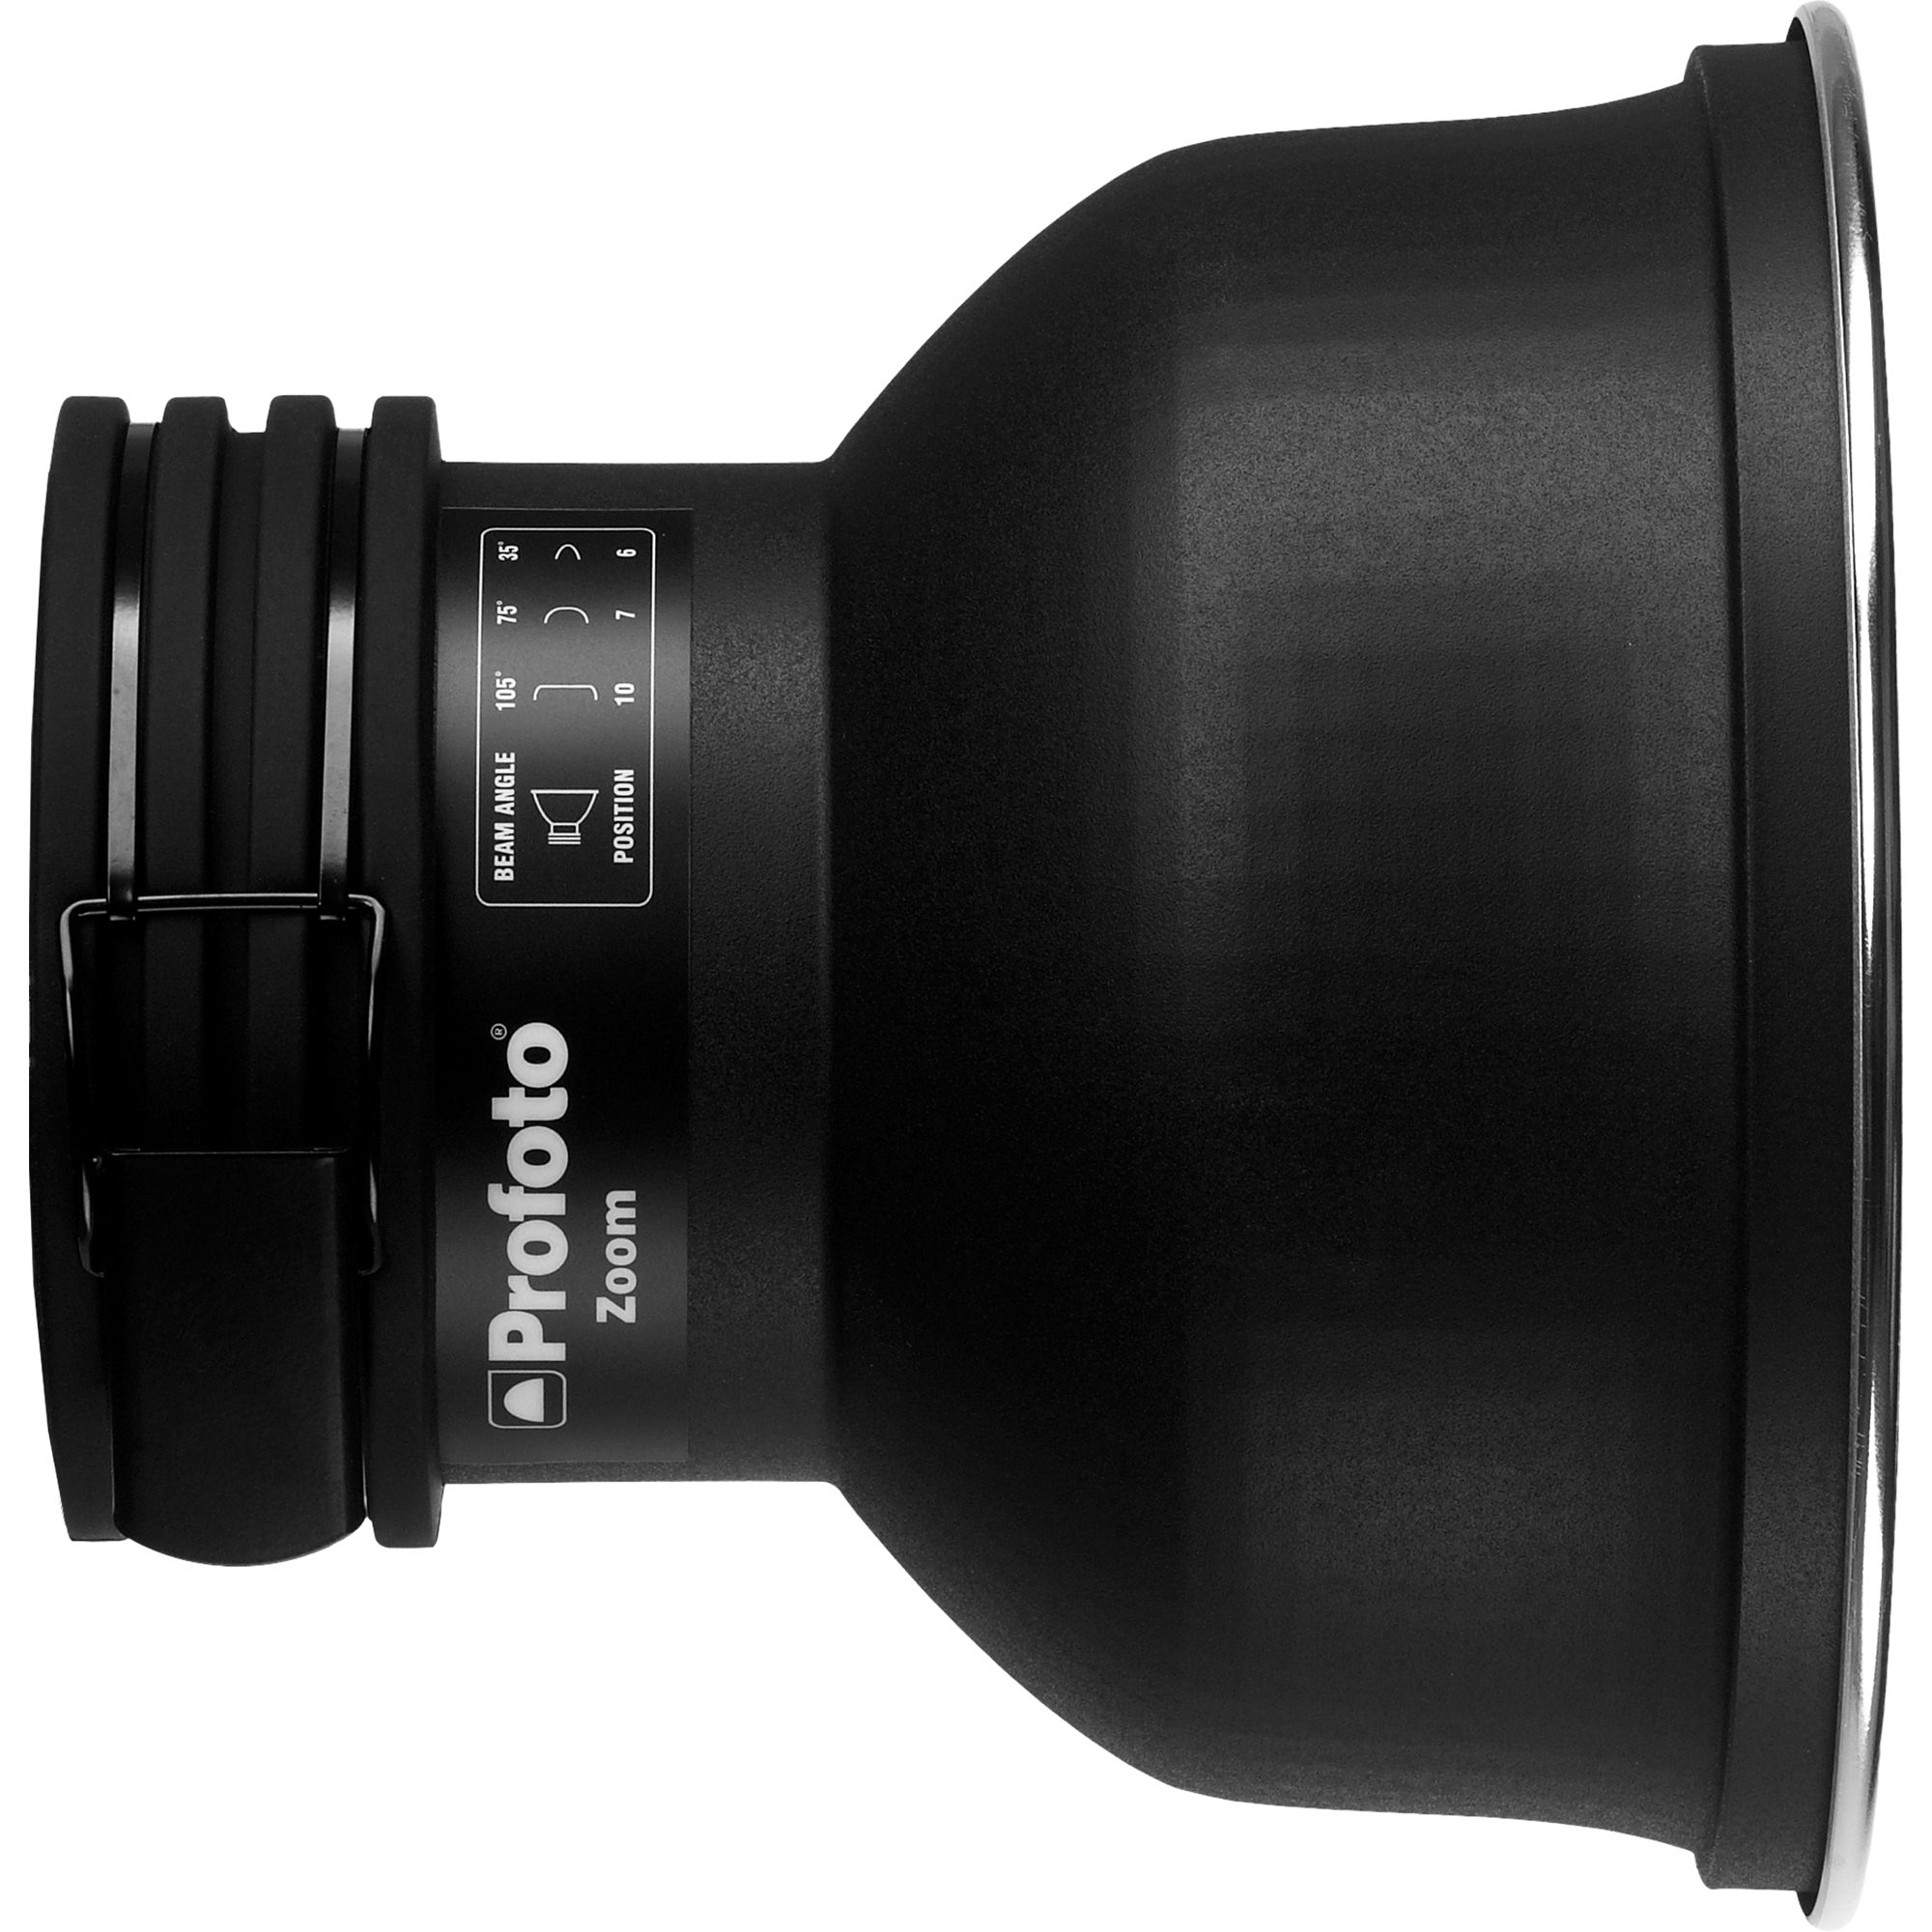
Profoto Zoom Reflector White
Broad, natural wraparound illumination with soft falloff.
View product →
The breakdown
The whole premise of this setup was to incorporate the scene and its lighting into the final image. Most studio lighting starts with a black blank canvas, and you add lights from there. With environmental lighting, you often want to add to what’s already there. One of the biggest problems with this is that you rarely have any control over the lights you’re working with. Take this set, for example, I have two globe-style lights above and behind the model on the wall. I can’t control the power of those lights in any way, nor can I control their color. This setup was about seeing how I could work in conjunction the lights in the environment, not simply to overpower them and wash them out.
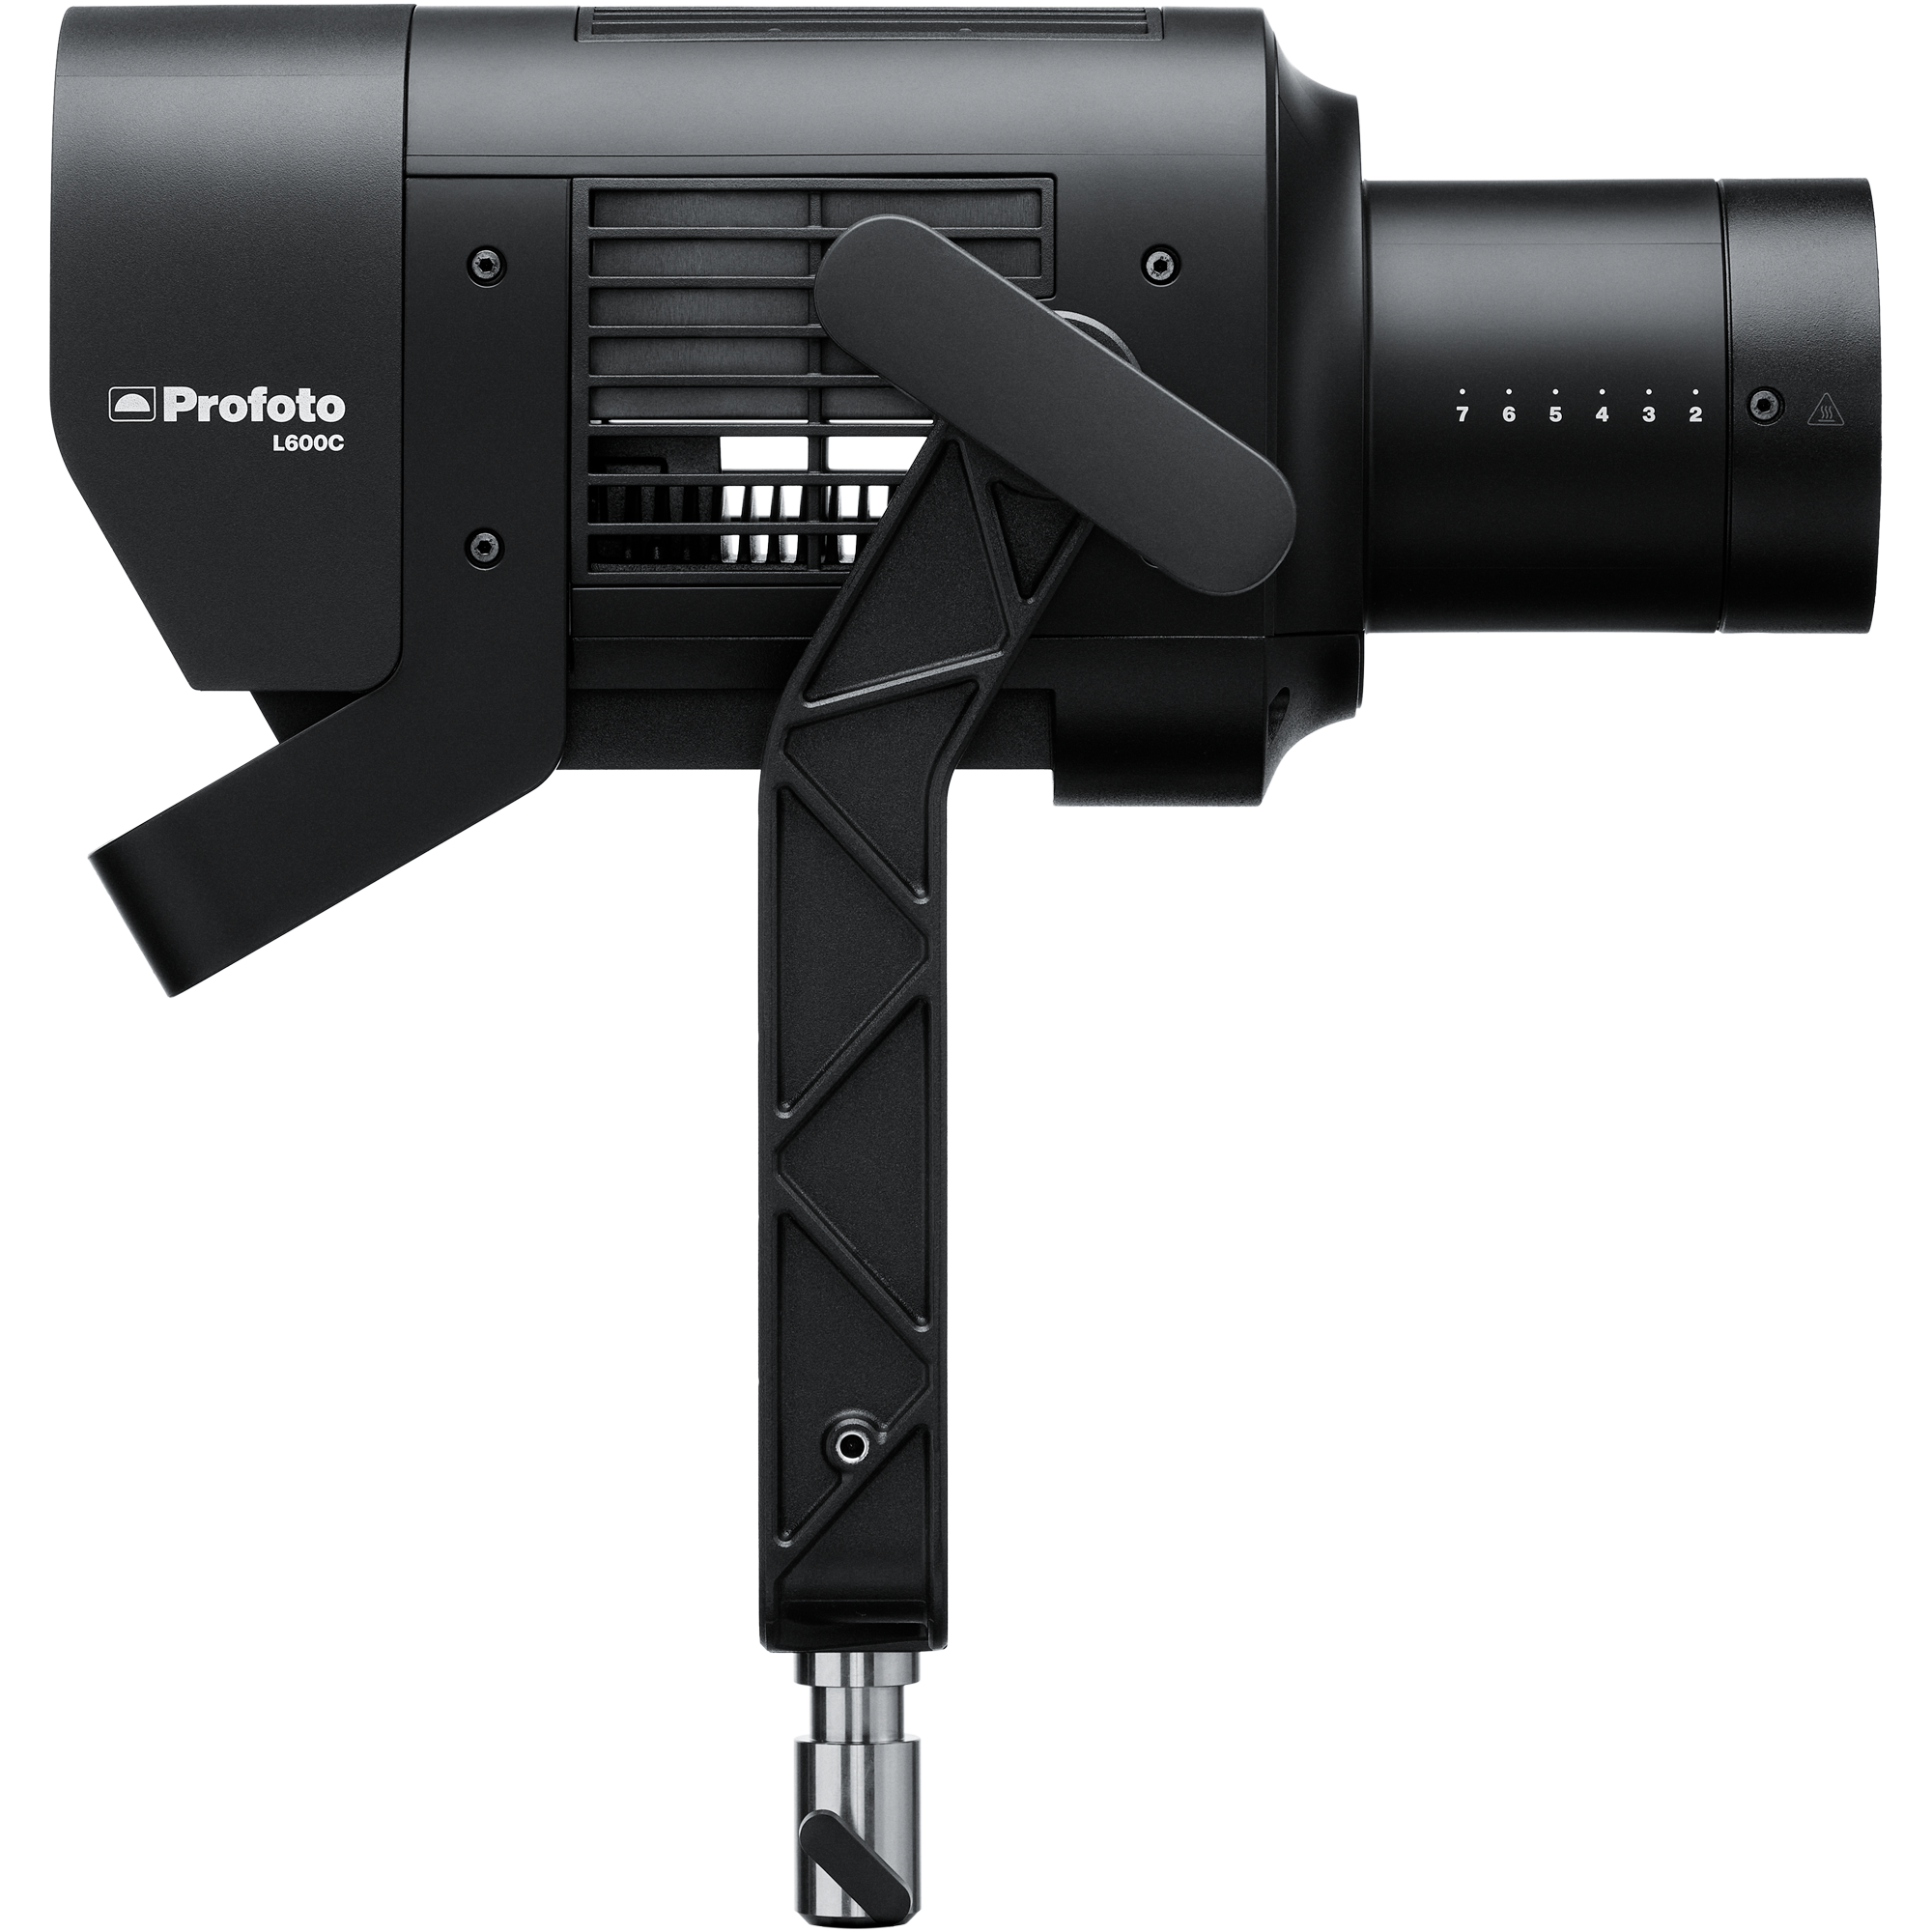
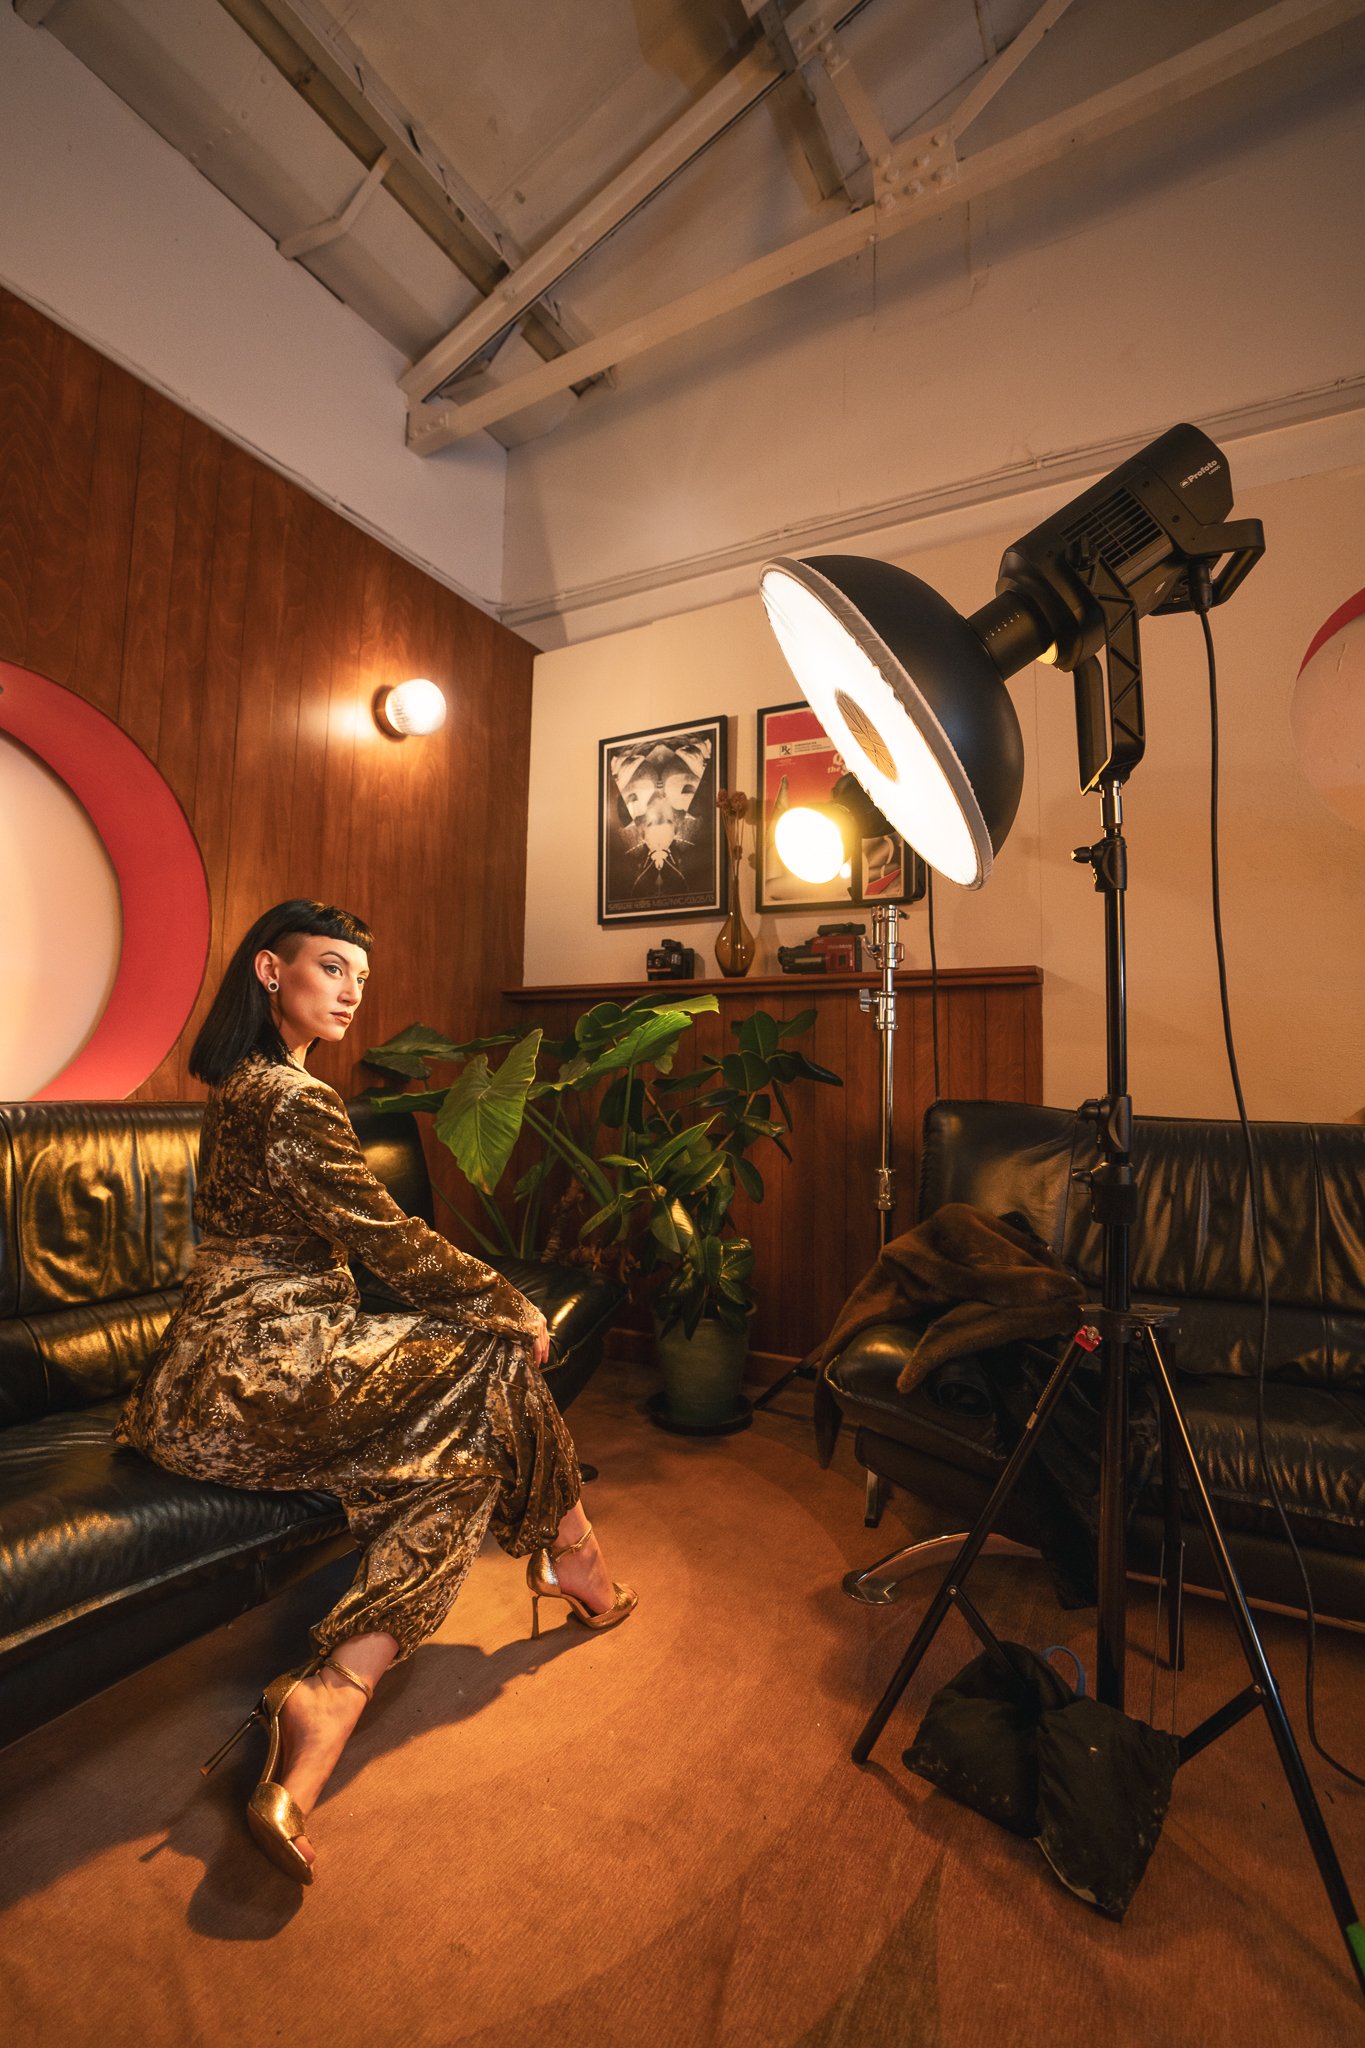
Firstly, you want to work out the exposure values and colors you're working with on set. So, before I turned any of my lights on, I took a few frames of the scene. From here, I was able to start adding my own lights. To begin with, I brought in my L600C with the Profoto Softlight Reflector White with a diffusor attached. This would act as my key light on the model and was positioned to my right and angled down.
As with a lot of my work, I’m always looking for ways to introduce color, and you may have noticed my kelvin is already fairly cool, which enables me to show some color contrast from the lights. For example, my key-light was set very cool, and you can see that on the model's skin.
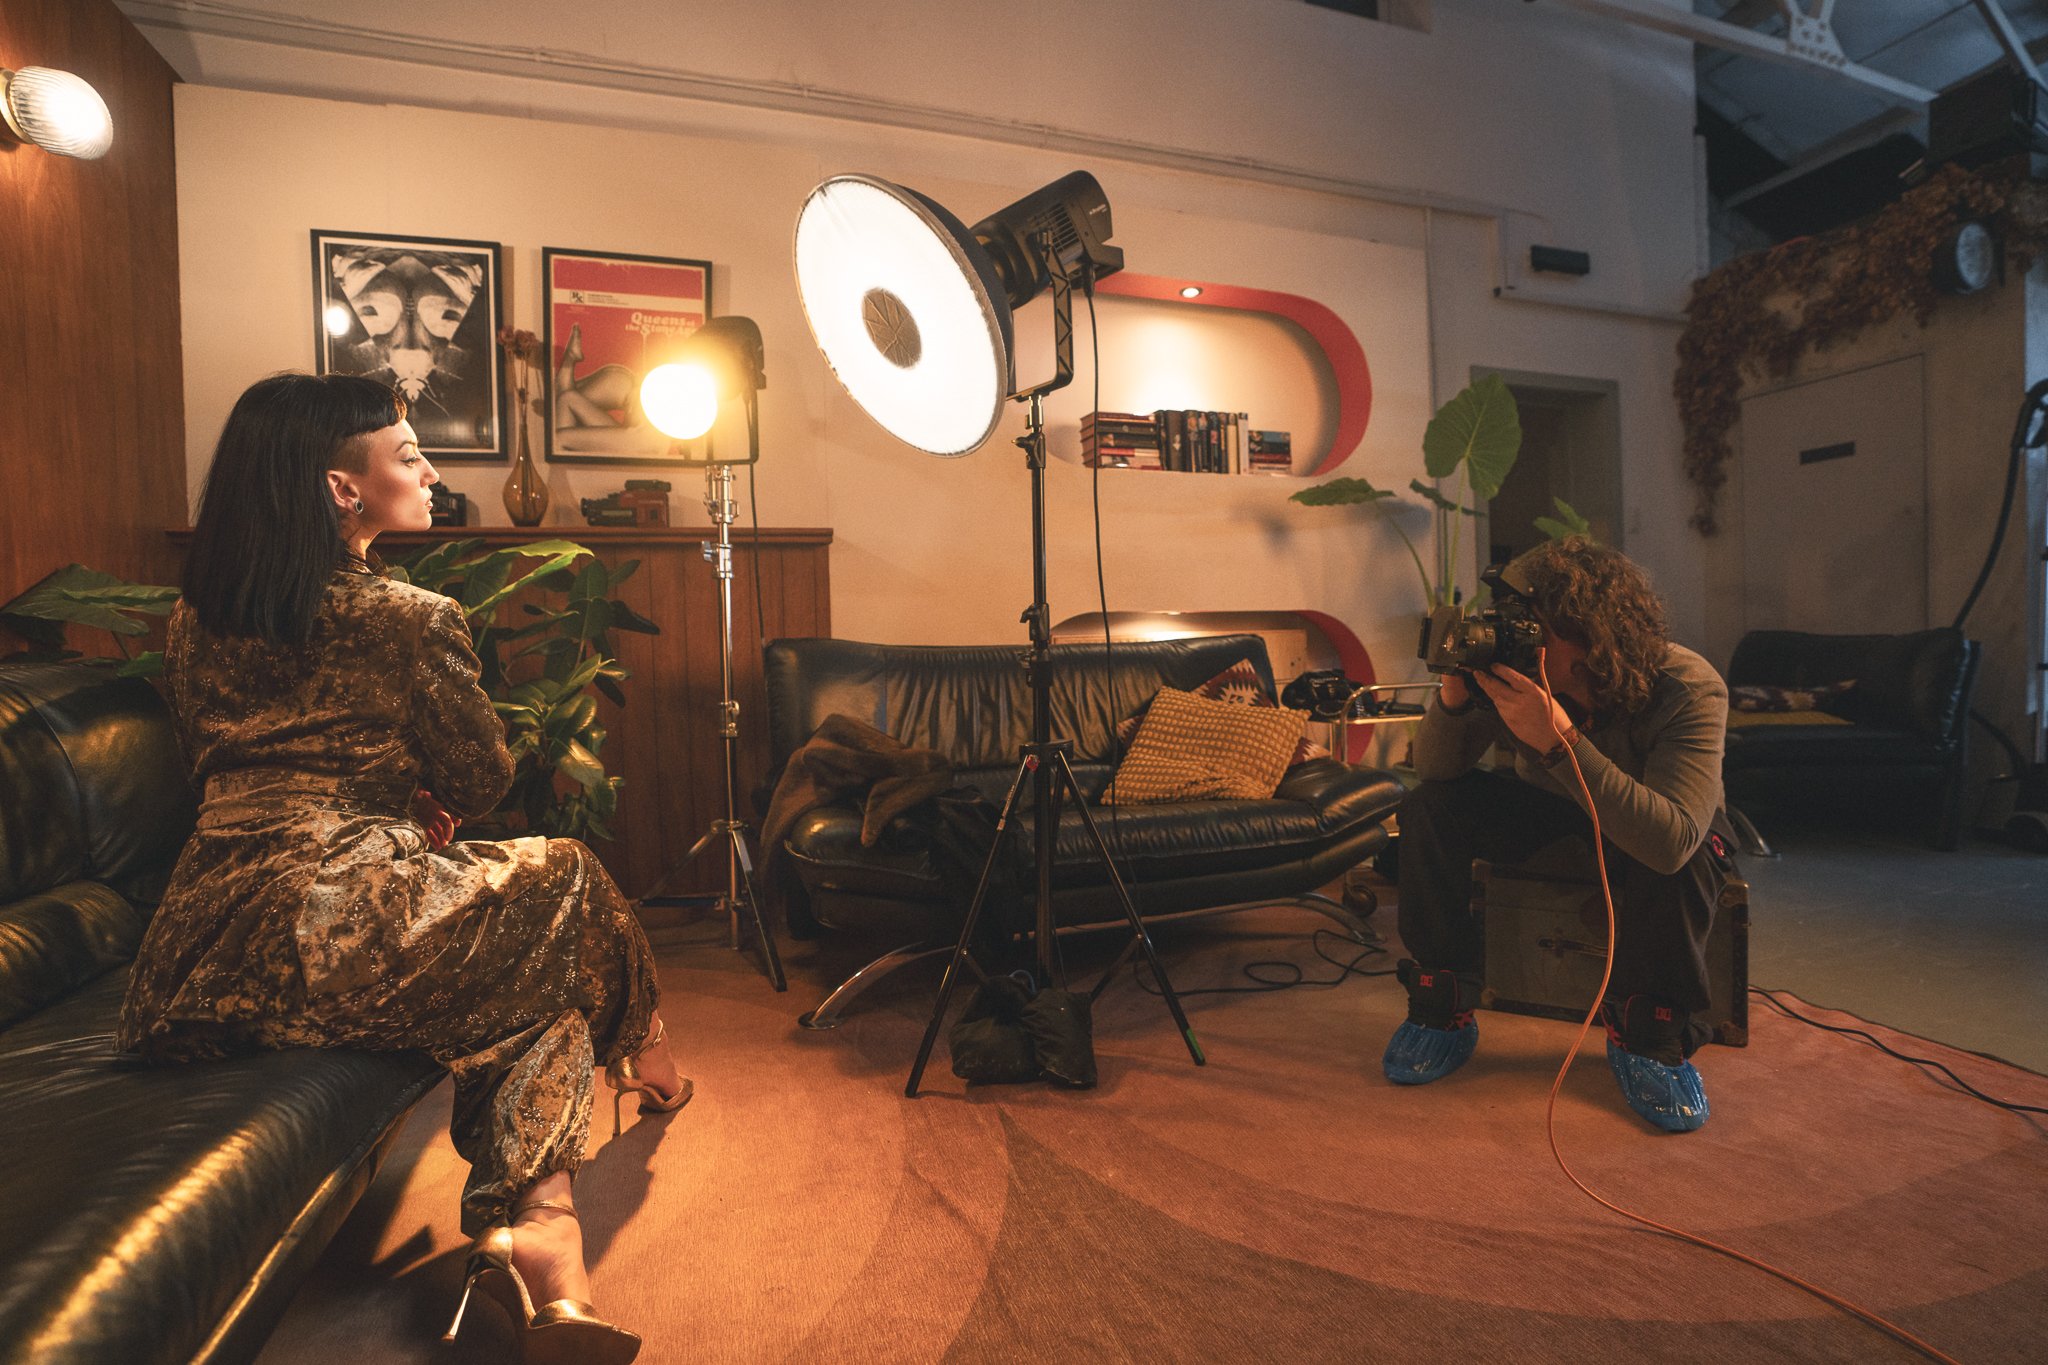
The second L600C light was set to camera right, with a simple Profoto Zoom Reflector White attached. This modifier allows for a large spill of light quite quickly, but due to its small size, it also produces a very hard light. This was set to a far warmer kelvin, and you can see that very rich yellow color flooding the scene from camera right.
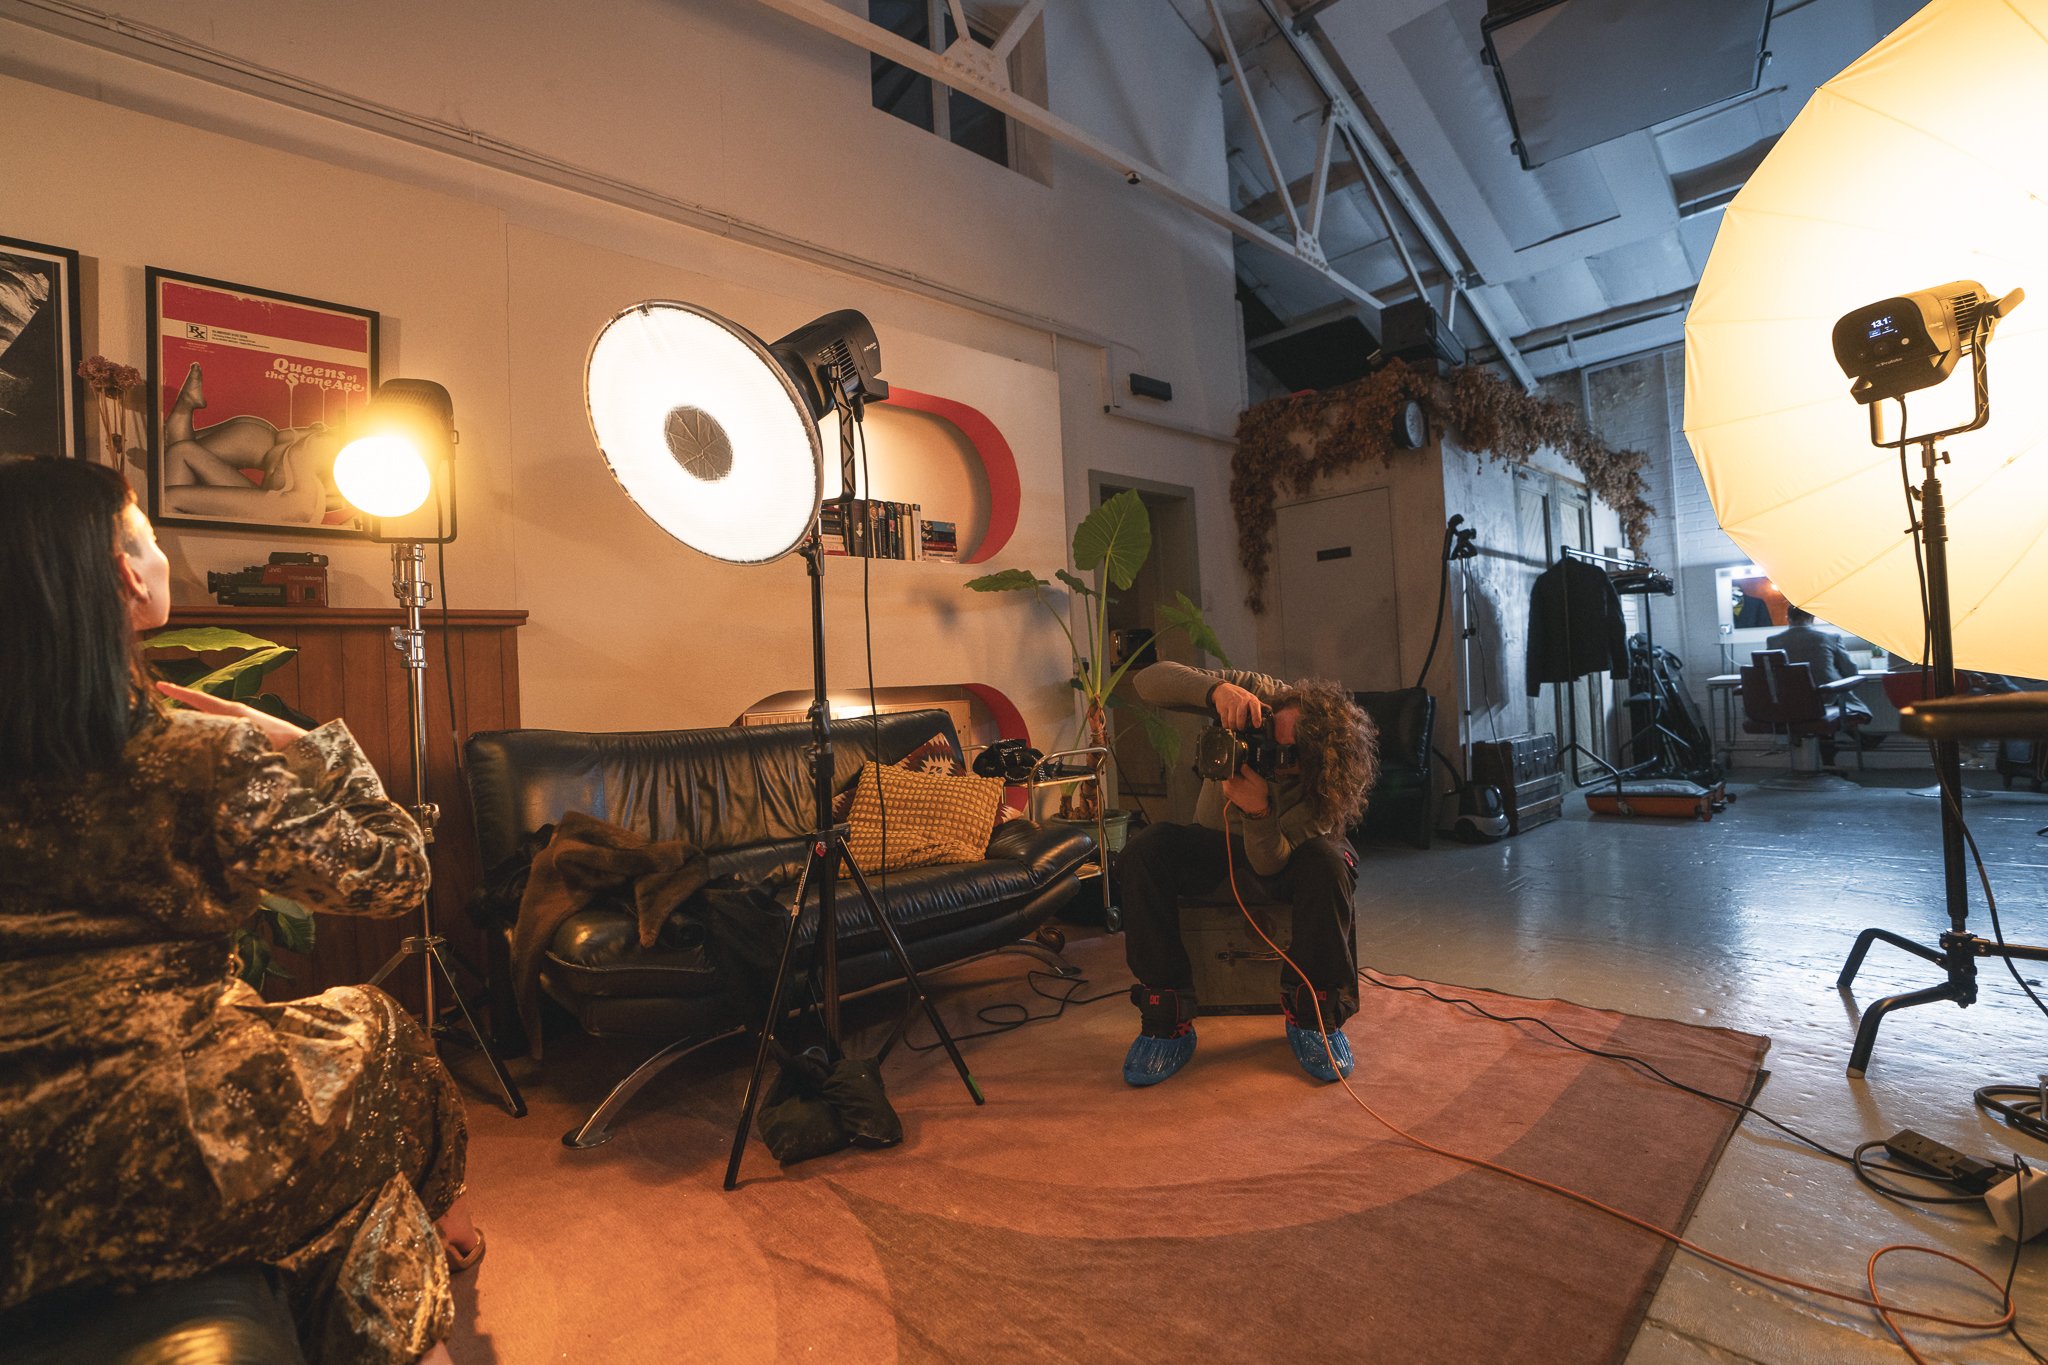
Lastly, I added the final L600C with the big Profoto Umbrella Deep White XL attached. This was set low in power so as not to dominate the scene, but I did want it to eliminate any heavy shadow areas that might be distracting. Again, this was set to a warmer kelvin value.
