How to photograph a blazer on a ghost mannequin
We show you how to style and photograph a blazer, shirt and tie using a special invisible mannequin.
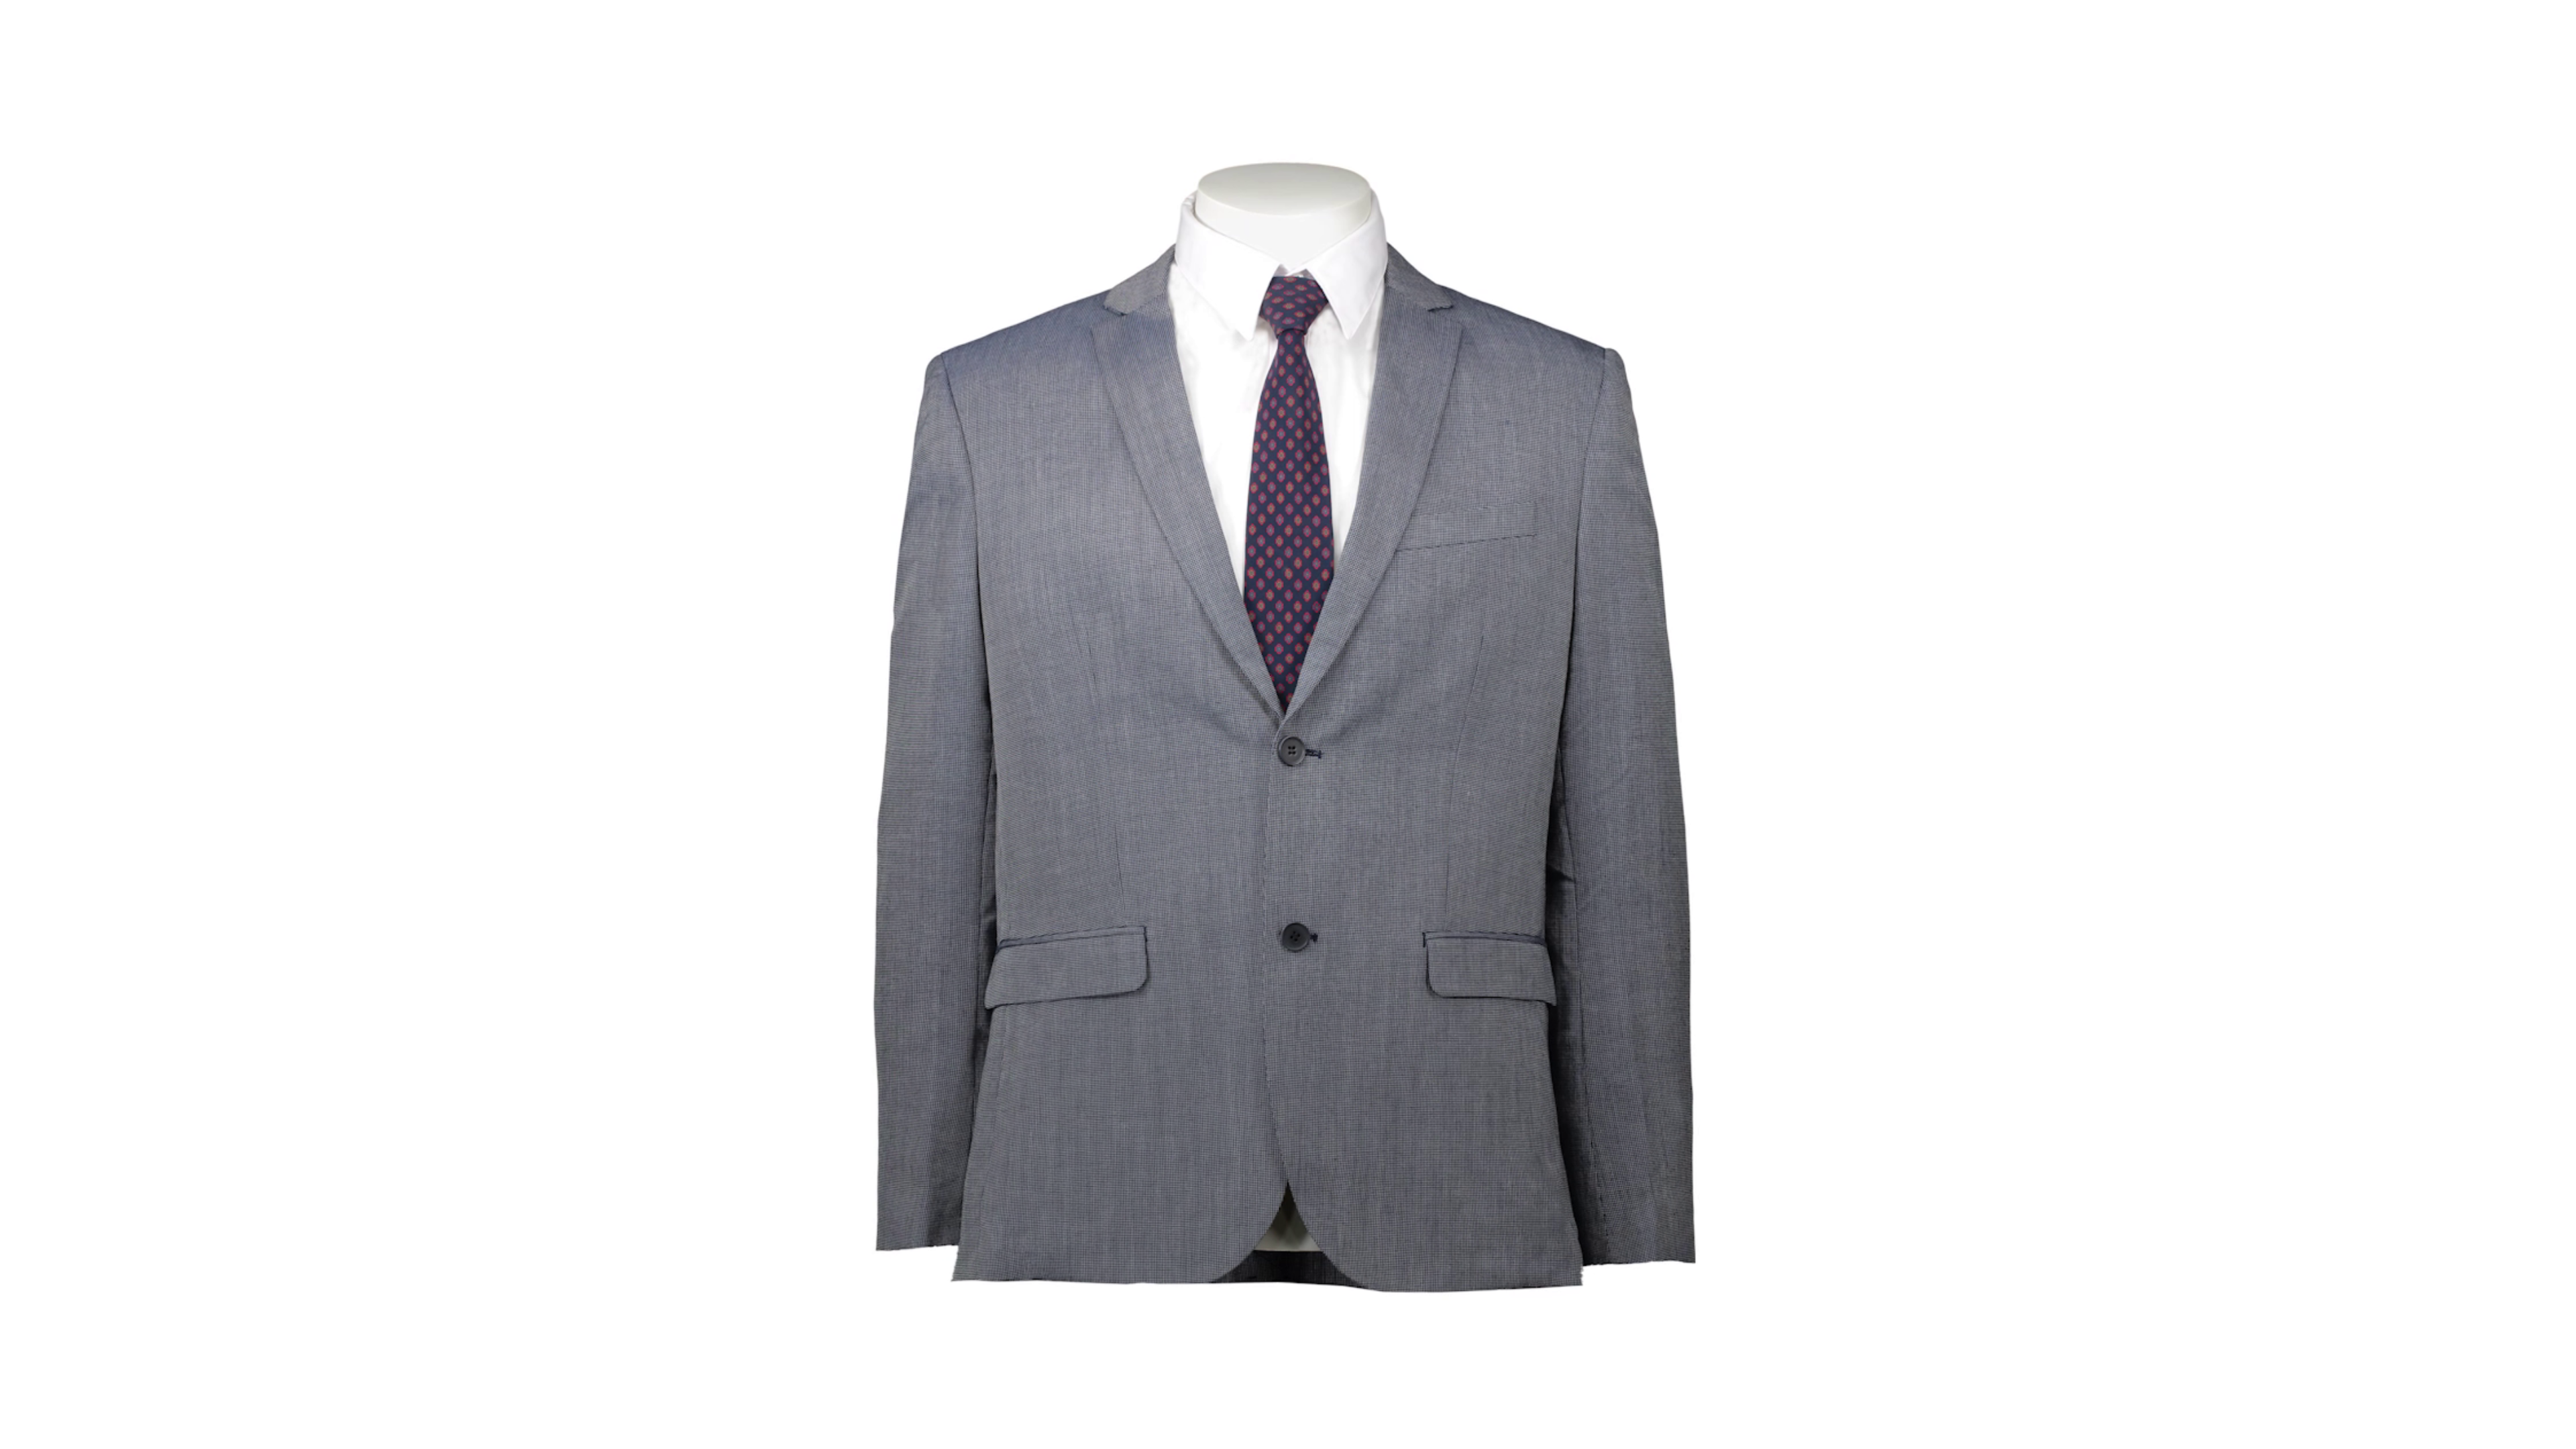
Photographing a blazer, shirt and tie together gives the clearest picture of the entire outfit - and when shot using a ghost mannequin, it gives an effect as though an invisible man were wearing it. So in this short product photography tutorial, we will show you how to photograph a suit and tie combo using a special ghost mannequin to get a realistic, 3D effect.
Instead of a trick done with imaging editing software, using a ghost mannequin gives the effect of the blazer, shirt, and tie being worn by an invisible person. This is done by removing arm and chest pieces so the mannequin is not visible in shot.
By using a ghost mannequin and following this tutorial, you can drastically cut the time it takes to achieve this hollow man effect - which is usually done by photographing the clothes inside out and compositing the two images in post-production.
First, let's run through what you'll be needing in this tutorial.
The equipment you need
- Camera - Any camera will suffice but a Canon EOS 5D Mk III is recommended as a standard for professional product photography
- Studio lighting - Continuous cool LED lamps are recommended to ensure exposure, shadows and contrast are kept consistent
- Your blazer, shirt and tie
- A ghost mannequin - These modular mannequins have removable chest and arm pieces that become invisible in-shot
- Styling clips and pins - A combination of clips and pins can be used to give the blazer a more fitted look
Shooting the blazer, shirt and tie
1. Leave the neck, chest and arm pieces on the mannequin
Because the mannequin needs to support the tie, we're leaving the neck piece on the mannequin. We're removing the module at the waist so the bottom inner lining can be shown.

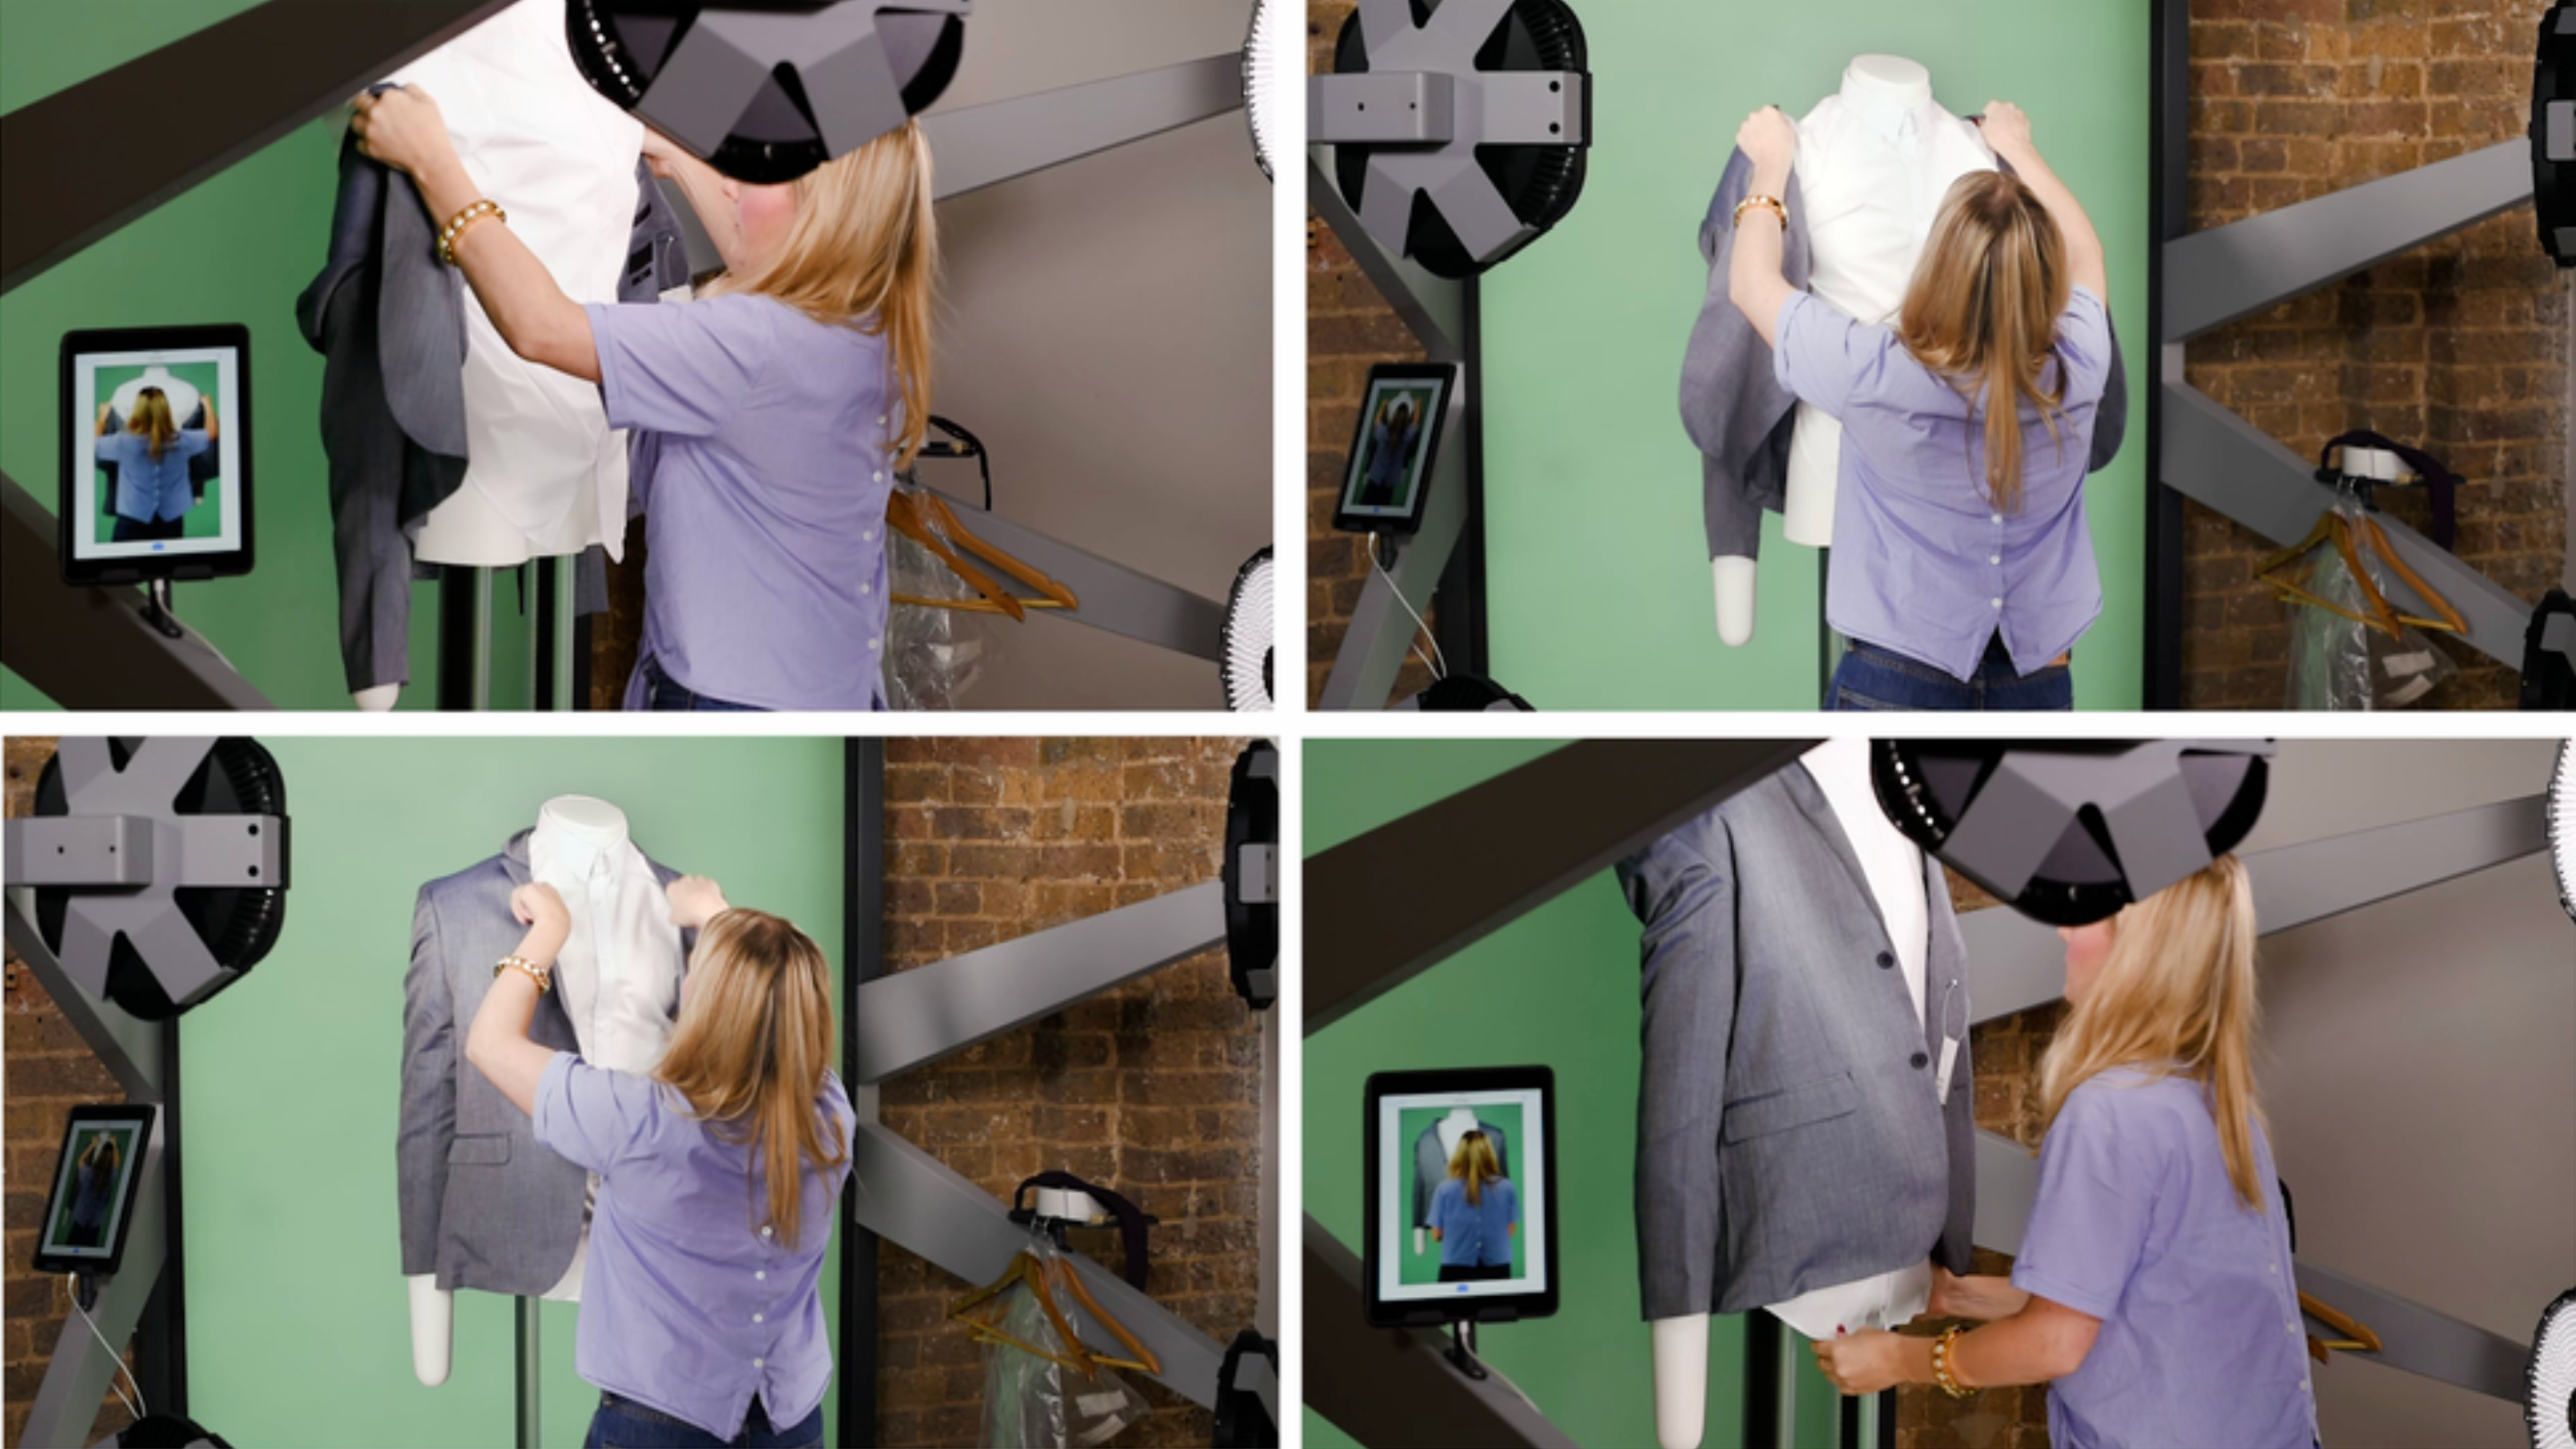
2. Dress the mannequin
Dress the mannequin as shown on the right, first with the shirt and then the blazer. Ensure the shoulders are straight and there are no noticeable creases.
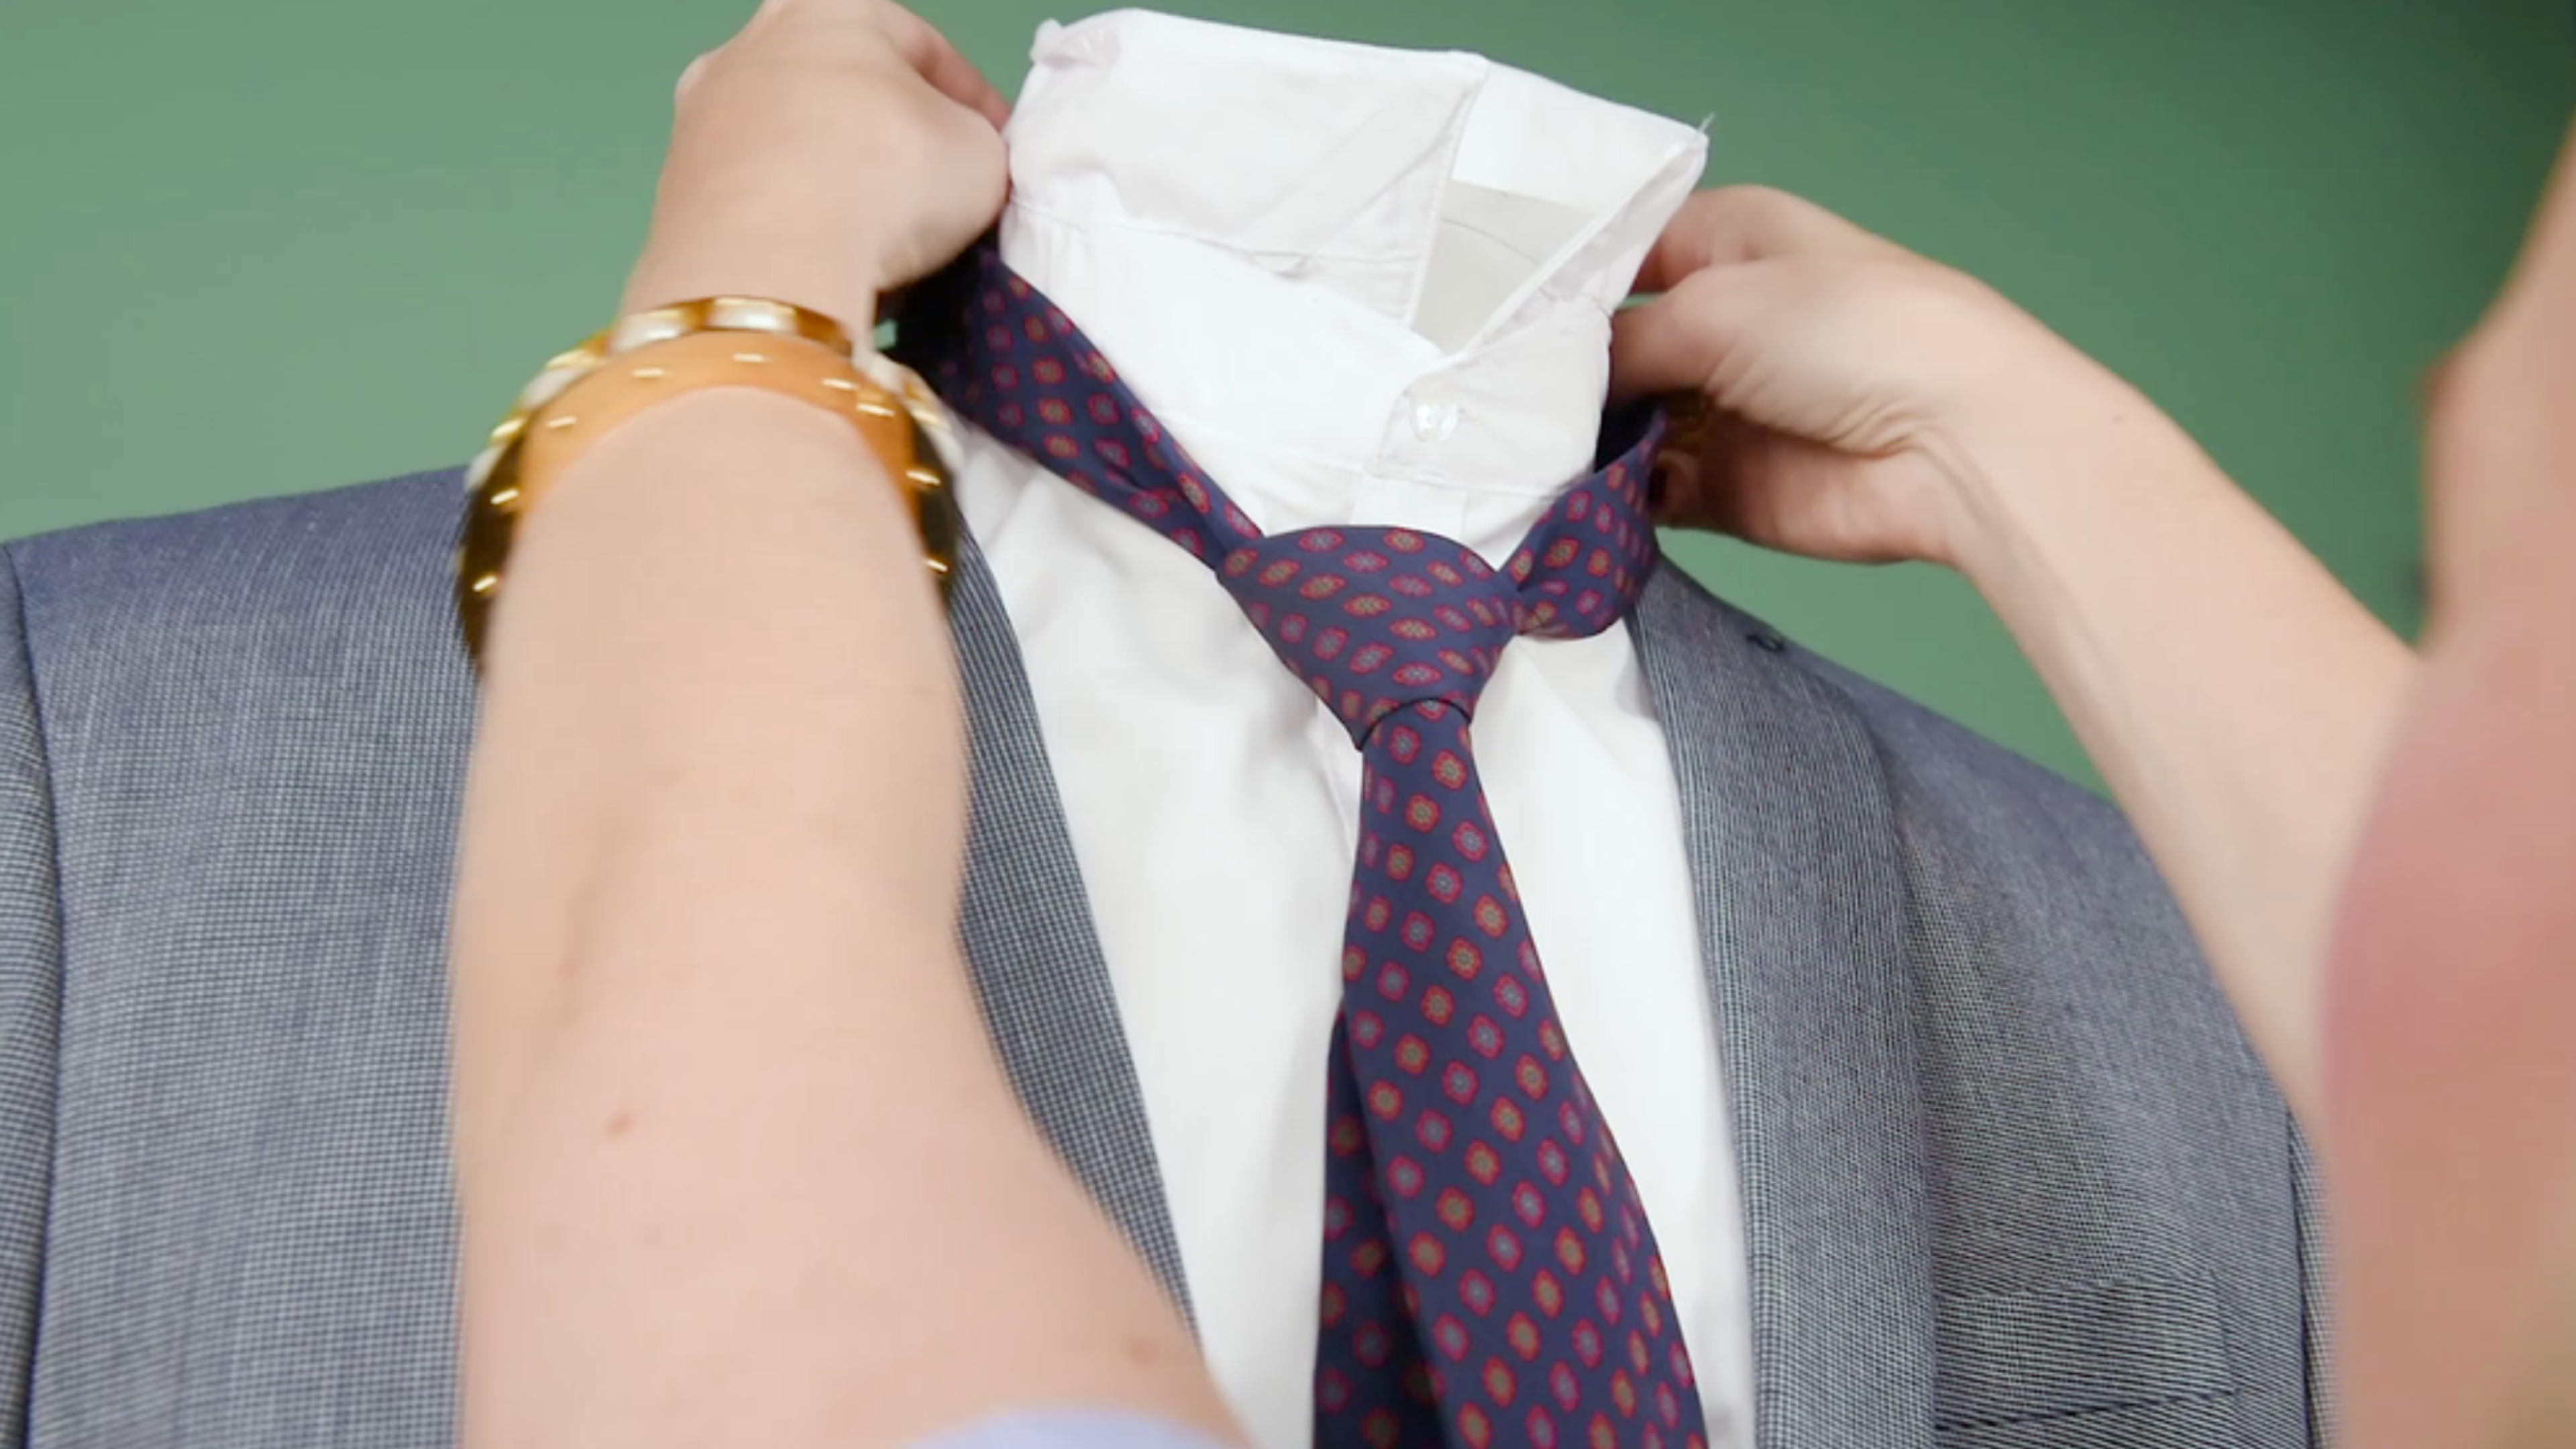
3. Pre-knot and add the tie
Once you have arranged the shirt and blazer so that the shoulders and sleeves are symmetrical and wrinkle-free, flip the shirt collar up and add the tie. We recommend tying the tie in advance with a simple, balanced knot, such as a half-Windsor.
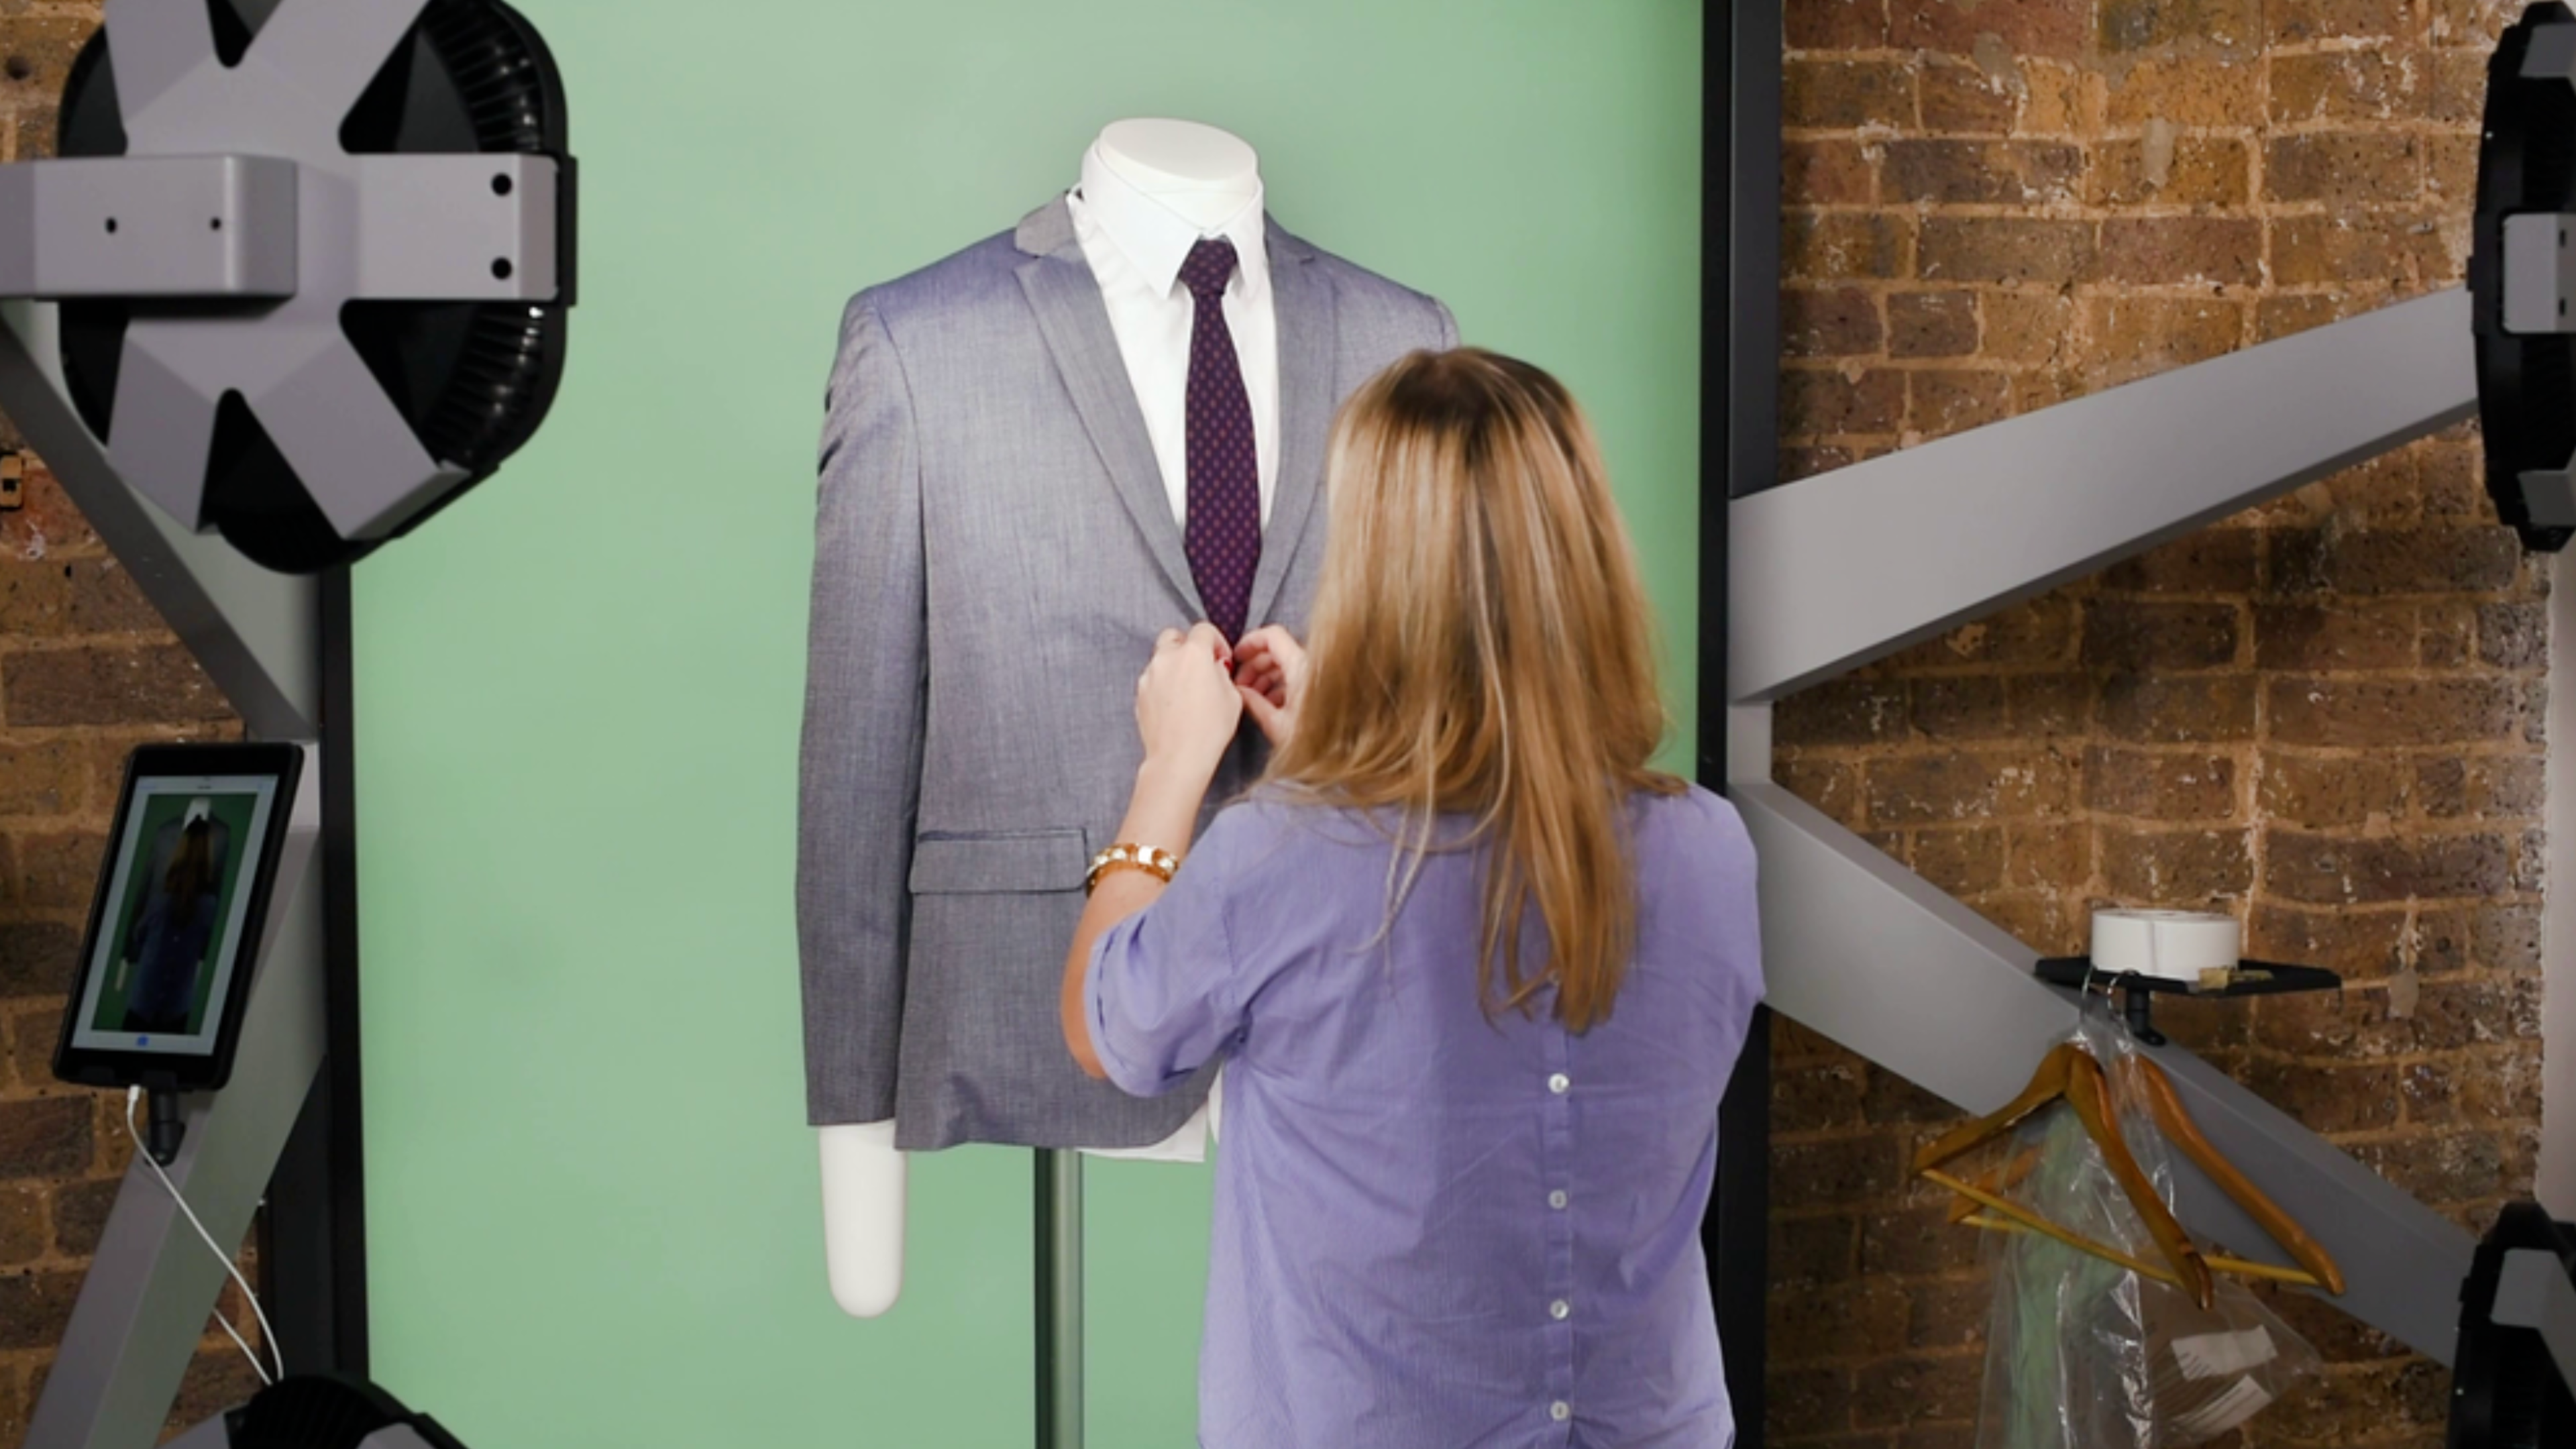
4. Button the blazer and arrange the shirttails
Making sure the tie is straight, button the front of the blazer. Conceal the shirttails by tucking them back up under the blazer. You can also use styling clips and pins at the back to create a tighter fit on your chosen mannequin.
And shoot...
