How to build a set design for your model shoot

We share tips to help you build your set design efficiently.
In this tutorial, we’ll share some practical tips that will help you with building your set and will enable you to be more creative when shooting a model for fashion e-commerce.
By adding elements like blocks and furniture to your set design, and combining that with different lighting effects you can really play with the set and make it much more visually interesting.
What you’ll need
- Props from simple materials
- Various backgrounds
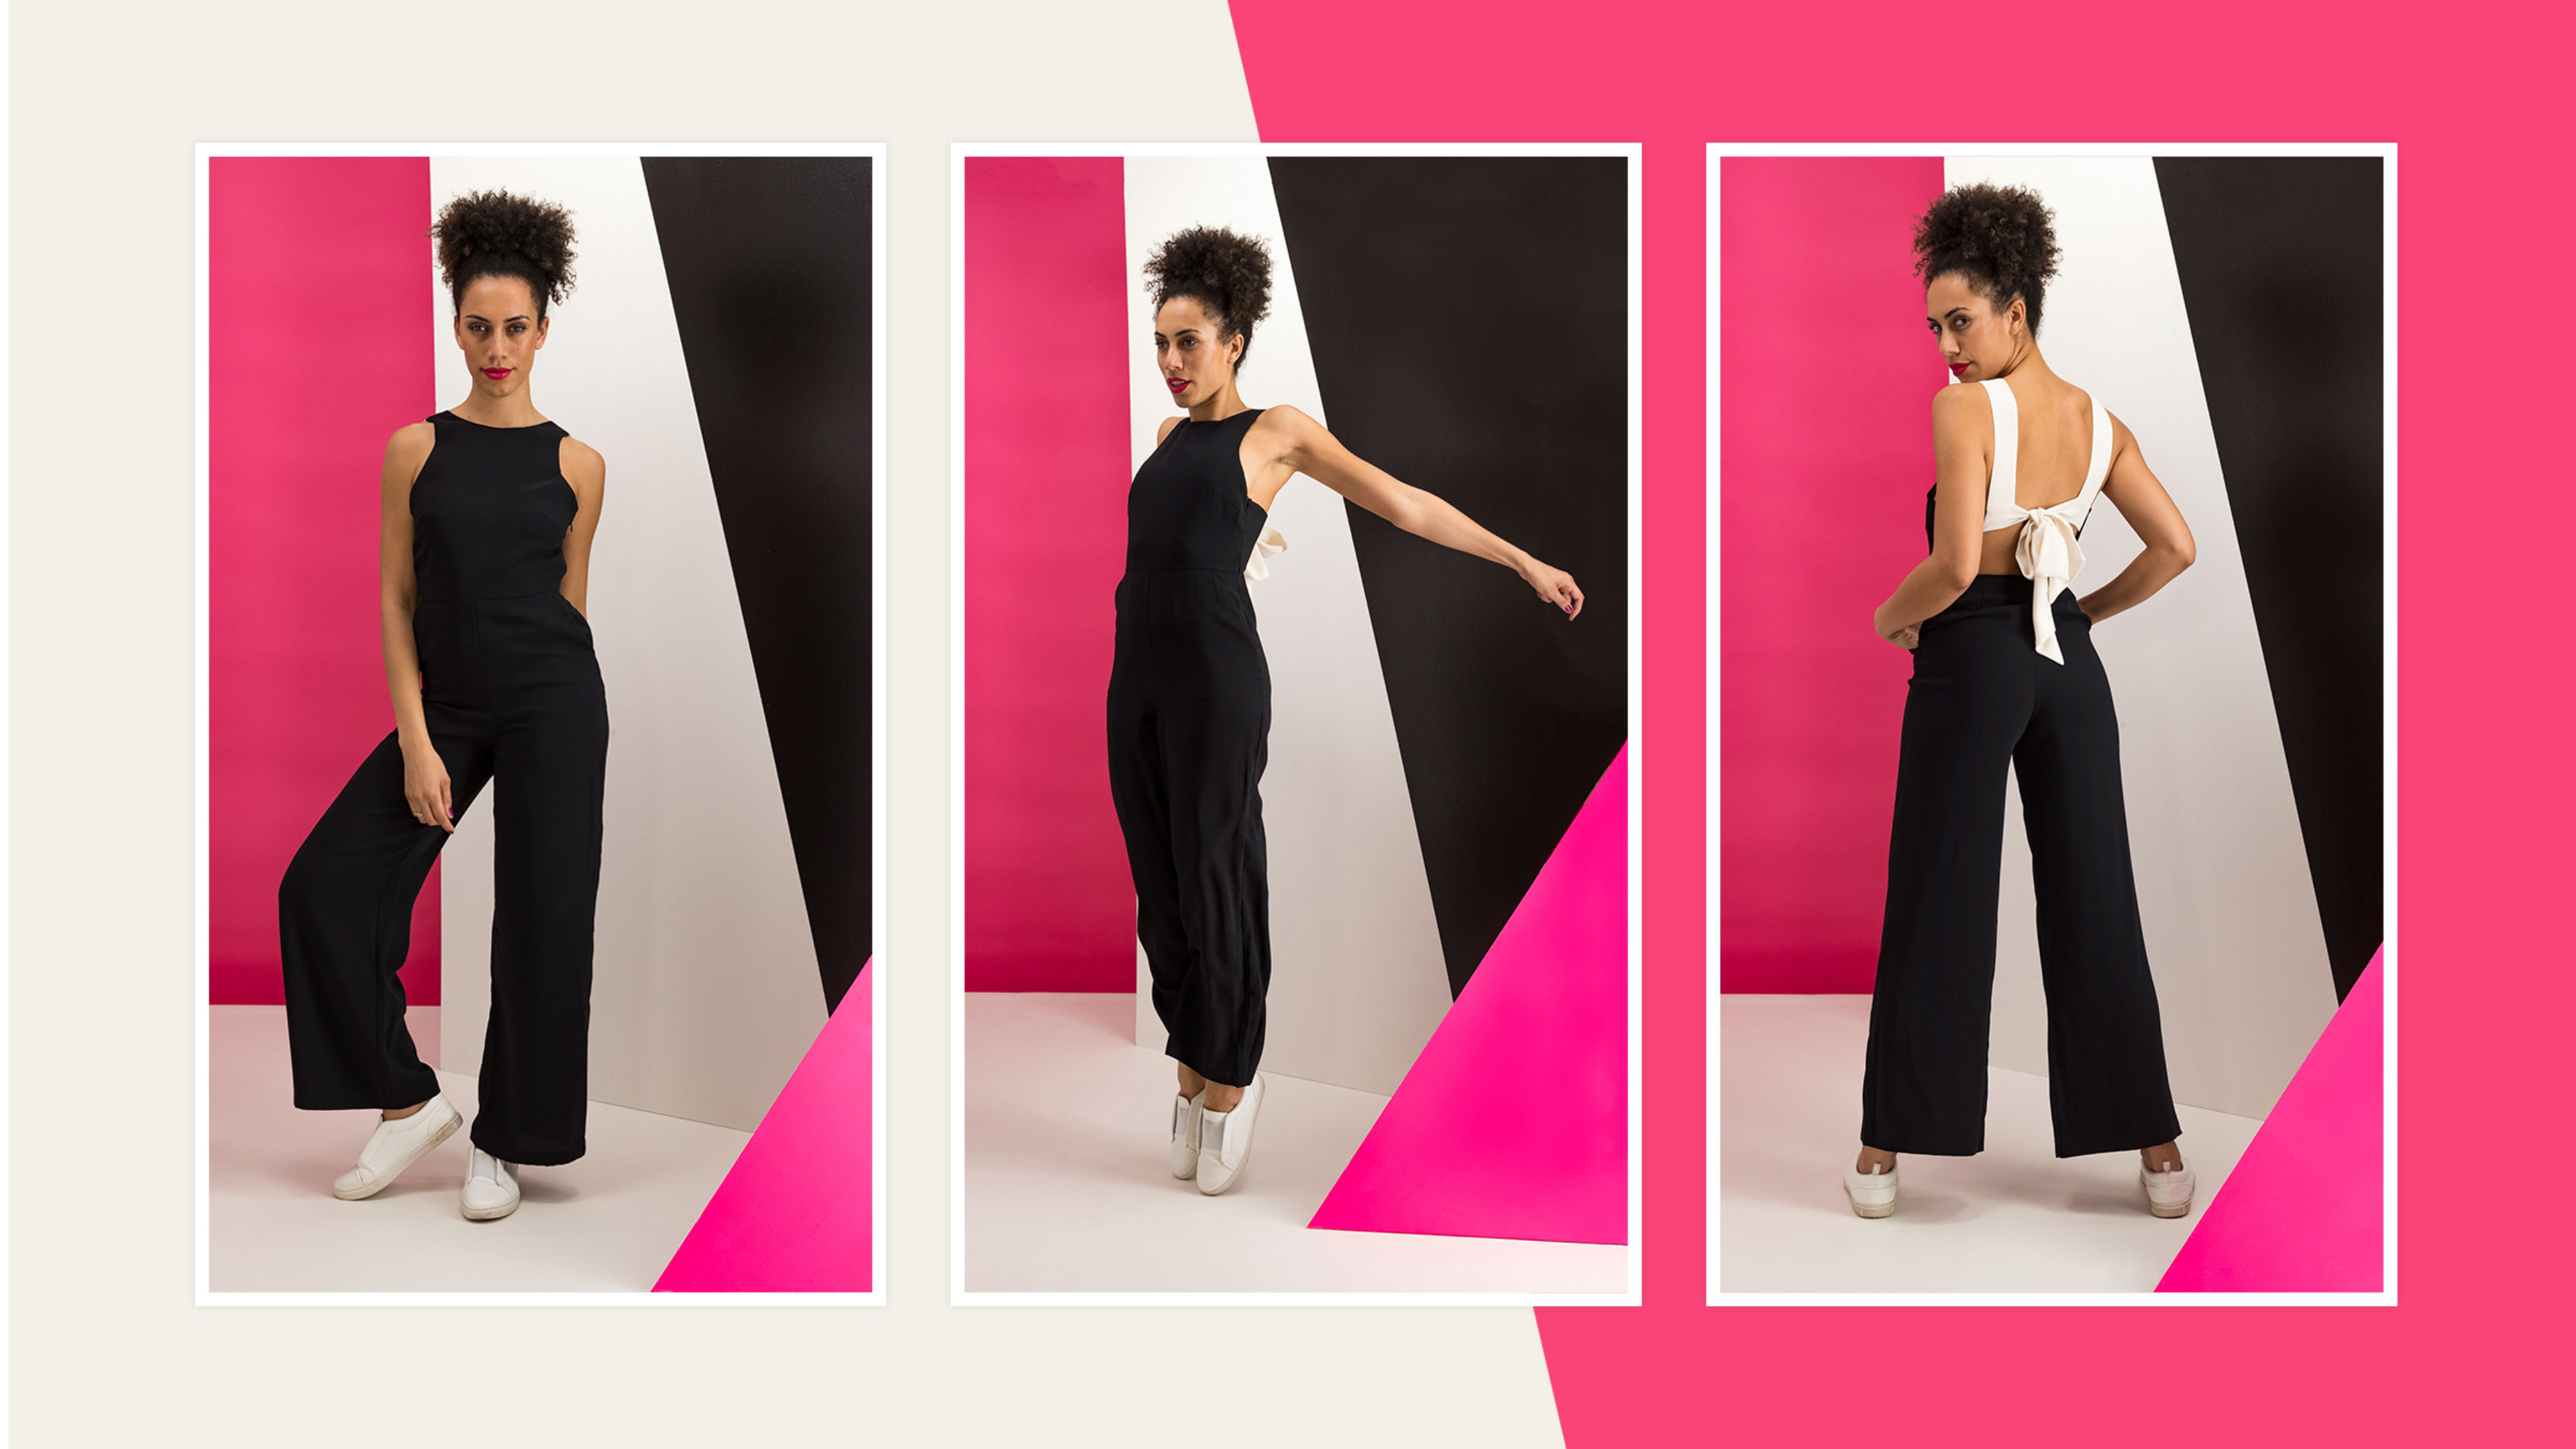
- A model
- Lights and camera, or one of our automated model solutions
We cover the following stages
- Preparation
- On set
1. Preparation
Start by thinking about how you would like your set to match your photoshoot. Then move onto picking what type of backgrounds and props you’d like to have so you can make sure to buy items from the right materials.
Conceptualize your set
To begin with, look for inspiration. Start by reviewing magazines, social media and websites of similar brands to your own. Once you have found inspiration material, it can be a great idea to put them into a moodboard.
Keep it simple
Props like boxes made out of MDF can be a great addition to your set. By doing so, you not only create a visually attractive set but you also remain flexible with your design. You can change whatever you like whenever you like. That gives you the opportunity to have a different ‘vibe’ for each look you’re shooting.

Fix the background securely
Once you’ve chosen and placed your background, fix it securely into place so no one gets hurt. Be gentle when rolling up paper rolls. The chain mechanism can sometimes get stuck - or worse, the paper can rip.
Find someone to help you
If you’re unsure where to start with your set, find a set builder. Particularly, someone who has experience with this sort of thing and is ready to give you advice and help you put together your set. Aim to find someone who will be ready to help you do this quickly and for a reasonable price.
Match theme and design
When putting together the elements of your set design, think of what type of clothes you’re shooting and what type of results you’re after. If you’re shooting sportswear, you need to create a set that reflects that you’re showcasing activewear. That could be a “bench” looking box made out of MDF and maybe a some boxing gloves and bottles laying around so the model can recreate a gym setting.

2. On set
Once you’ve put together your set, it’s time to put it to good use. Work together with the model to make the most out of what you have created on set.
Use different and simple props
You can add items made of wood, stage props, stage weights, painted boards, plywood and other objects made out of MDF to your set design. Because those are typically cheap and easy to assemble, you will save valuable resources like time and money and will be able to create an appealing and diverse set design.
Splash out where it matters
If you’re trying to achieve a specific mood, consider investing in a few authentic props. If your audience is design conscious, avoid using replica designer chairs or lamps - your audience will know the difference.
Use your set
Once you have created a desired environment, it is time to actually use it. When your model is on set, she or he will have props to play with. This type of interaction in combination with a well-put together set design, really have the power to give a much more professional look to your final images.
Change things around
Once you’ve decided you’re happy with a certain configuration of your set and you would like to change things around, you can easily do that by moving some of the “fake” walls around, experiment with different background colors, add or remove props.

Using different shapes and angles and adding a bit of color into the set, and a different dimension for the lights can really brighten up your shots and produce polished results. Don’t be afraid to experiment to find out what works best for you, the model and your photoshoot.