How to photograph a shirt on a ghost mannequin
When photographing a shirt, you can make use of a special ghost mannequin to make it look as if an invisible man is wearing it. In this fashion product photography tutorial, we will teach you how to style a shirt on a ghost/invisible mannequin to give the hollow man effect.
Photographing shirts - especially when dealing with large quantities and different styles - poses a lot of challenges. This is why it’s important to get professionally styled shots of your shirts online quickly and minimize post-production time. This means highlighting features like fabrics, buttons, inner labels and always representing the cut accurately - all with speed and precision.
A ghost mannequin takes this a step further as it allows the shirt to appear as if worn - giving a hollow man effect. This enables a customer to more effectively visualize how the shirt will look on themselves. Using an invisible mannequin also has the added benefit of drastically saving time on post-production.
The equipment you need to photograph your shirts on a ghost mannequin
- Camera - Any camera will suffice but a Canon EOS 5D Mk III is recommended as the industry-standard for professional product photography
- Studio lighting - A source of continuous cool LED lamps are recommended for lighting to ensure exposure, shadows and contrast are kept consistent
- Your garments - Clothes that work particularly well for this type of photography include shirts, jeans, t-shirts and childrenswear
- Tissue paper - Stuffing a shirt with paper adds depth to key areas
- Reflector - A reflector is a sturdy piece of white/bright board that reflects back light into the shot
- Ghost mannequin - Any modular mannequin (with removable v-chest and arms) can be used for getting invisible product shots by removing pieces individually
1. Choose a ghost mannequin that fits
A ghost mannequin can drastically reduce the time spent on post-production, removing the need to cut out and composite the final image at as you can remove pieces of it individually. Of course, they come in a range of shapes and sizes, so choose one that fits and represents the cut of your shirt best.
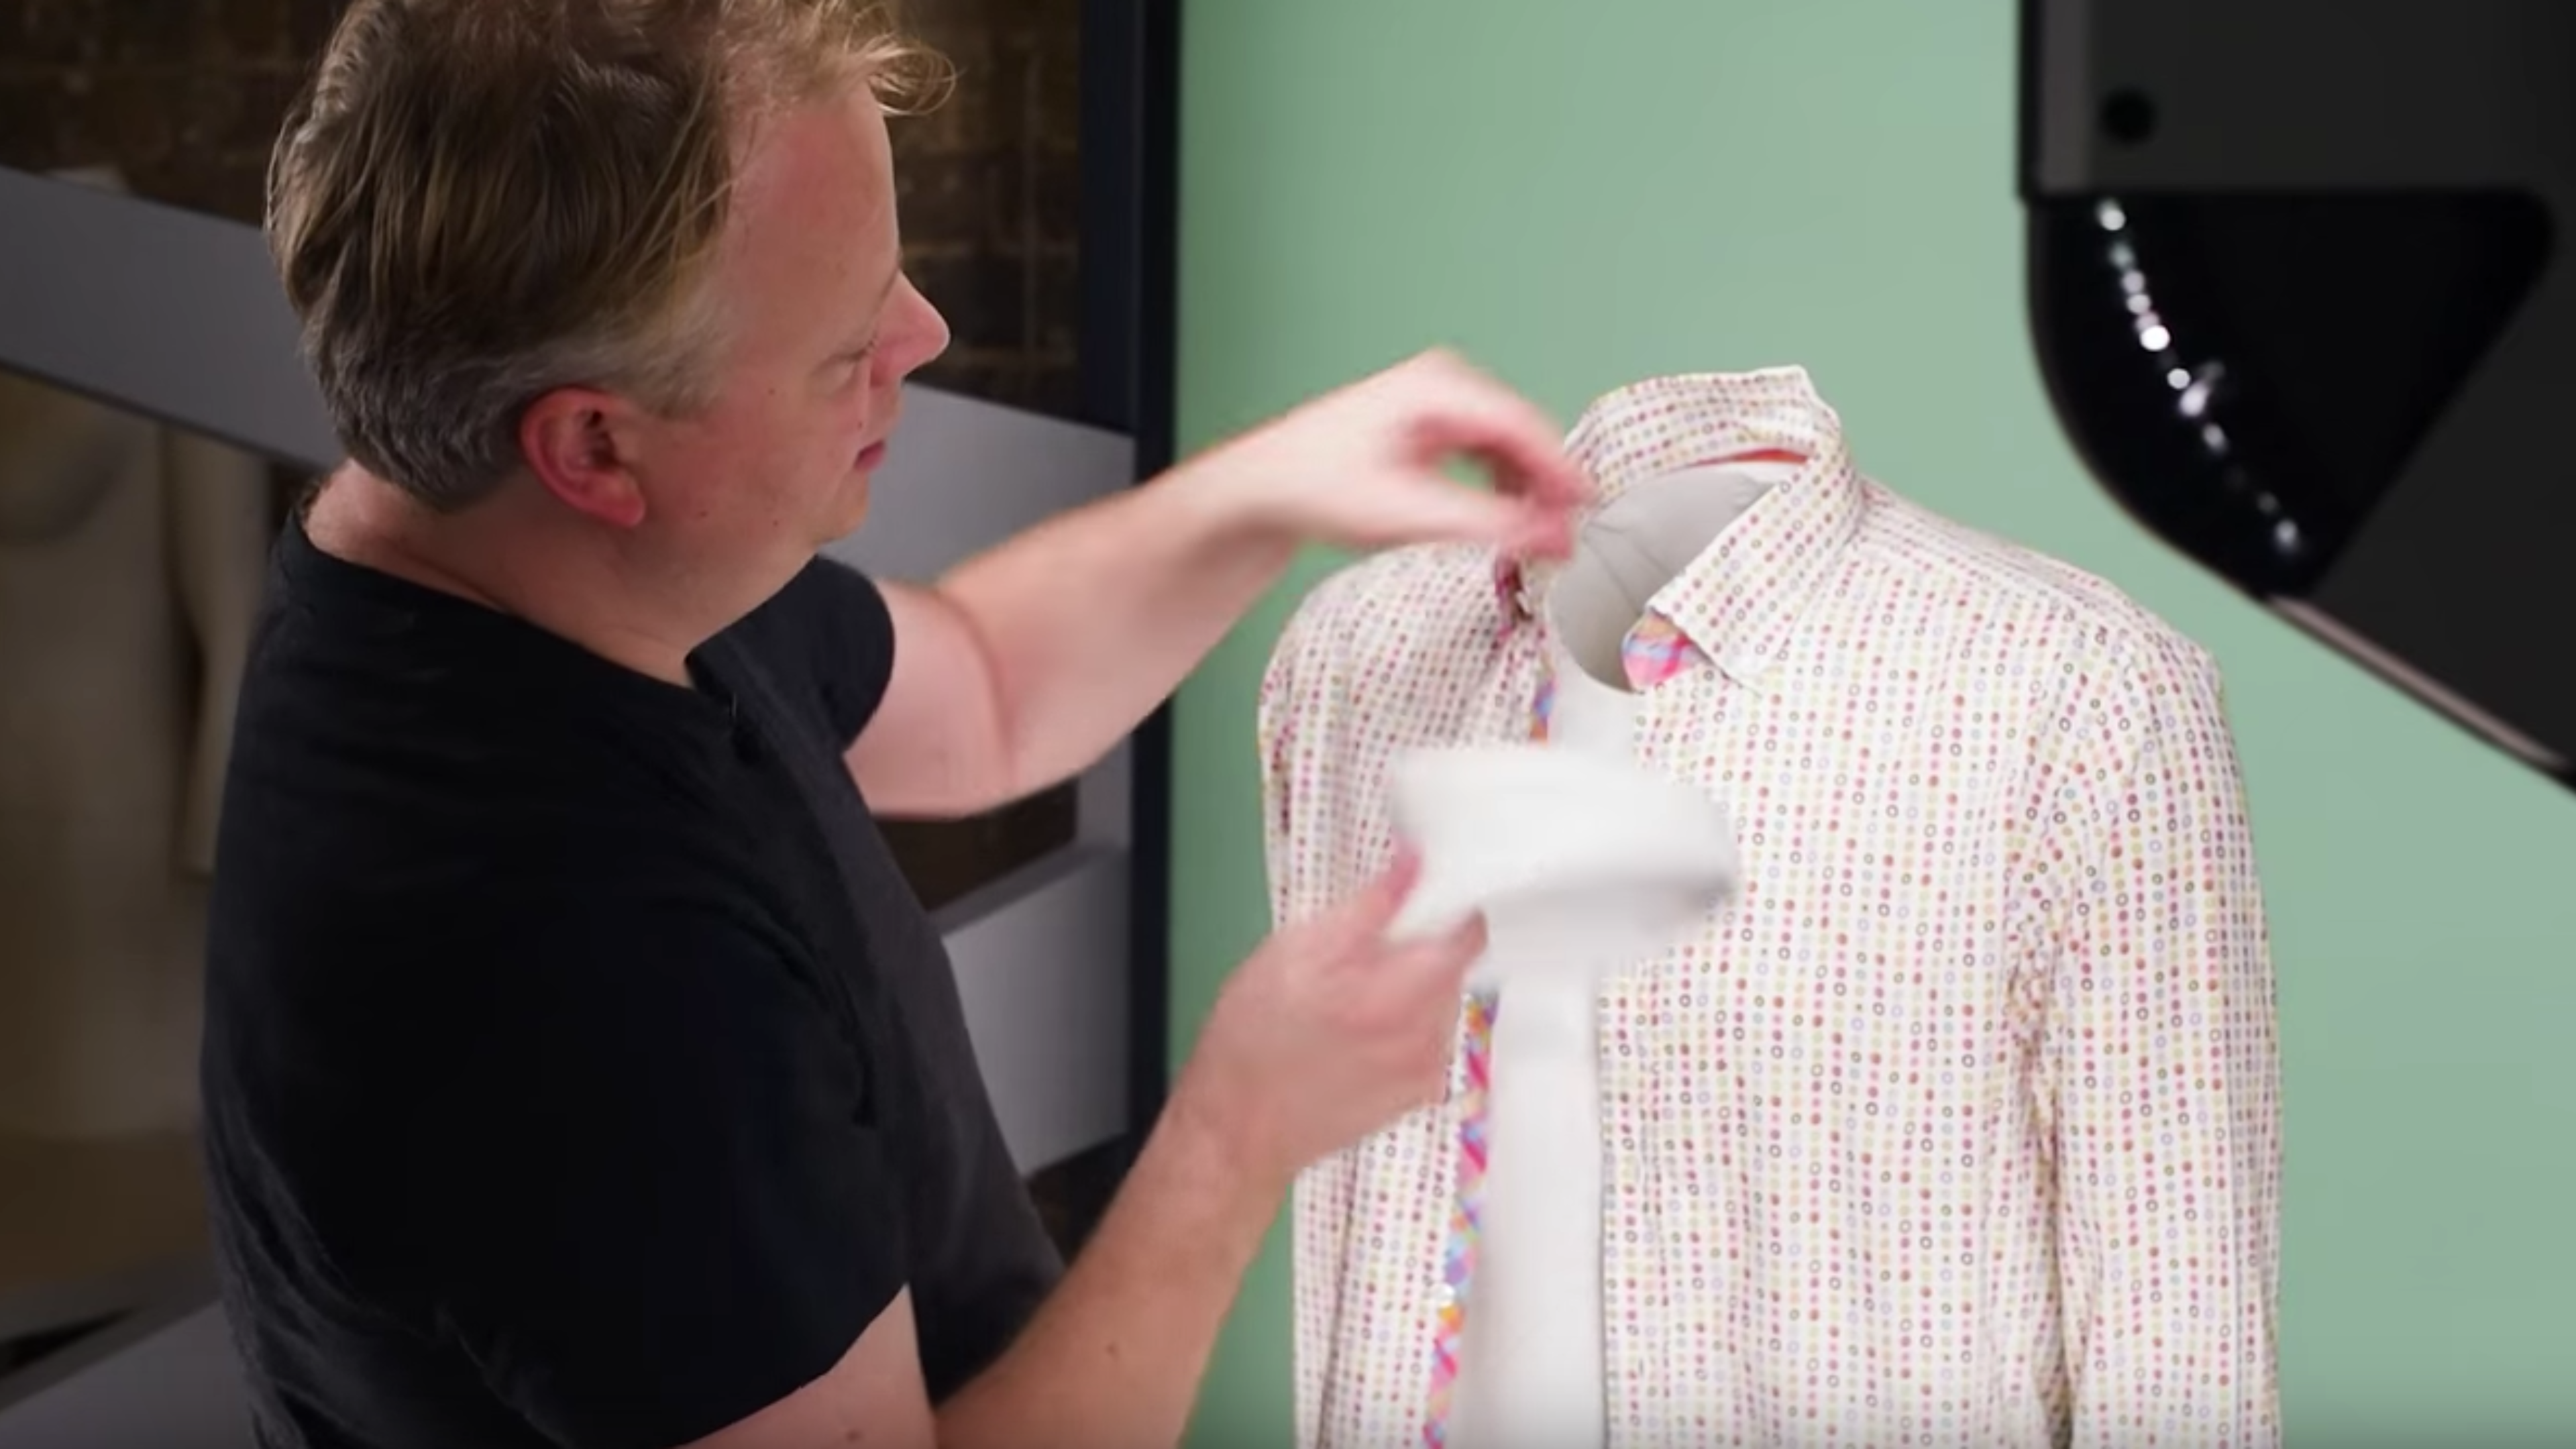
By removing the neck and inner chest piece, it becomes possible to include the label on the back inside of the shirt in your shot. This means that you can photograph a single image, without the need for compositing shots of an open and closed shirt.
If you don’t have a special mannequin like this, you can still follow this tutorial to learn how to achieve a great style for your shirts.
2. Fitting your shirt on the mannequin
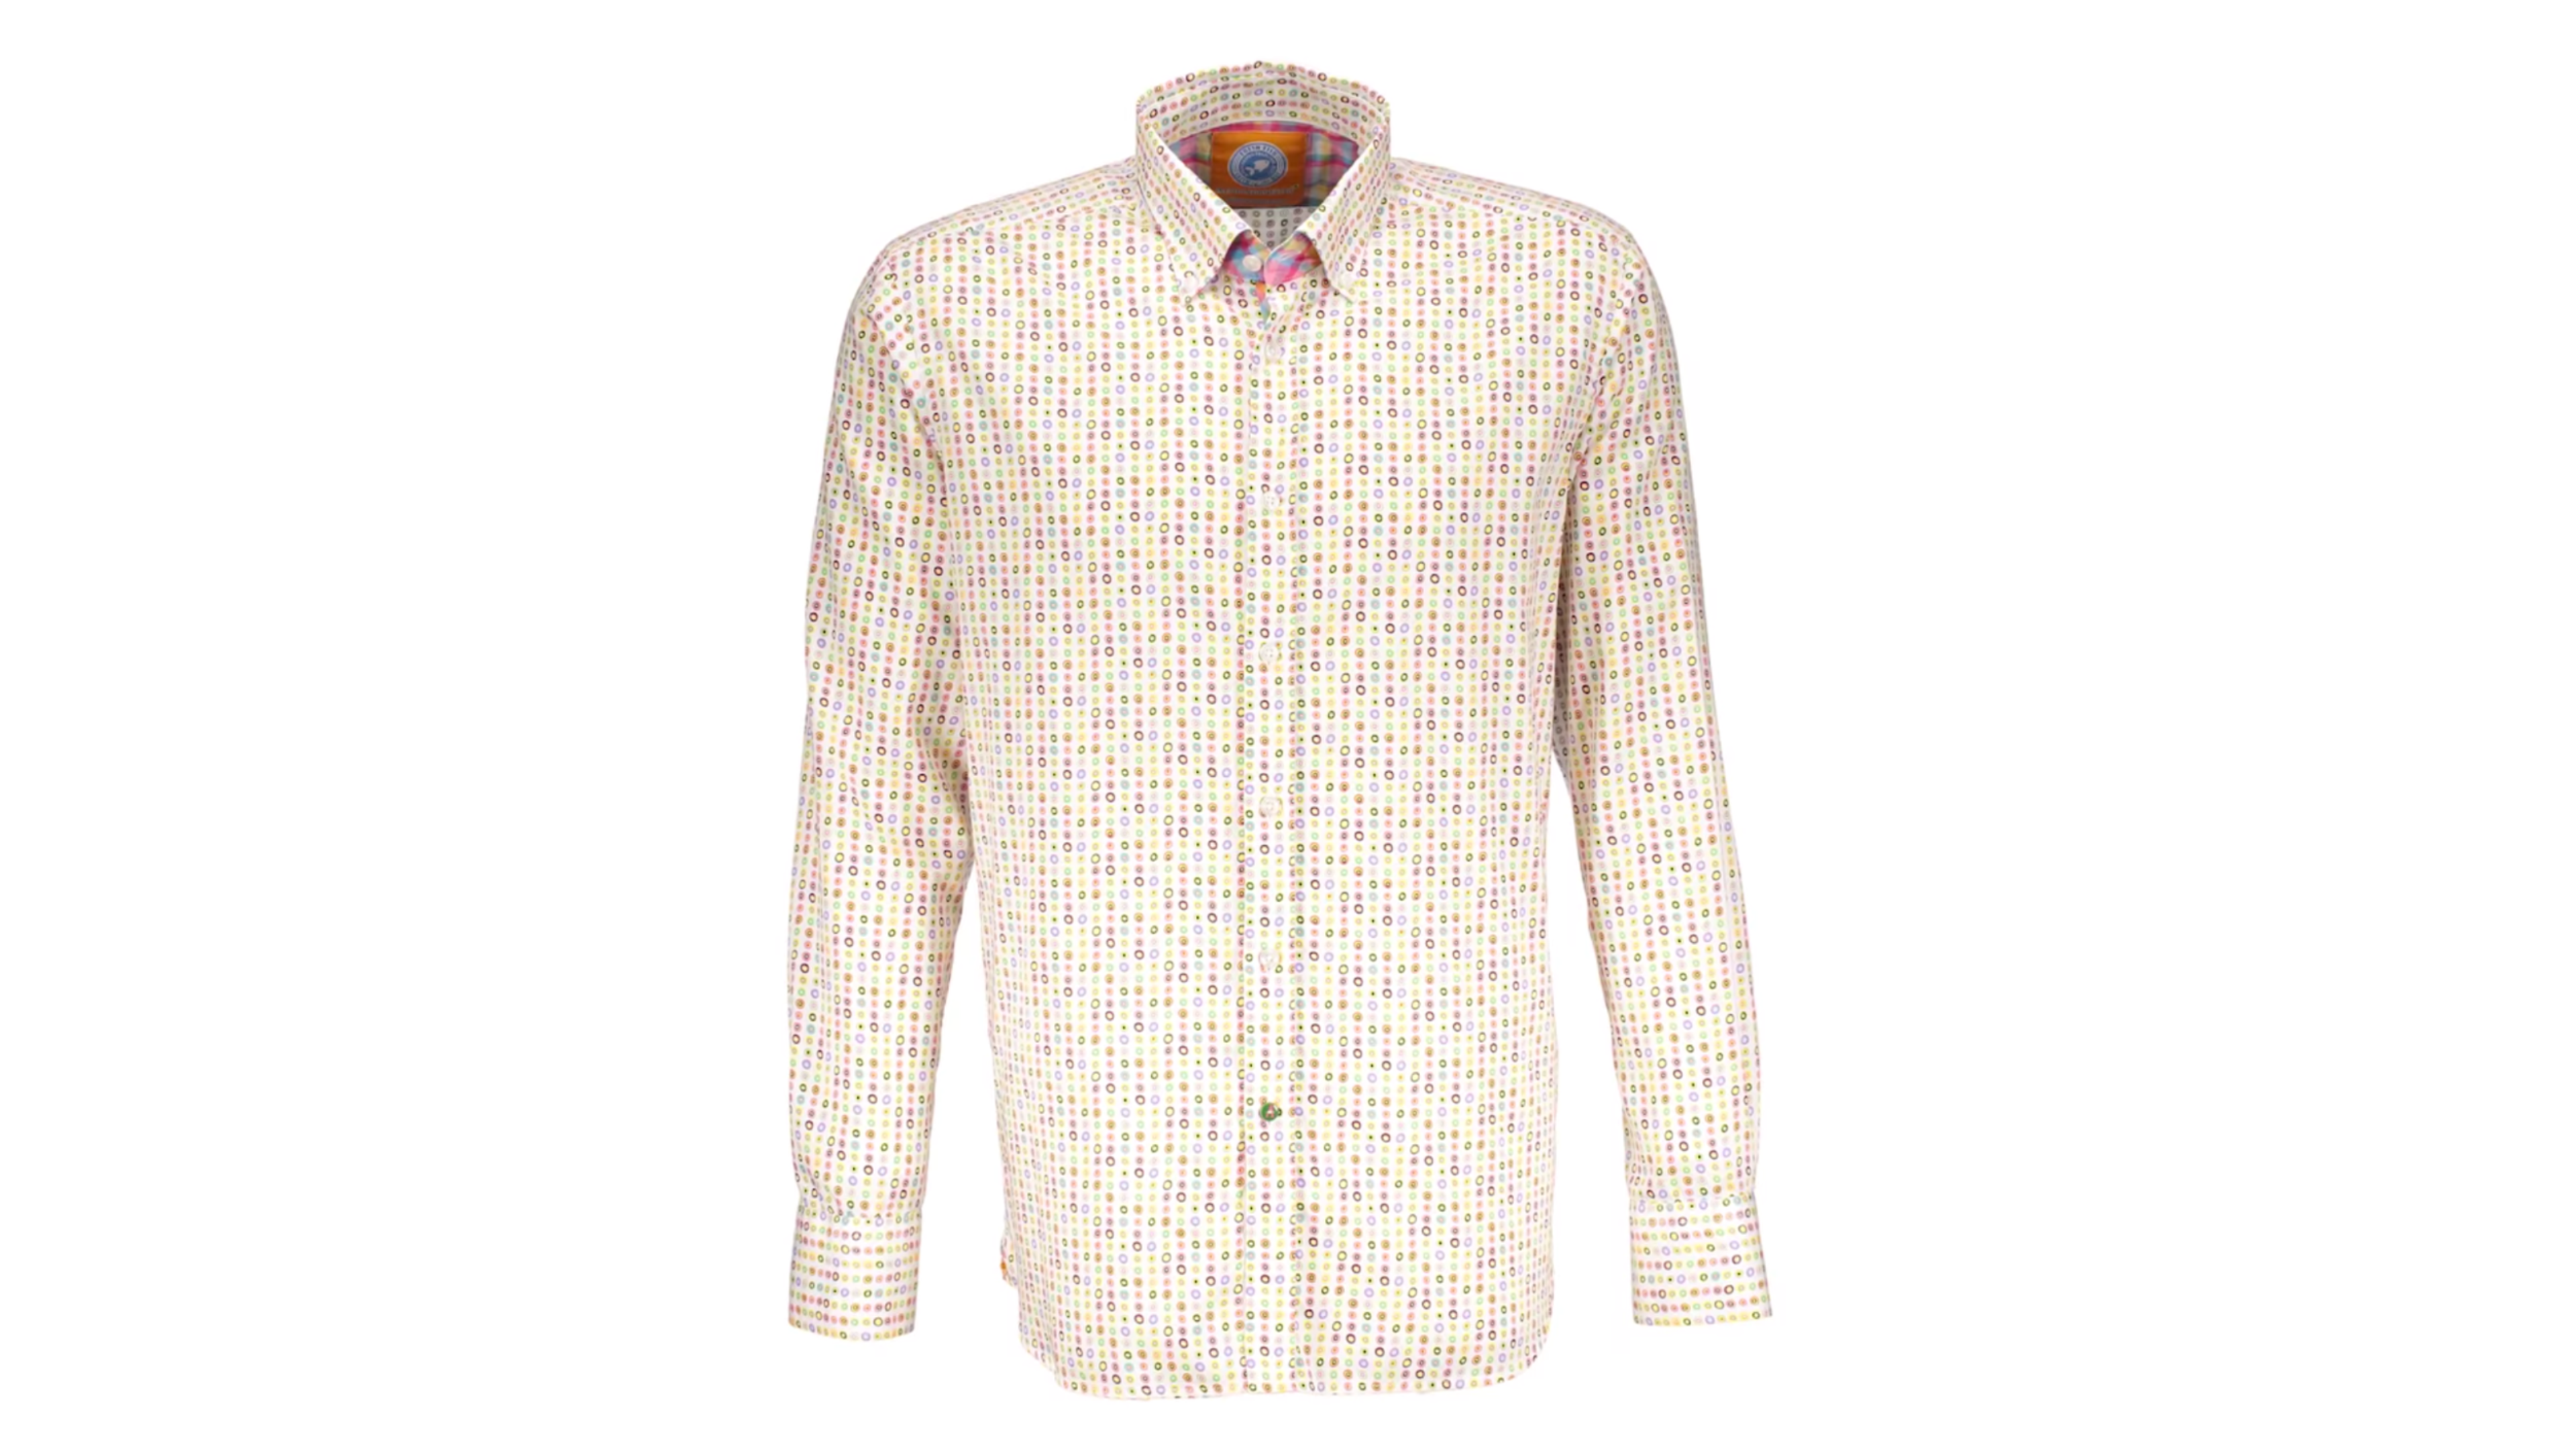
Shirts are fairly simple to fit and style. In this example, we have chosen a casual shirt to fit on the ghost mannequin - leaving the top button undone. Ensure the shoulders are aligned symmetrically and that the arms are the same length. Feel around the fit of the shirt and iron out any irregular shapes and creases using your hands. Flare out the arms slightly to provide body and distance from the torso - the extent of which is up to your own preferred brand style.
3. Styling the hem and arms
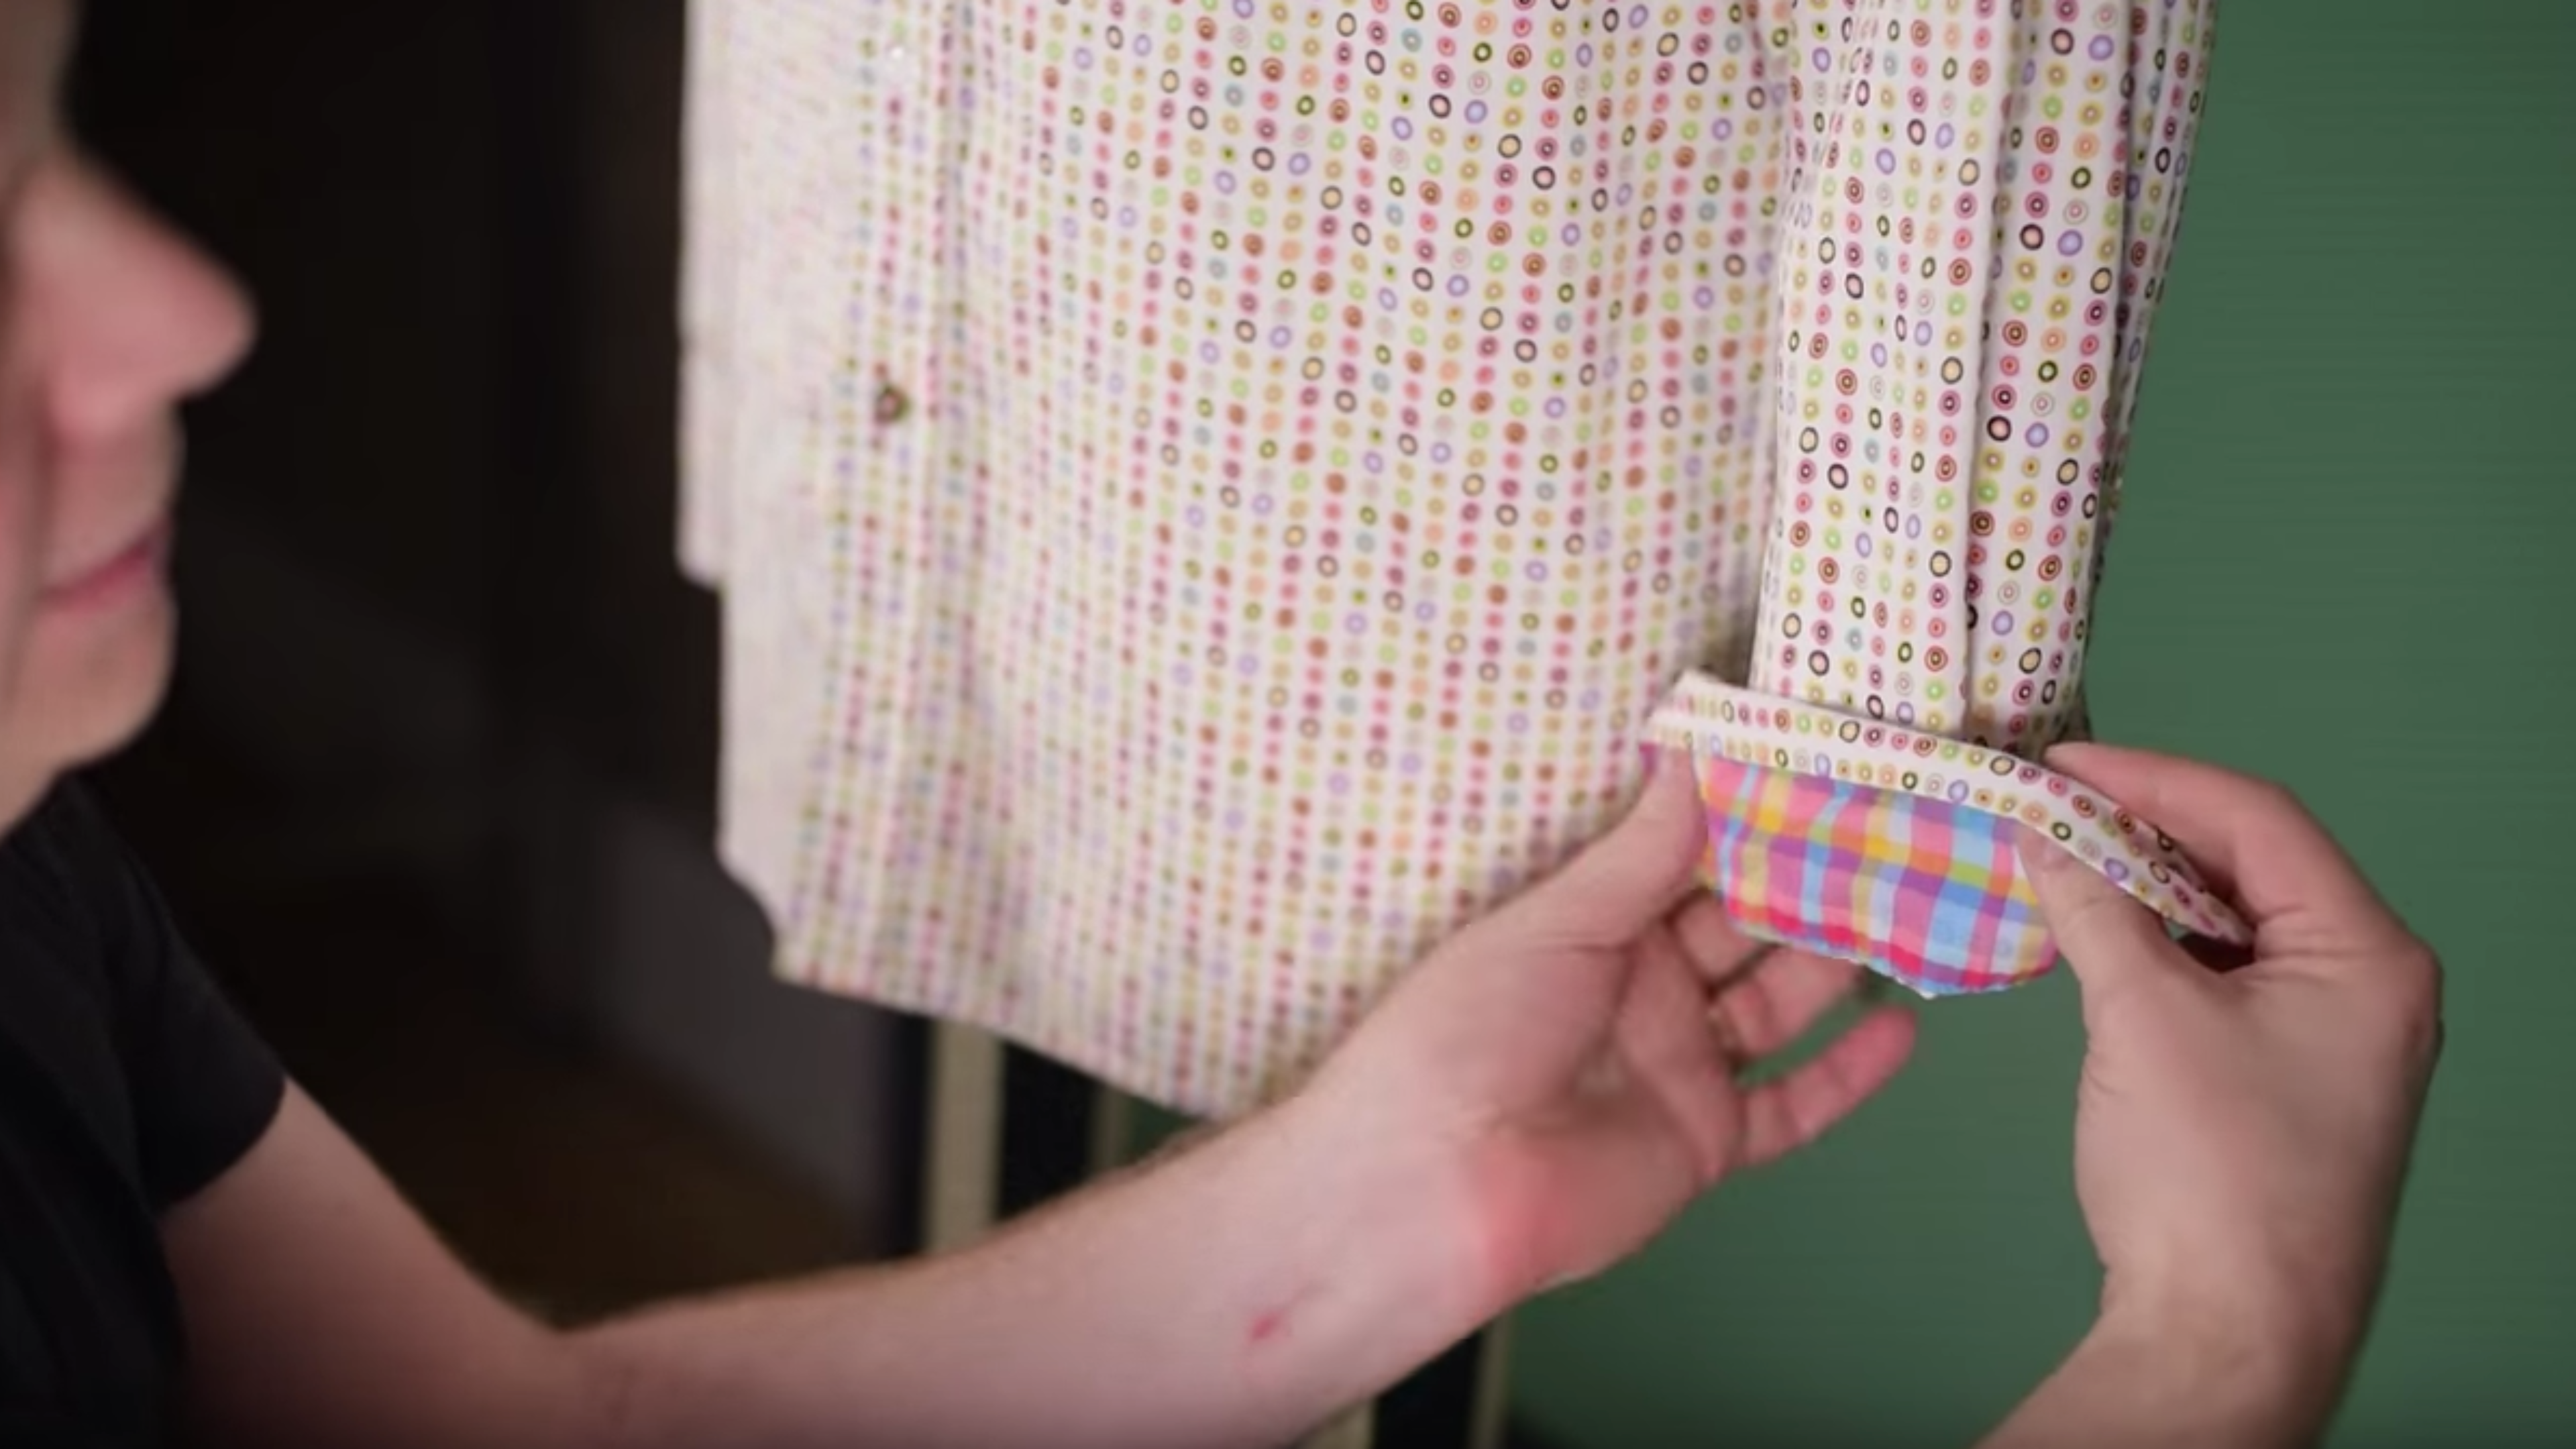
You can use pins to keep the very bottom of the shirt fastened. Make sure you slide the pins in behind the fabric so they do not appear in the final shot. The arms are an important area to create differentiation in your shirt’s style. You can choose to use tissue paper to create a more flared out cuff, or you can choose to have an open cuff displayed. In this example we are folding the arms of the shirt to give off a more casual vibe, and show the print of the inner fabric.
4. Styling the cut of your shirt
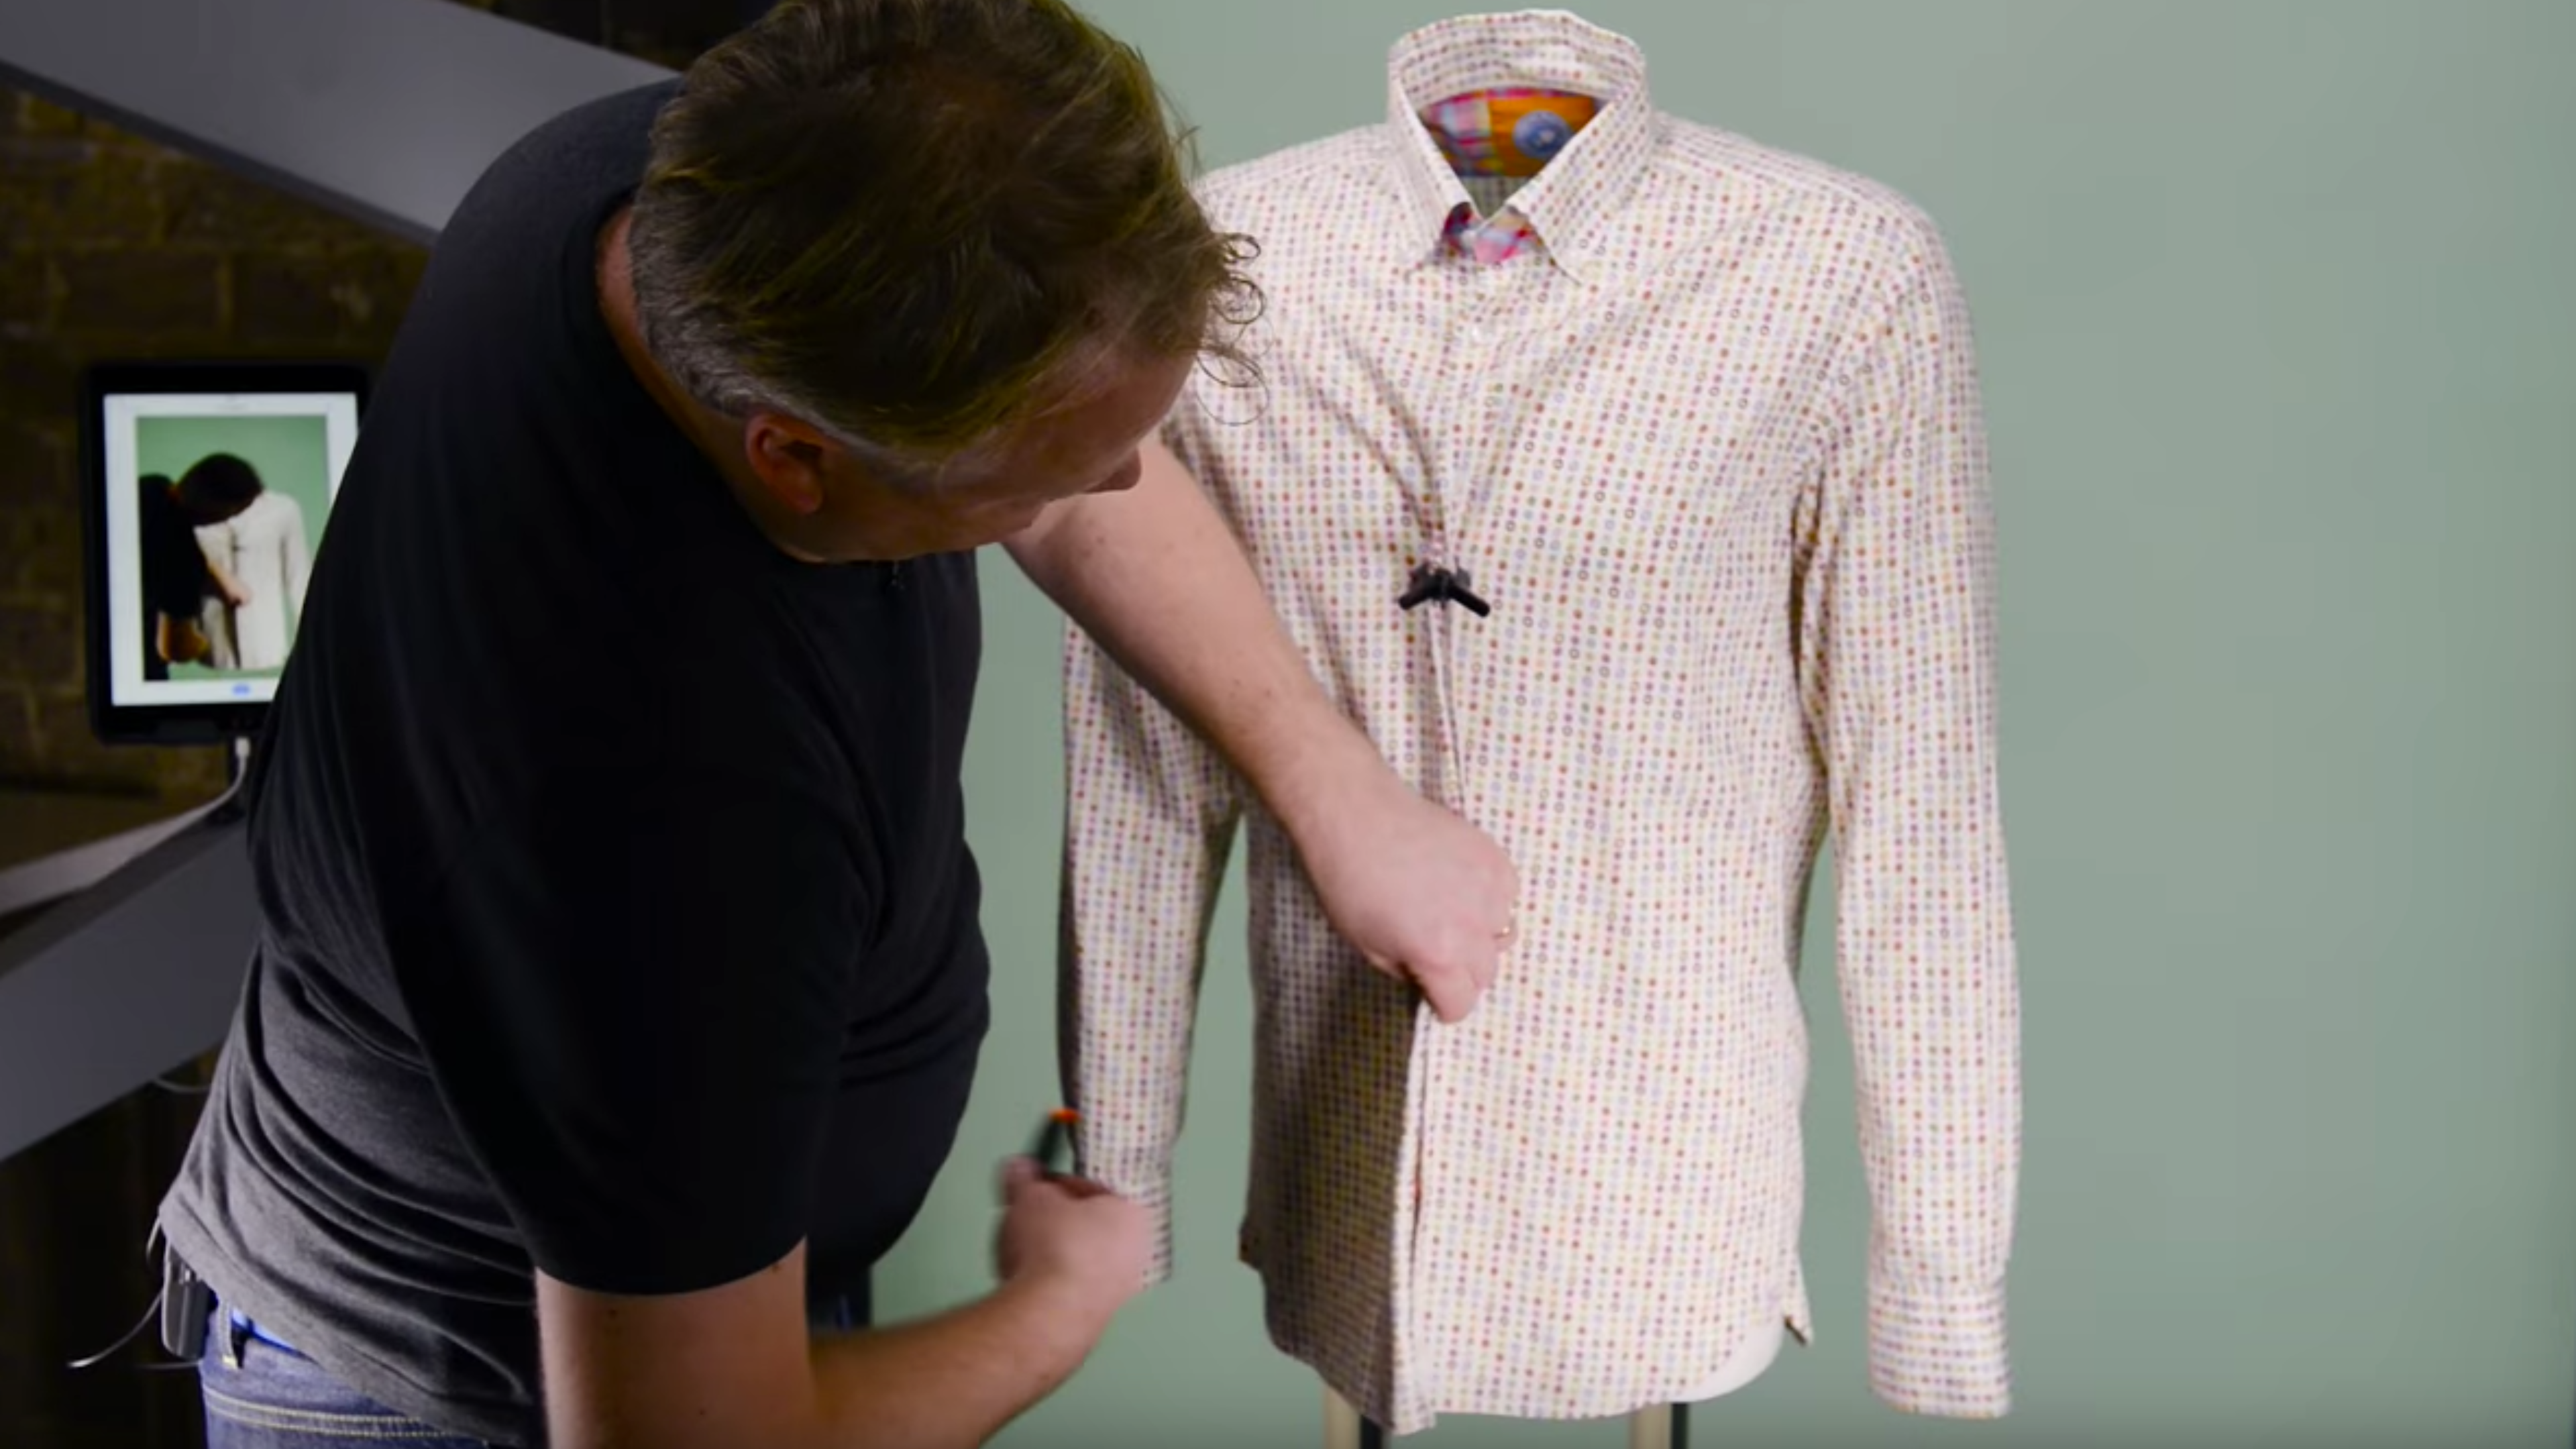
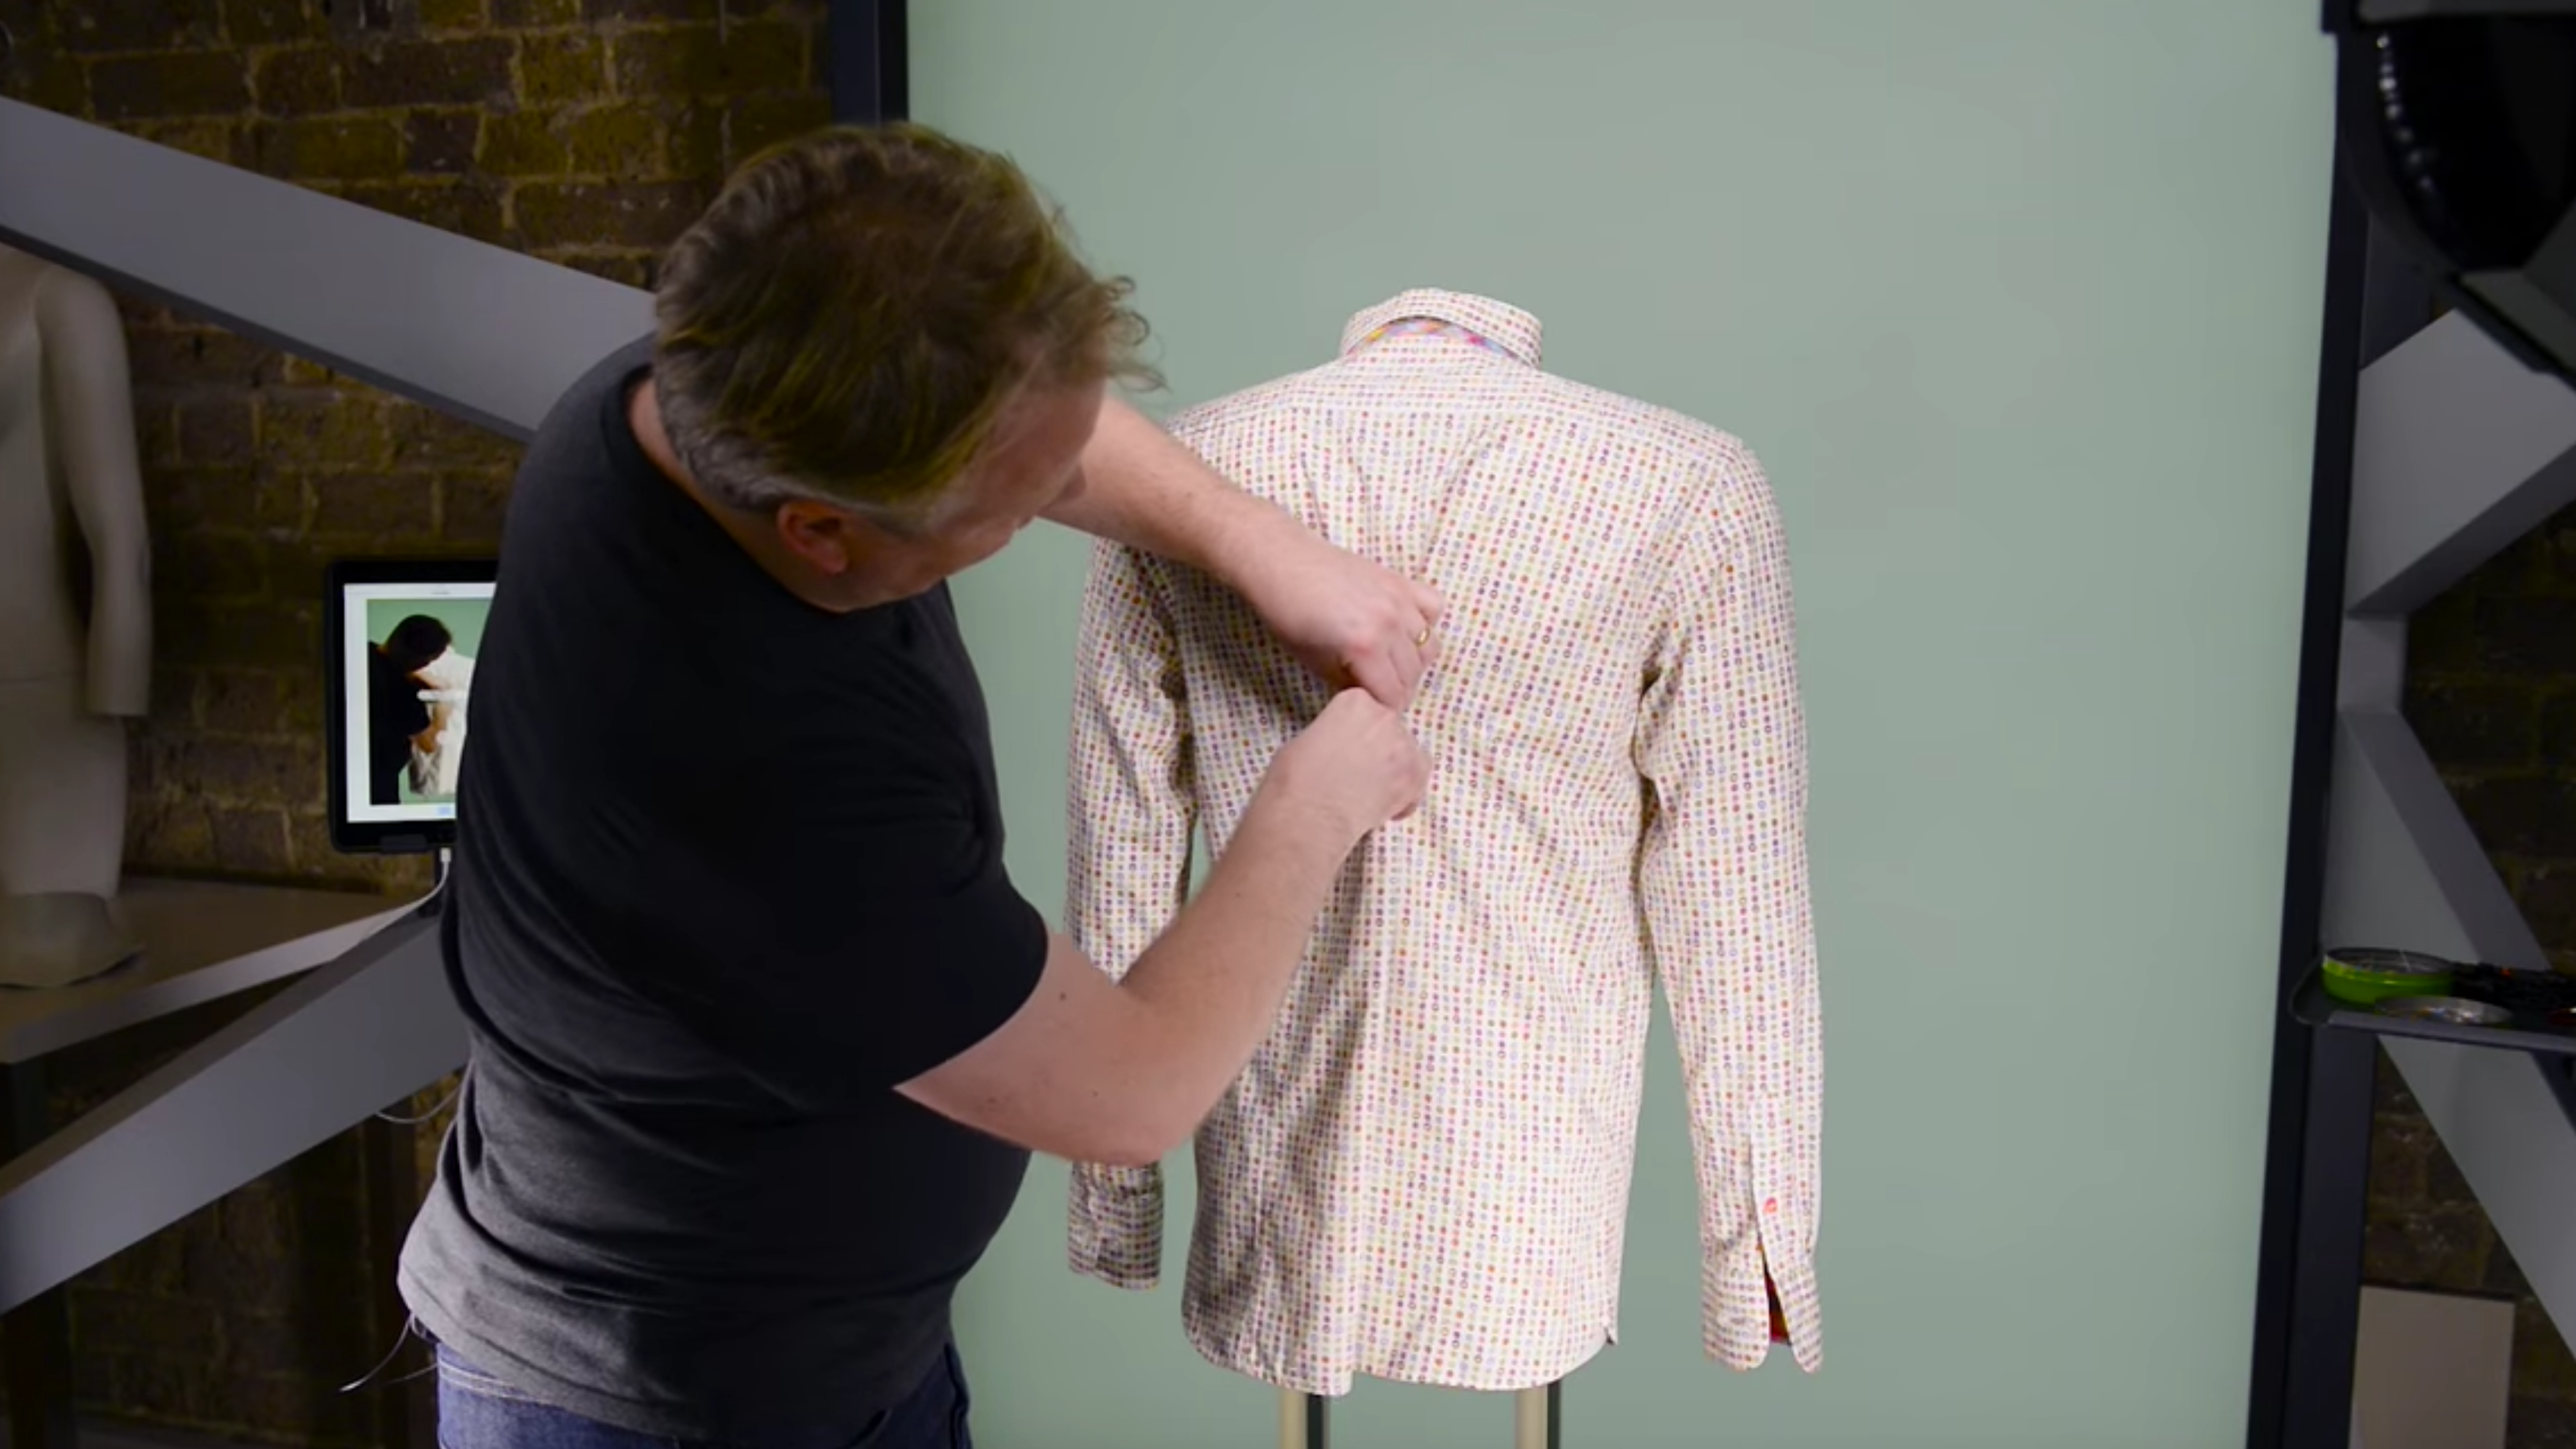
To give a more fitted look to your shirt, you can use clips to pull the back of the shirt’s fabric tighter around the mannequin. However, ensure that you always clip in a straight line down the middle of the shirt to avoid the shirt looking asymmetrical in shot.
To do so, just gently fold the excess fabric between your fingers and pull on it lightly before clipping it. However, be wary of pulling the material too tight. Look at the armpits and shoulder areas to pin and clip excess material where it makes sense for the cut of shirt you’re representing - whether it be slim, normal or tailored fit.
Once you’re happy with how the cut of your shirt is styled on the mannequin, give it a thorough examination to see any areas where the fabric bunches because of too much tension from the clips. Remember, the shirt must look relatively natural as if worn. It’s now ready to be shot.
5. Styling the back of the shirt
You will need images of the shirt from front and back to be displayed on your web store. Although, it would not look professional at all to have the clips showing! So simply, this step revolves around rotating the mannequin and instead repeating the previous steps on the buttoned face of the shirt.
Hopefully, there aren't too many creases caused by your previous clipping, otherwise your shirt may need to be steamed again. If you’re all set to go, clip down the centre of the shirt’s front side - making sure that you don’t pull on the fabric too tightly.