How to photograph a T-shirt flat lay
In this tutorial, we’ll show you how to style and photograph a T-shirt on a tabletop in two different styles.
Shooting a T-shirt flat lay is relatively quick and simple. In this product photography tutorial, we will show you two different methods - stuffed and un-stuffed - for styling and photographing a T-shirt for eCommerce, or your lookbooks and catalogues.
We’ve compiled a few useful techniques to give the tee a pro-quality look. For example, you may choose to style your by adding a bit of stuffing for depth and body. Or, to add a more informal look you can play with creases and texture.
To learn how to photograph and style a T-shirt, read on. But first, let’s run through the essential tools you’ll need:
Here’s the equipment you'll need
- Camera - Any camera will suffice but a Canon EOS 5D Mk III is recommended as a standard for professional product photography
- Studio lighting - Continuous cool LED lamps are recommended to ensure exposure, shadows and contrast are kept consistent
- Your T-shirt
- Tissue paper - Stuffing a t-shirt with tissue adds depth
Styling the T-shirt without stuffing
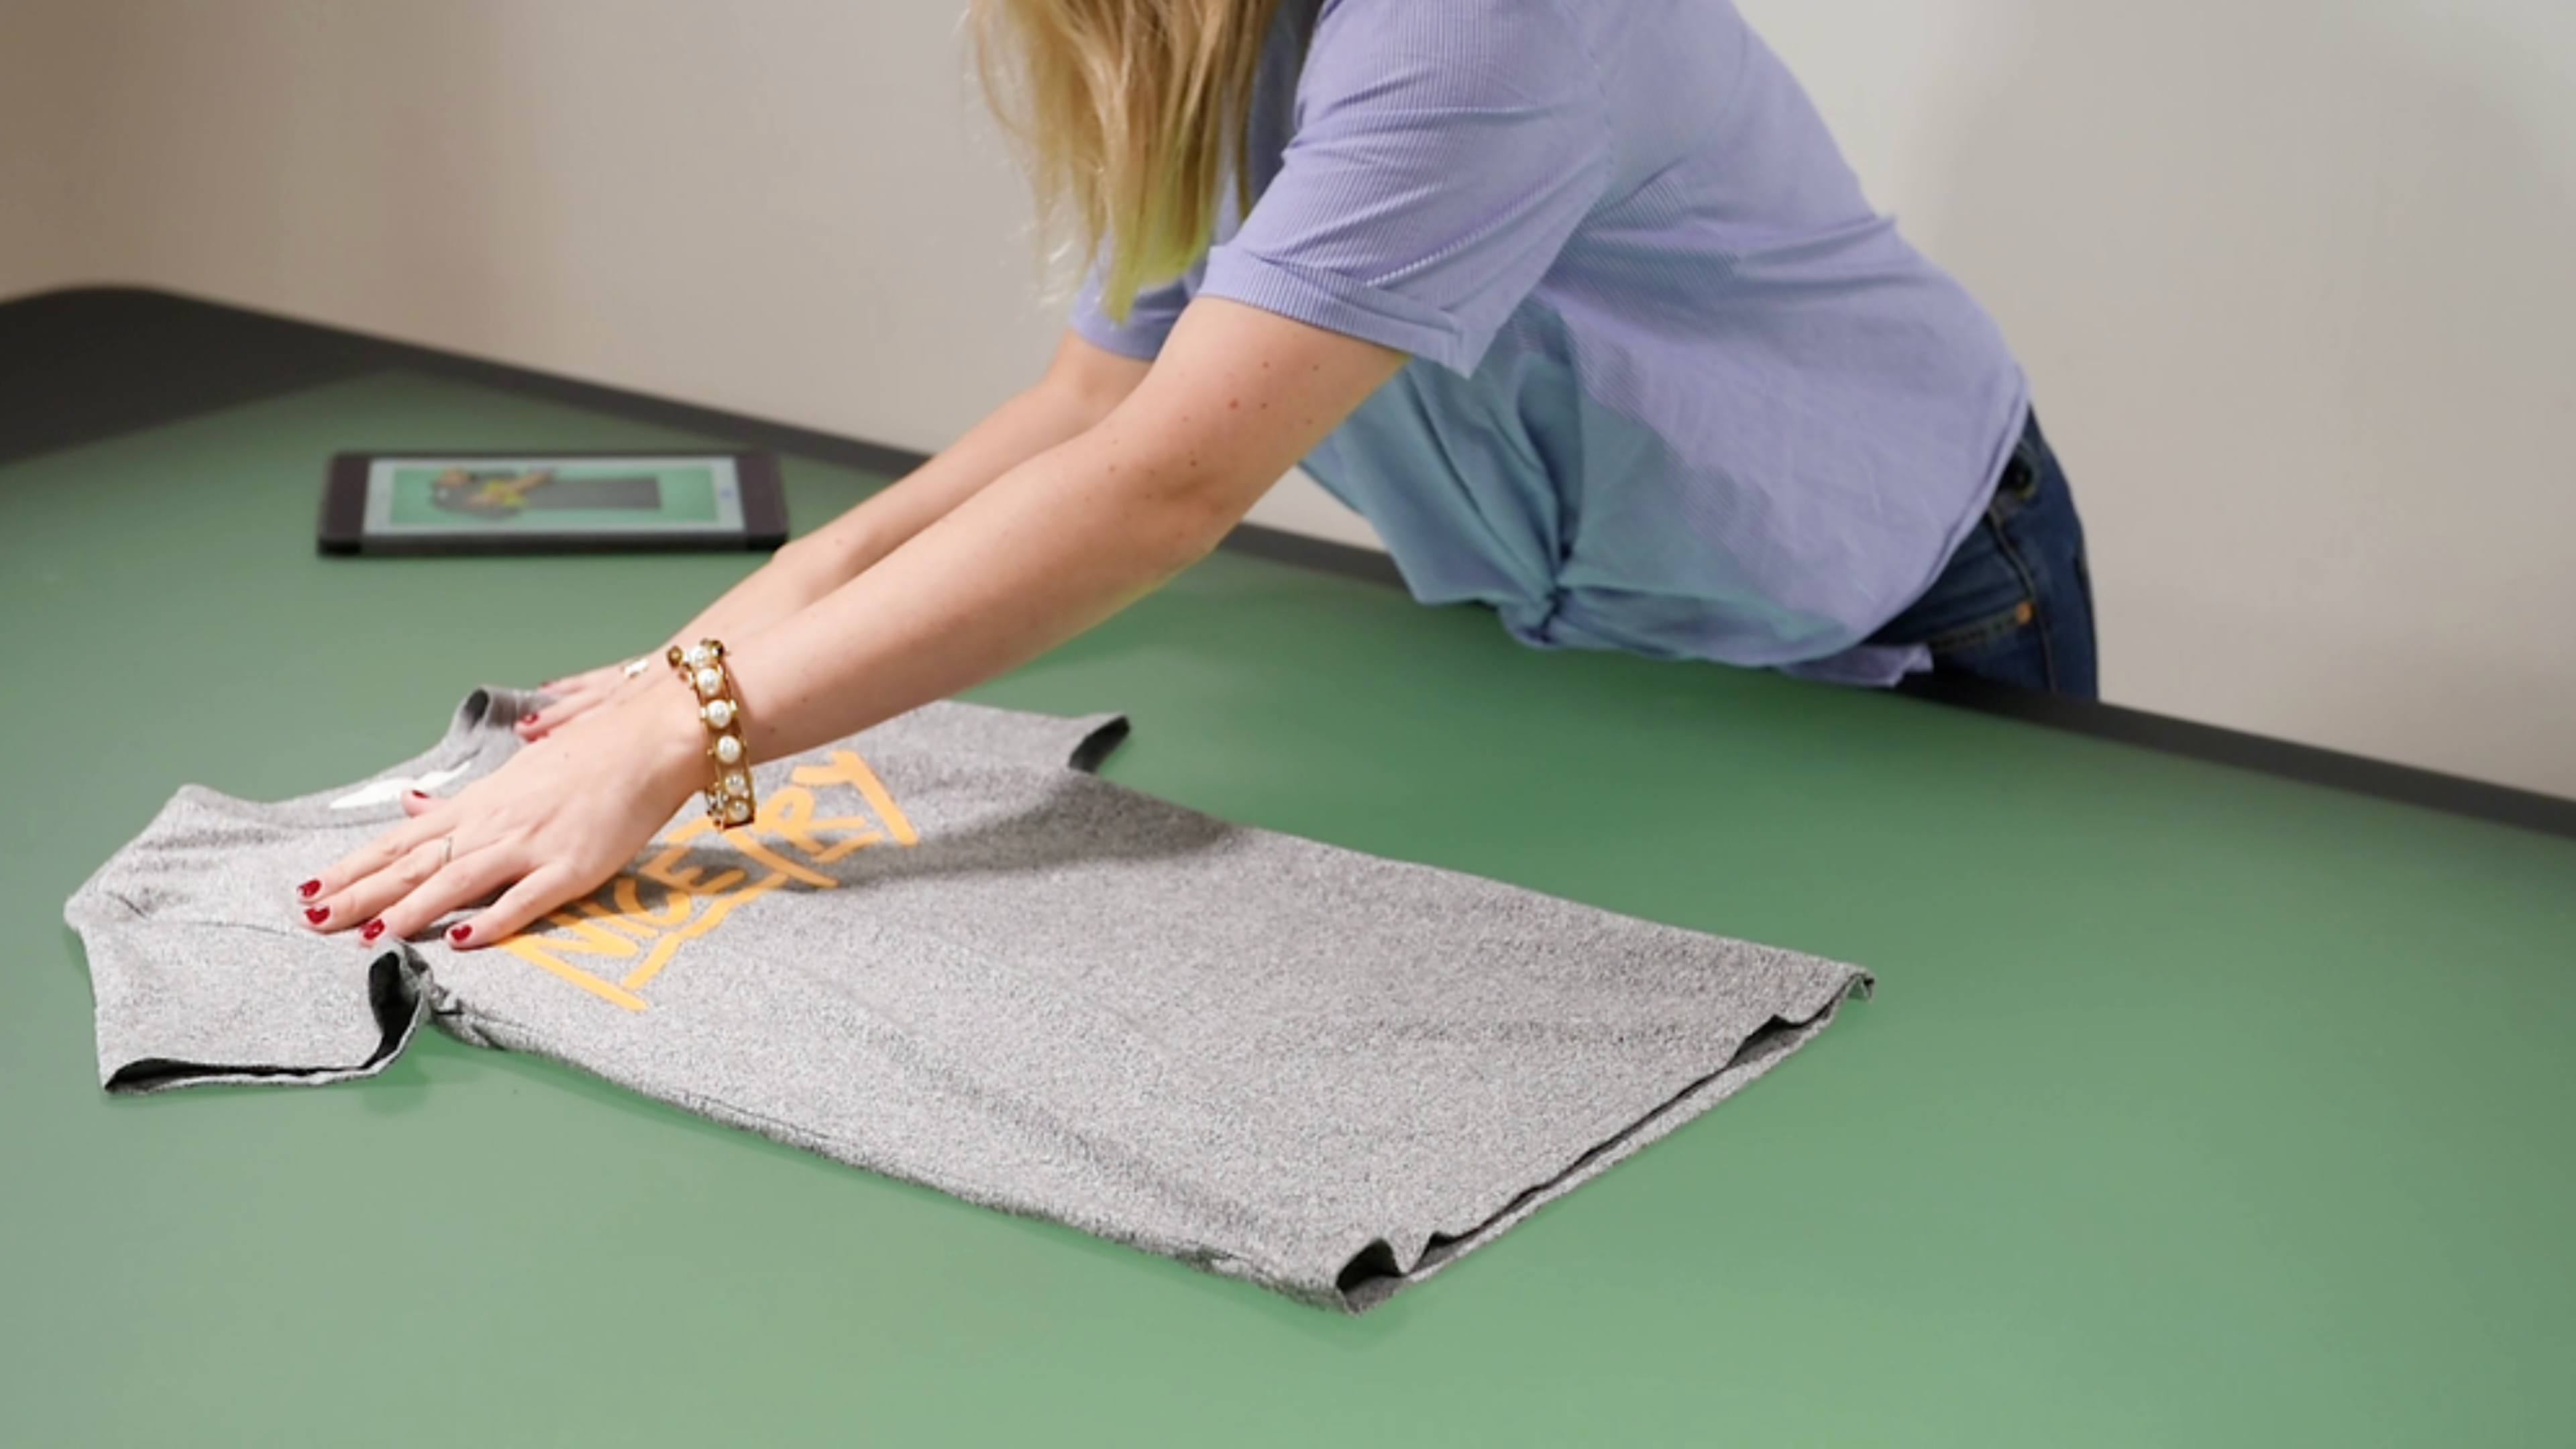
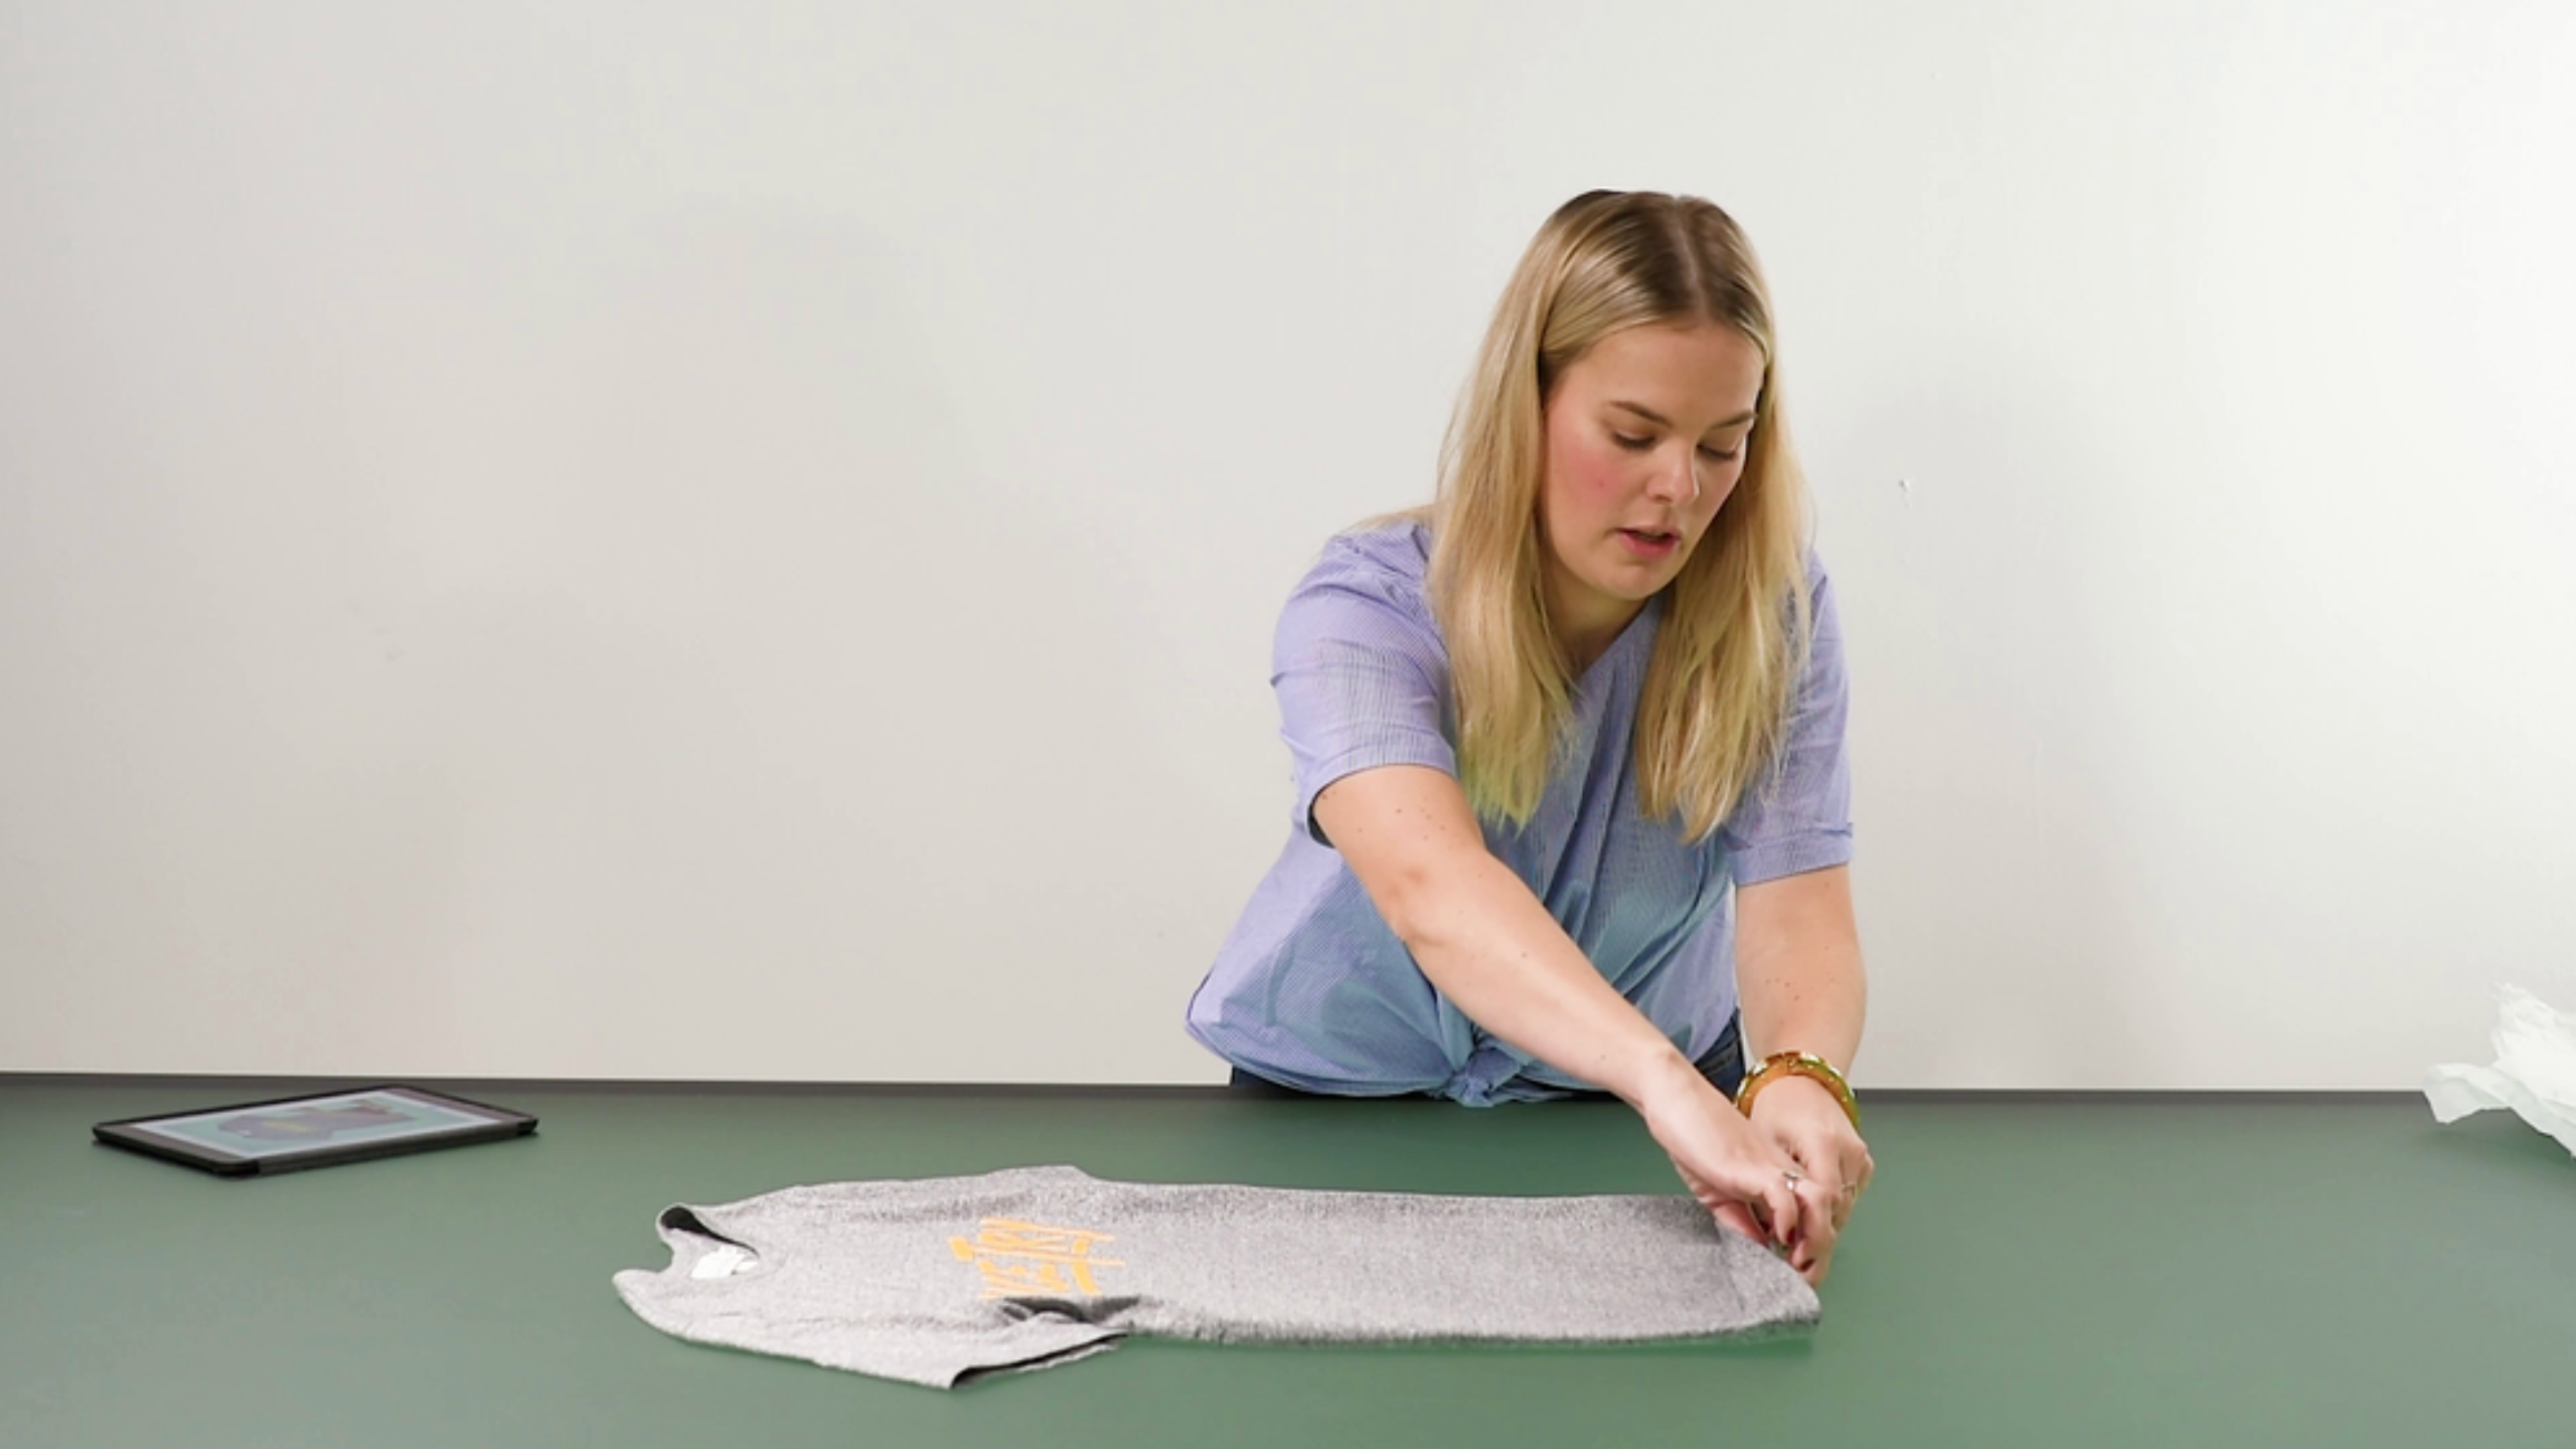
1. Lay the T-shirt on the tabletop
Spread the T-shirt out evenly in the center of your surface. The neckline and shoulders of the shirt should be level.
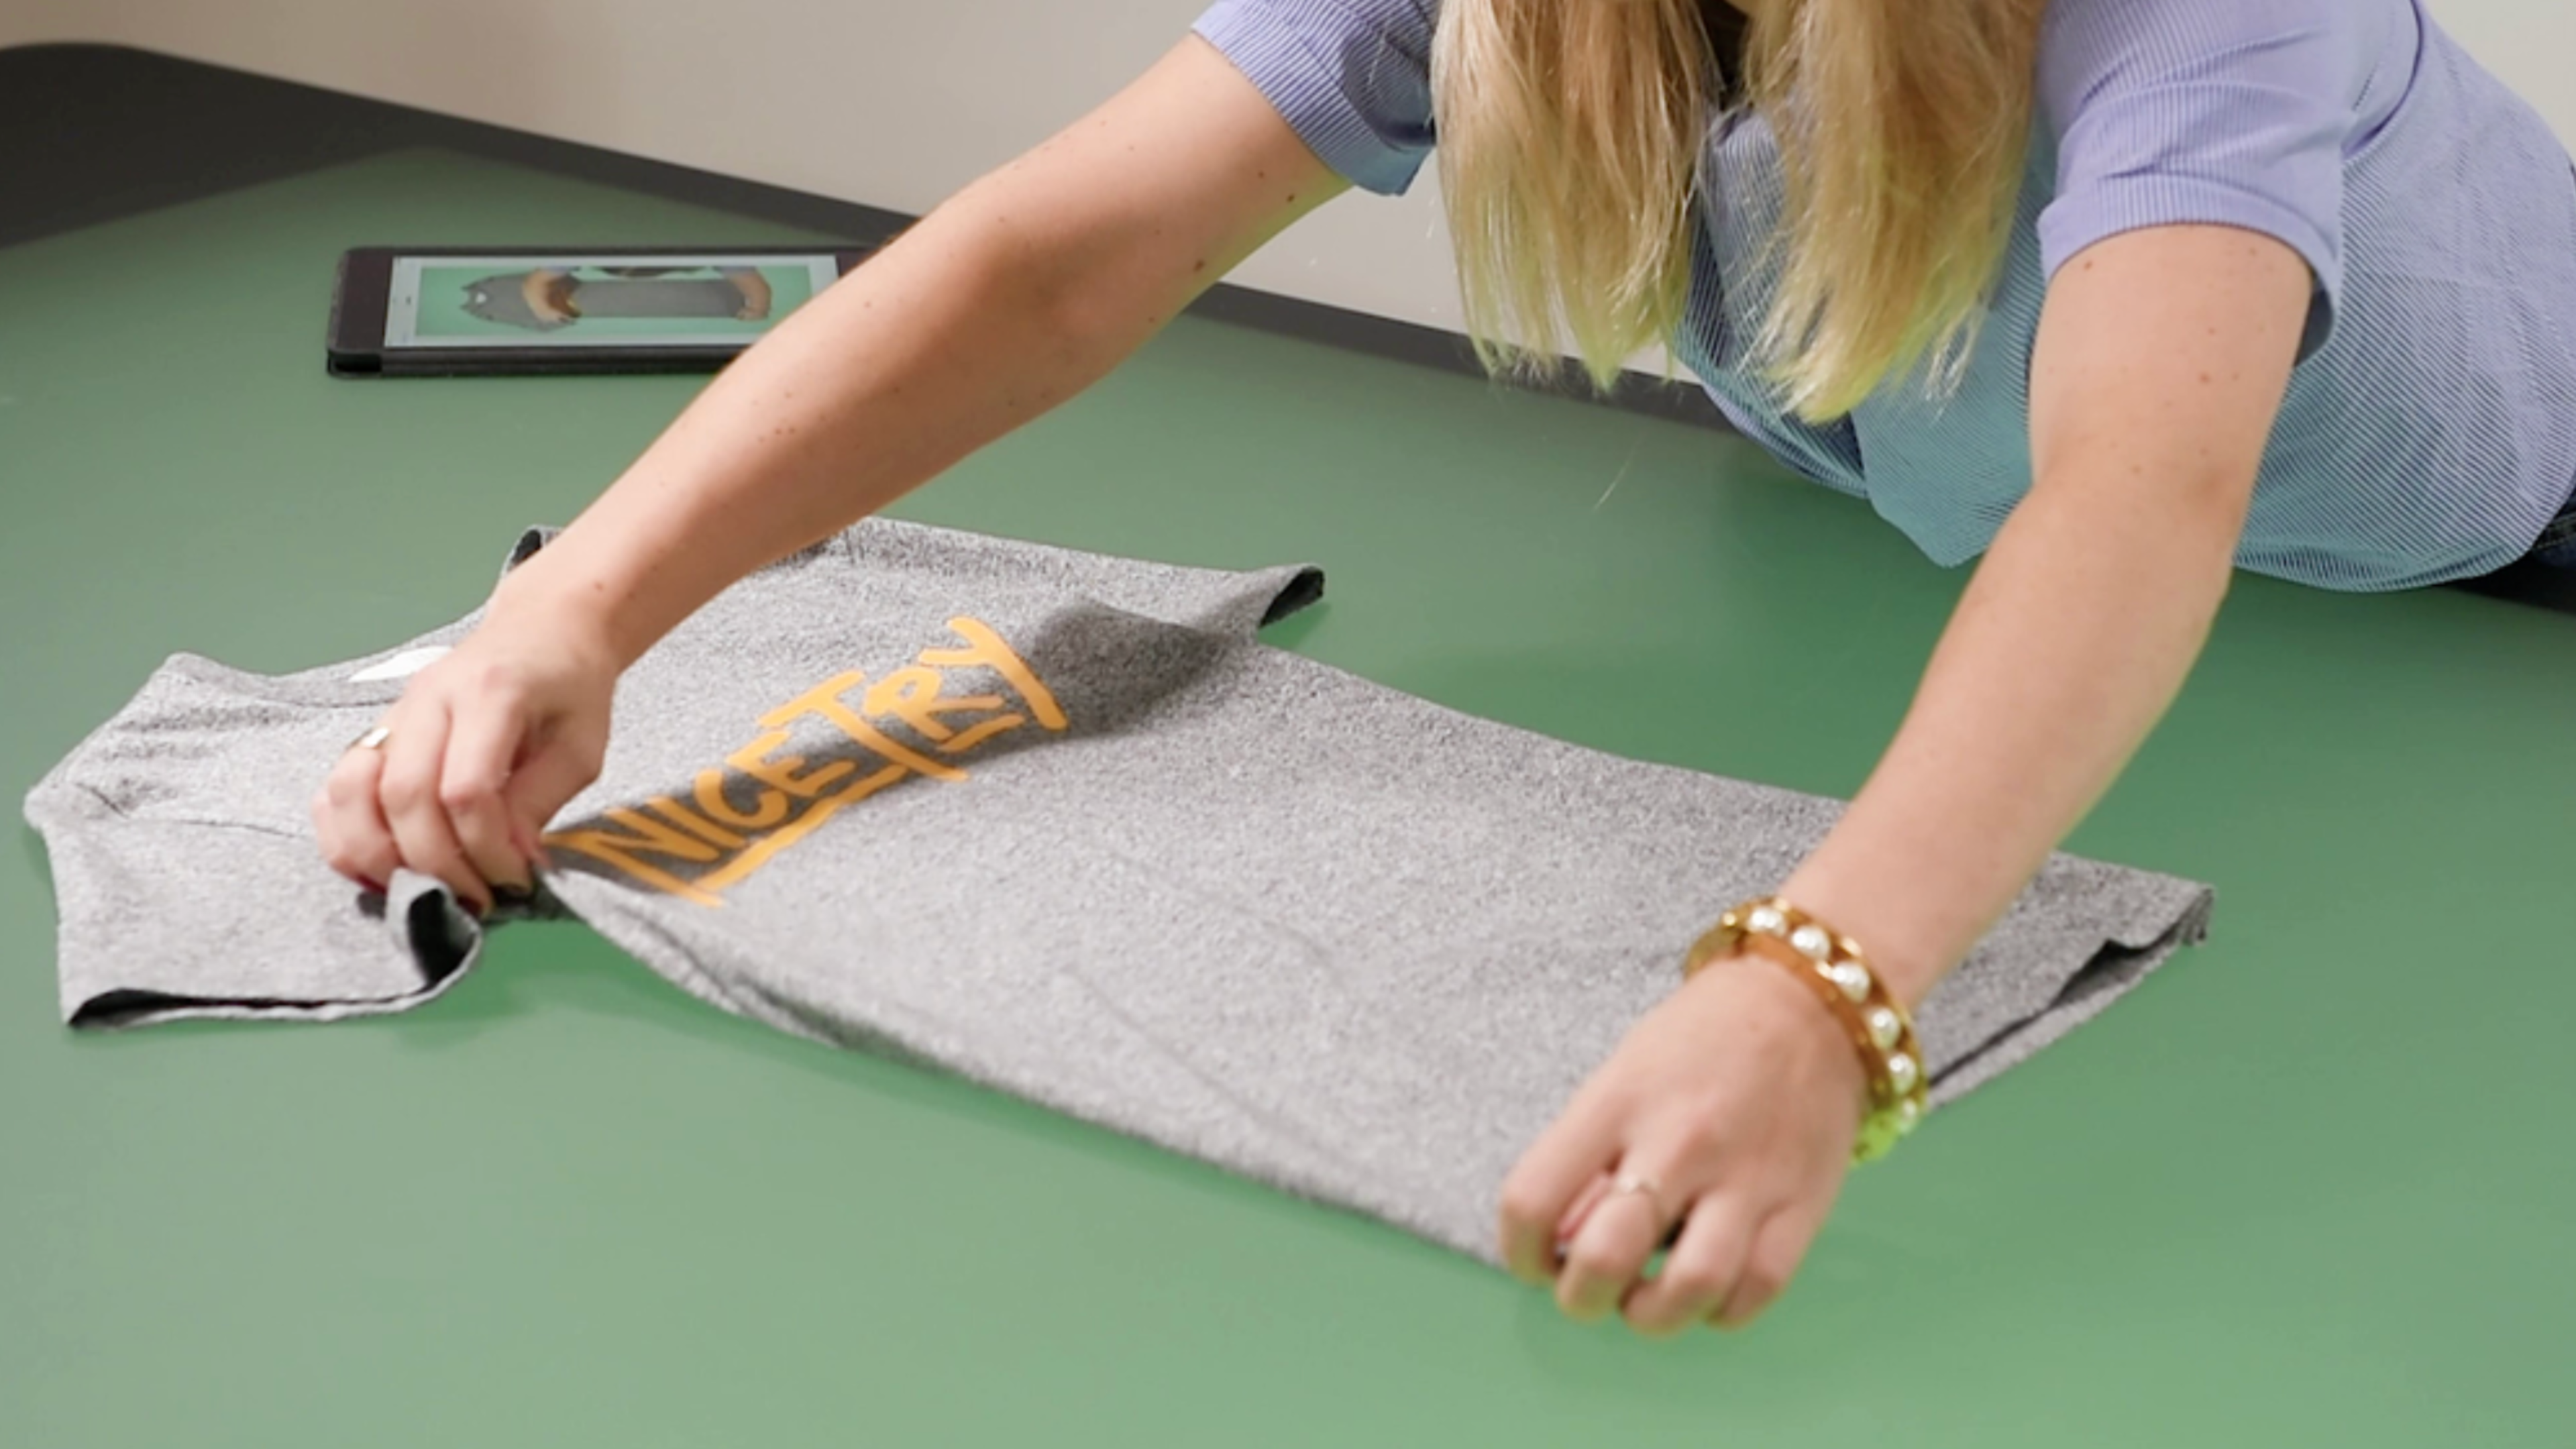
2. Tuck in the sides
Next, to give the shirt the most natural shape, make a small fold along each side seam and tuck it under.
Tip: For a women’s T-shirt, you may want to taper the shape in a little more.
3. Style the sleeves
Ever so slightly, slide the armpits of the sleeves in under the body of the T-shirt.
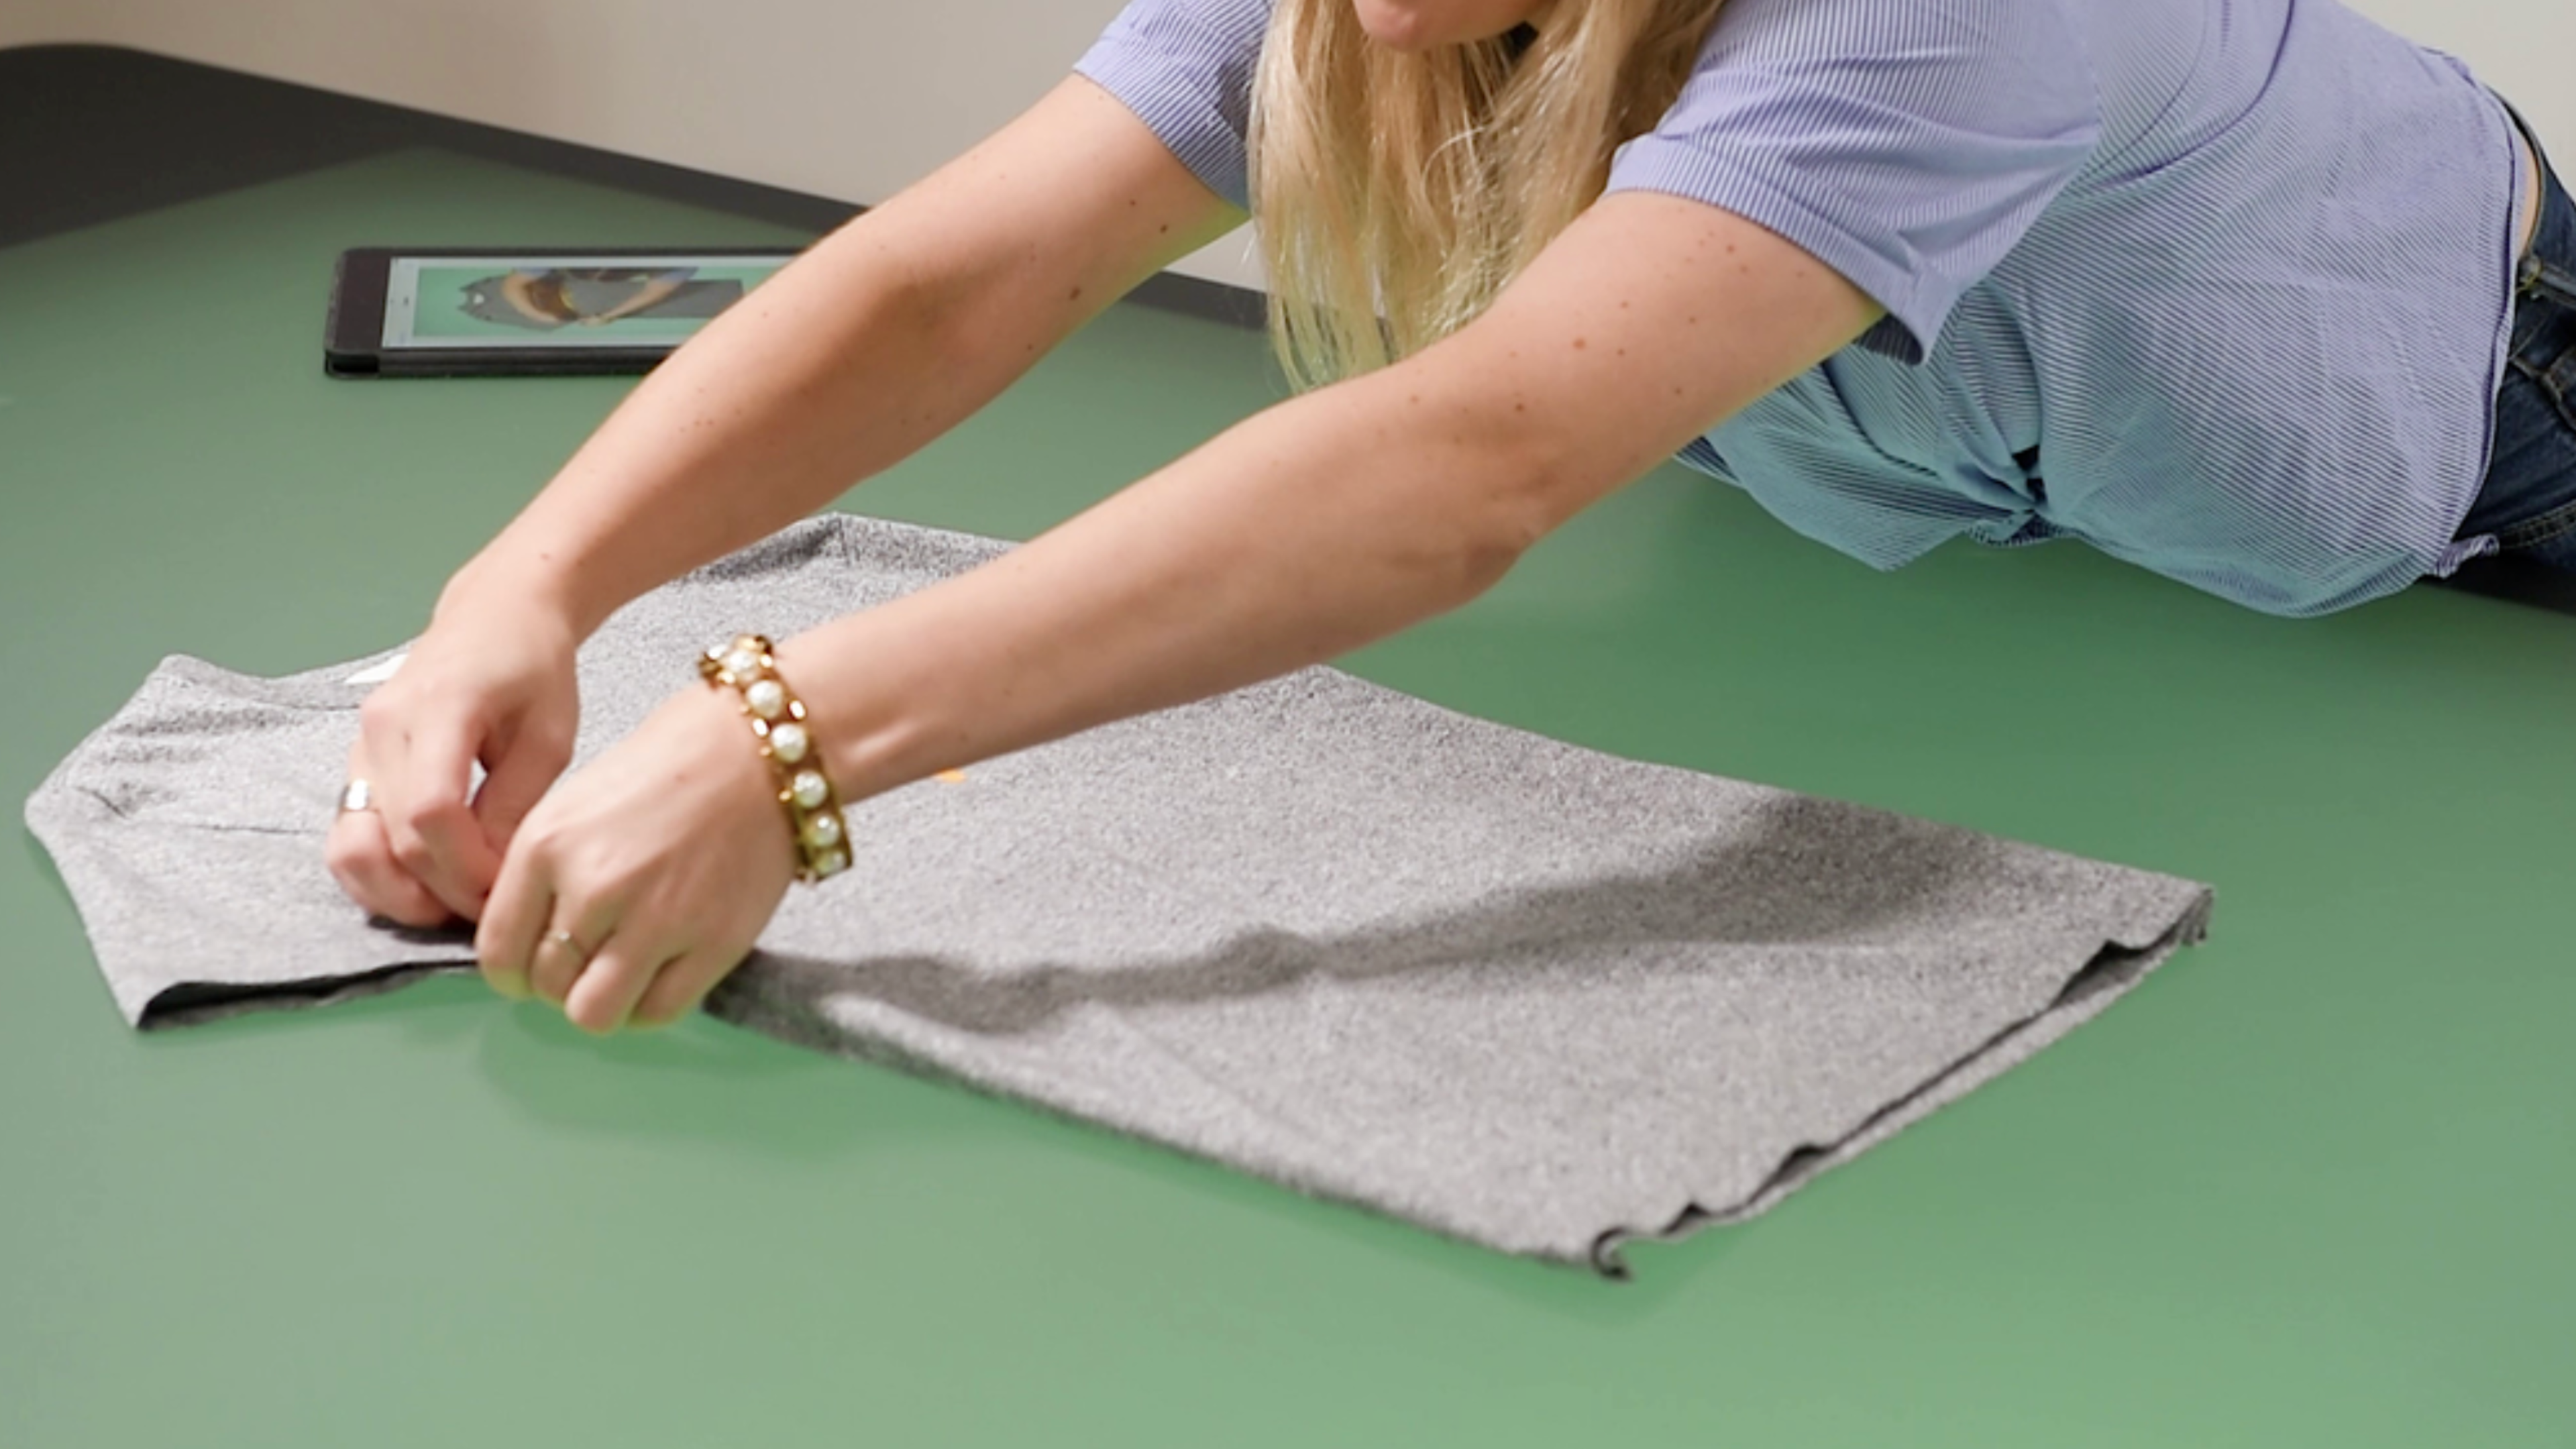
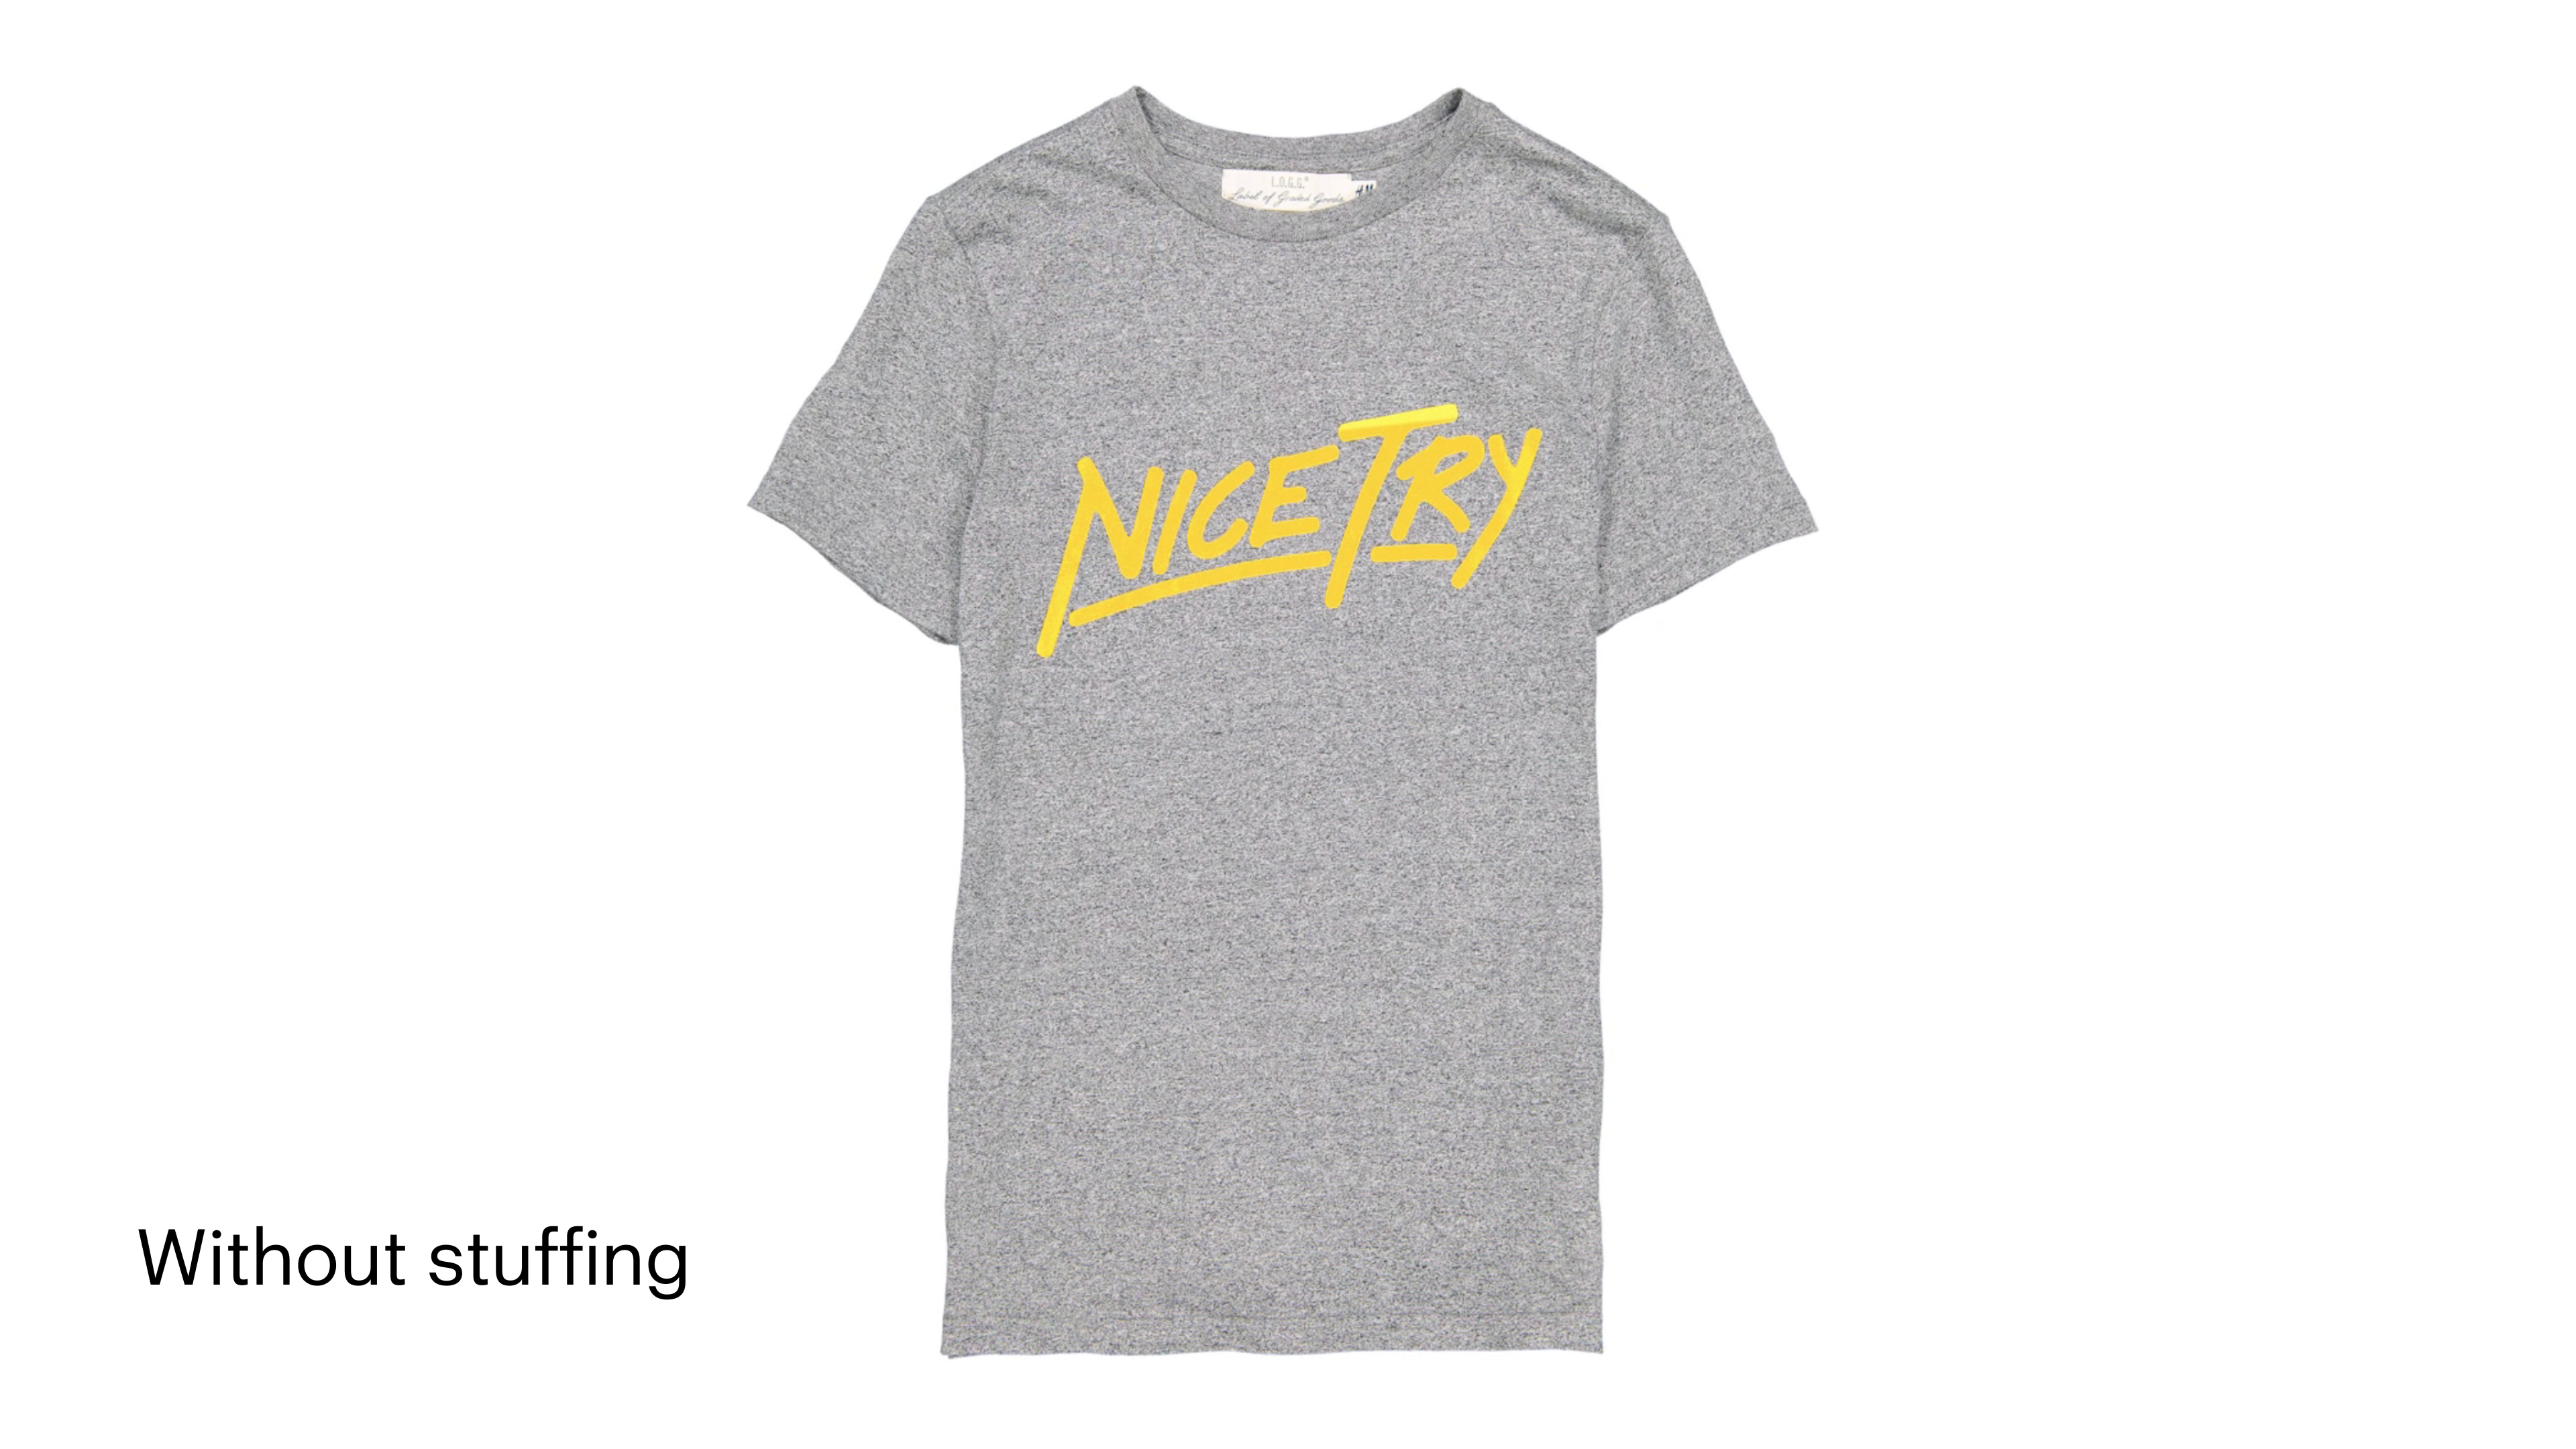
4. Conceal the rear hem
For a neater finish, tuck the rear hem of the T-shirt underneath so that only the front hem is showing.
And shoot...
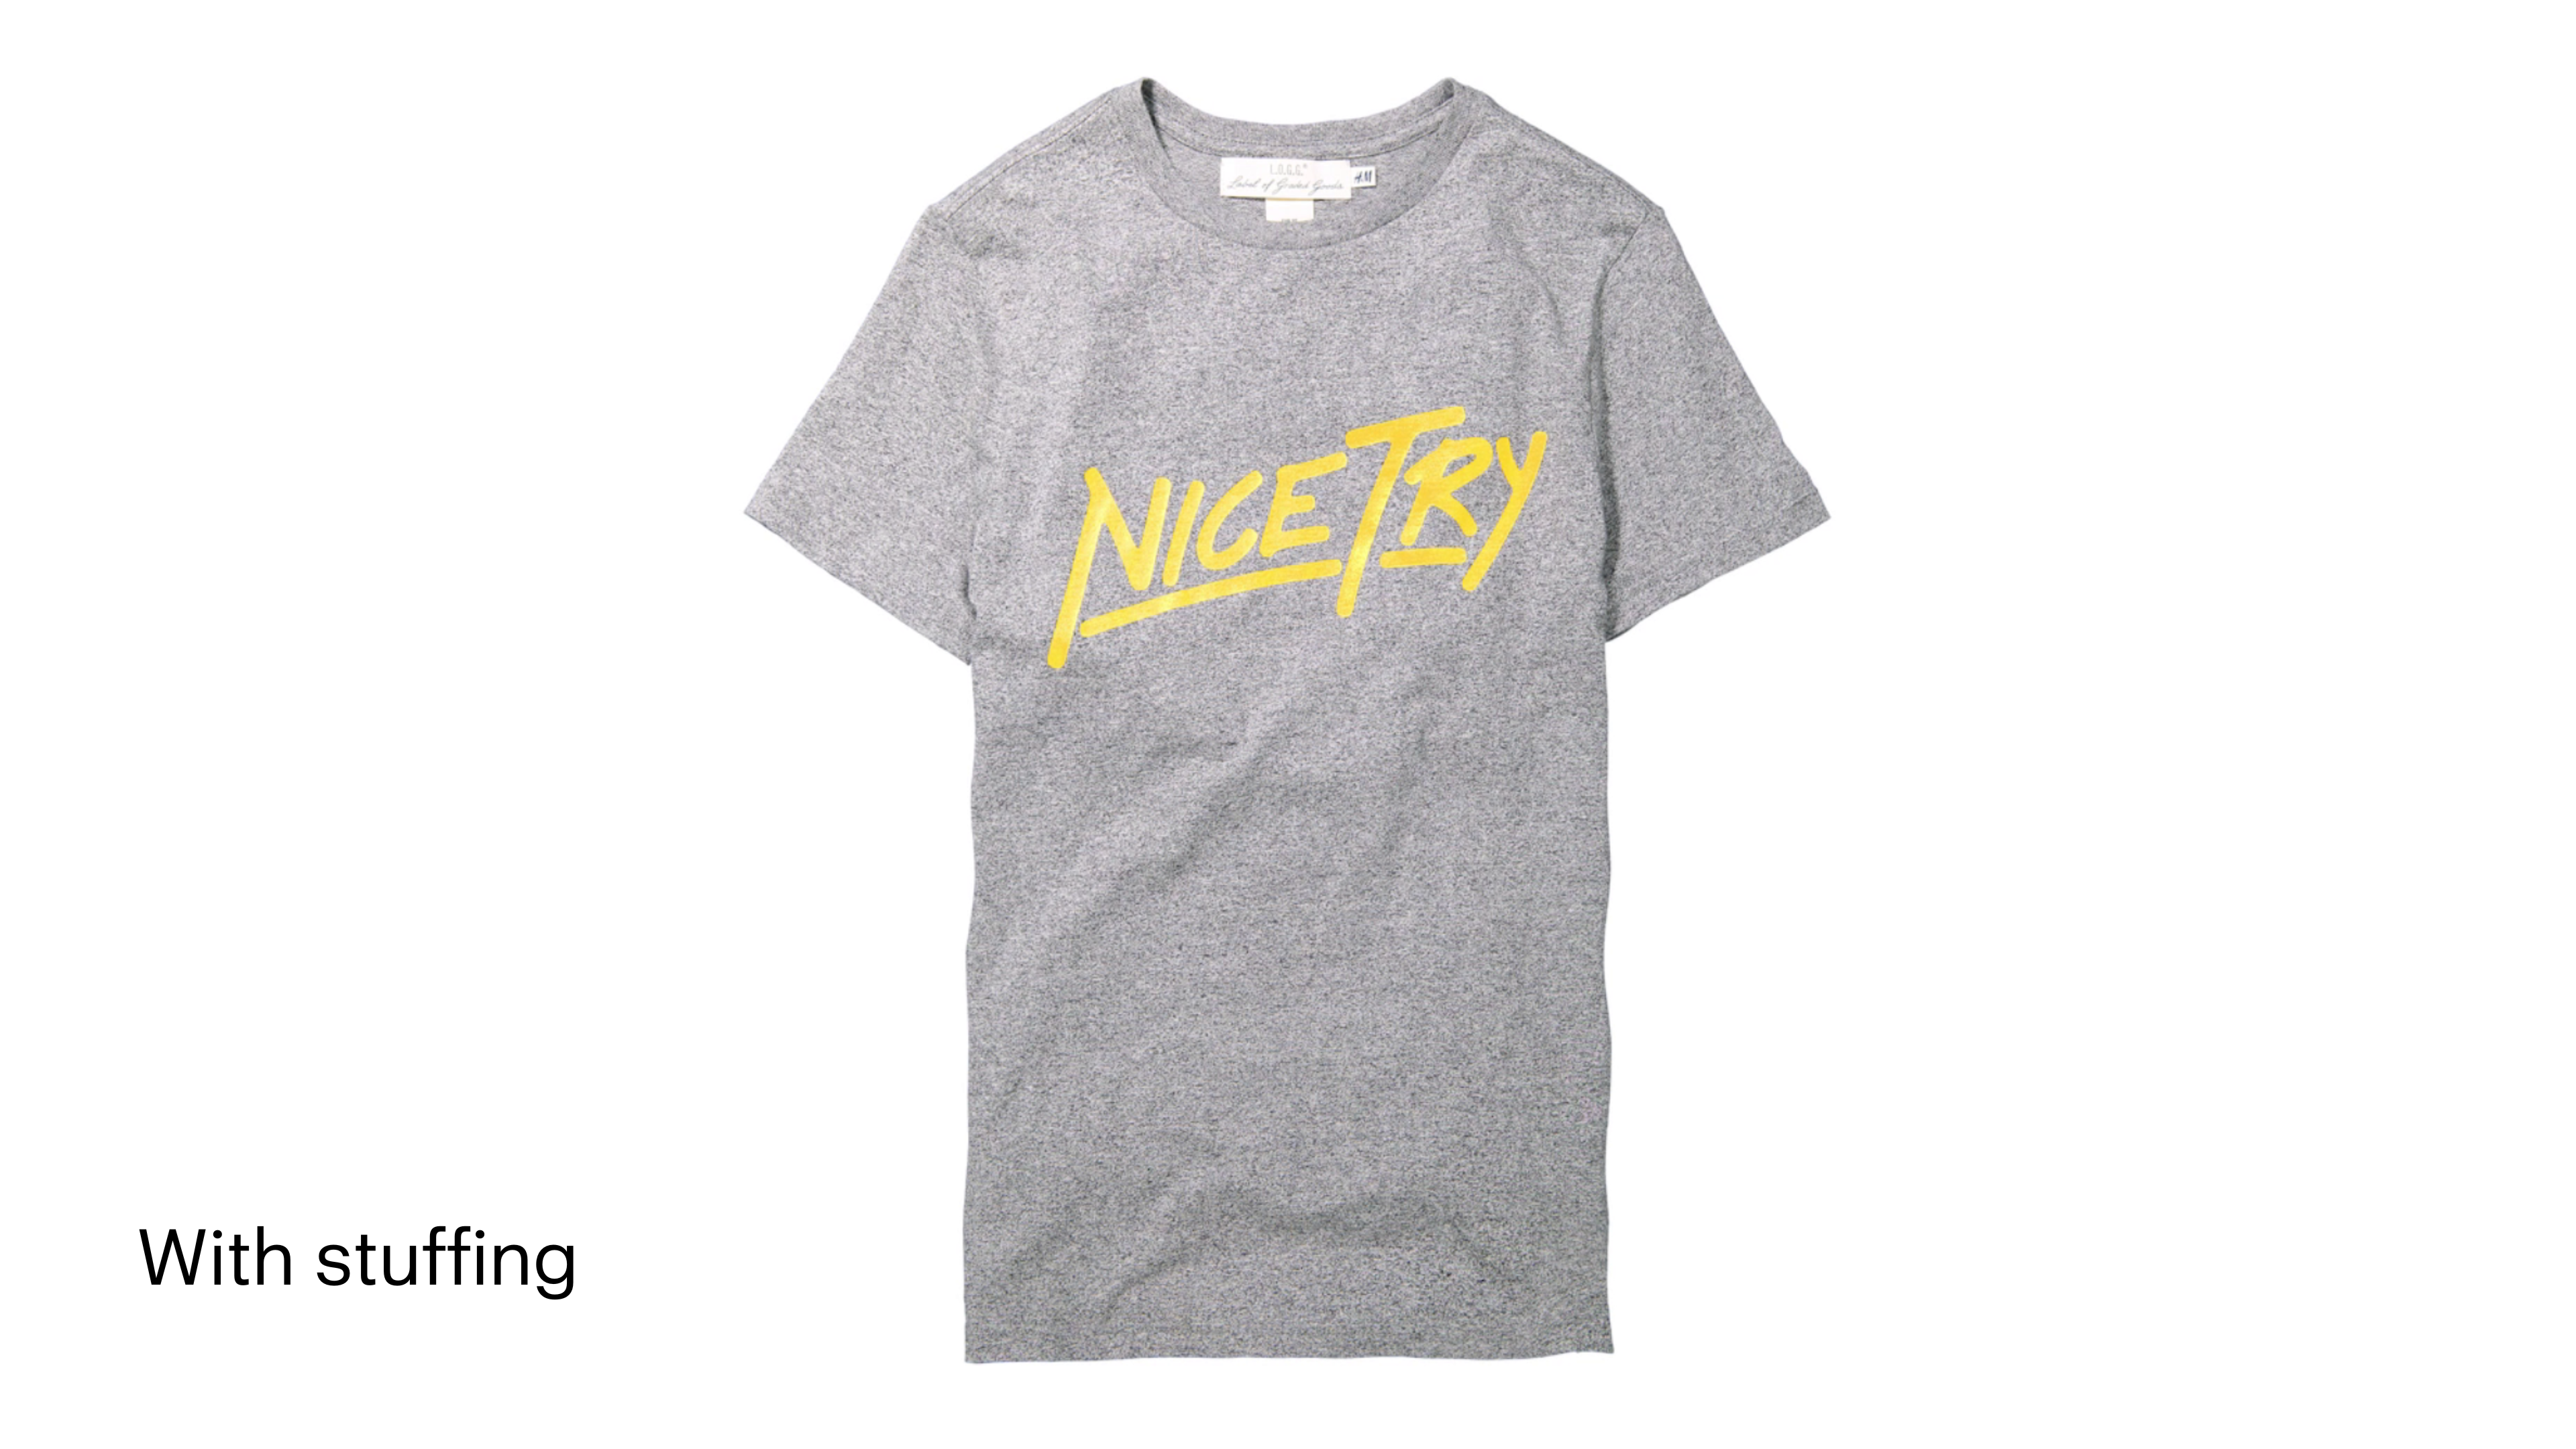
Styling the t-shirt with stuffing
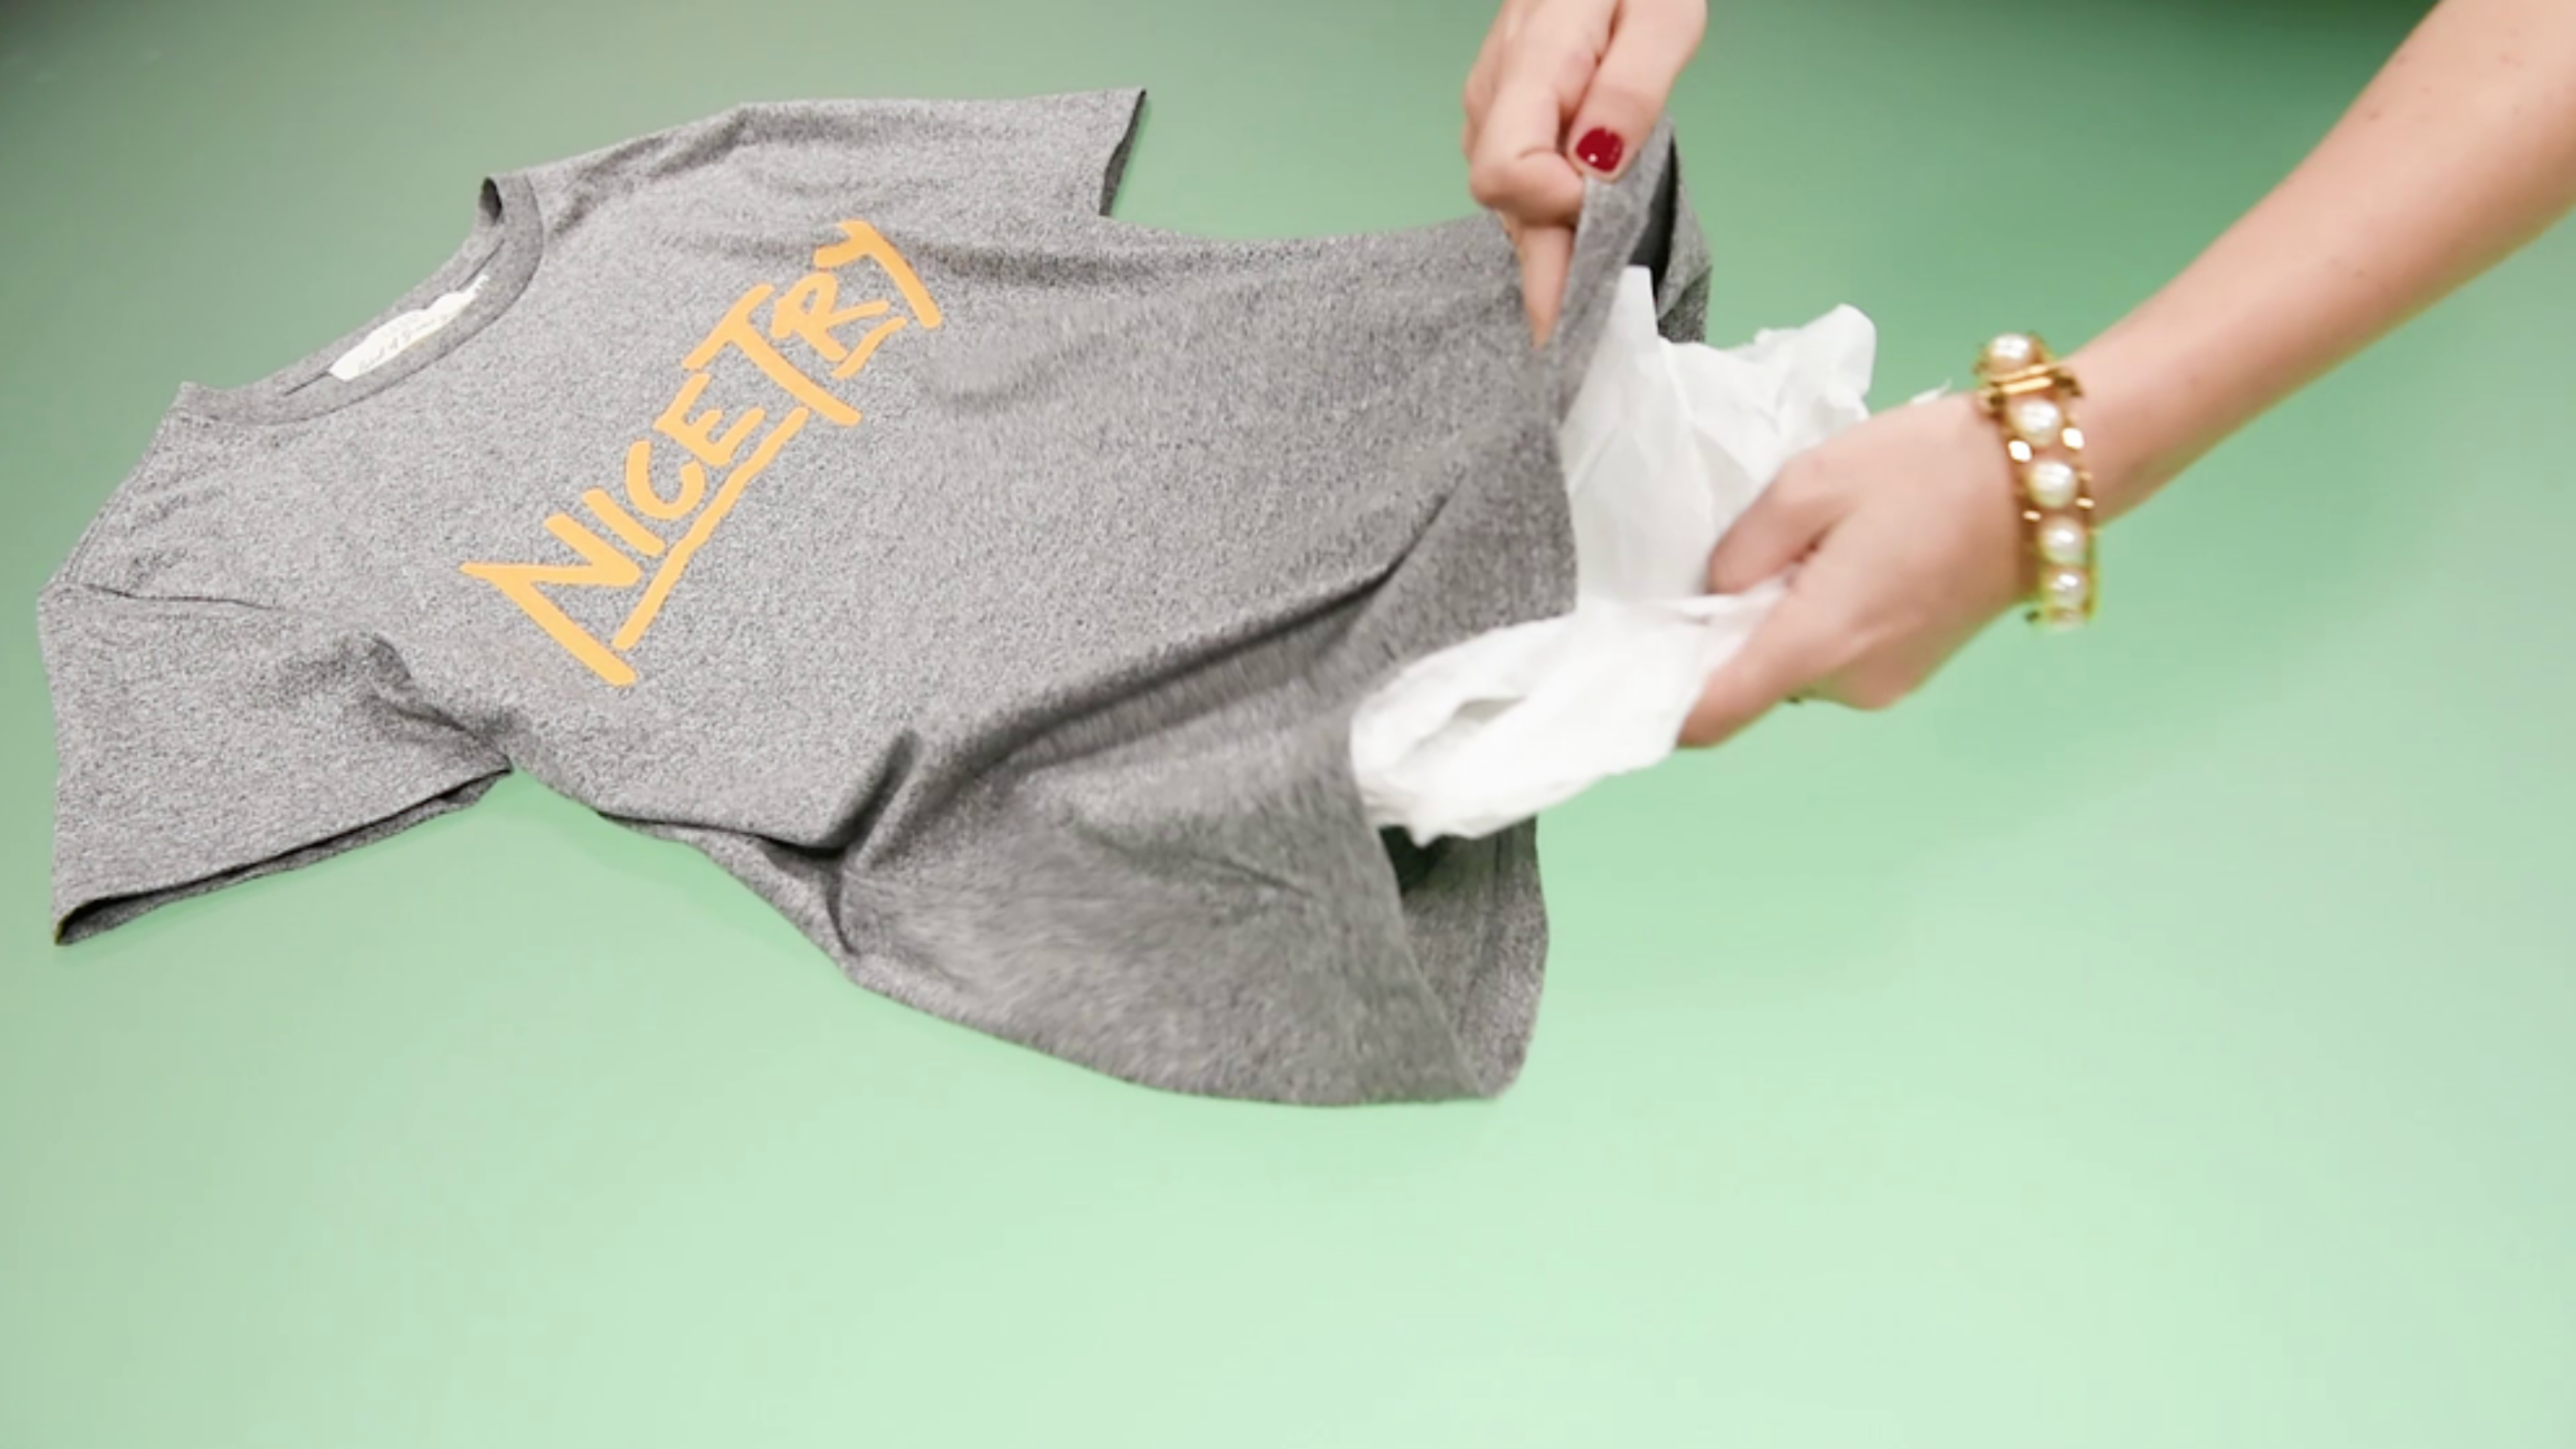
1. Add tissue paper to the shirt
If you would like to add a bit more volume to the shirt, place a
few sheets of tissue paper in the body. This will raise it slightly and give it some depth.
2. Style the t-shirt
Once you have added the tissue paper, go ahead and style the shirt as above. Make sure everything is even and symmetrical, tuck in the side seams, adjust sleeves and conceal the rear hem.
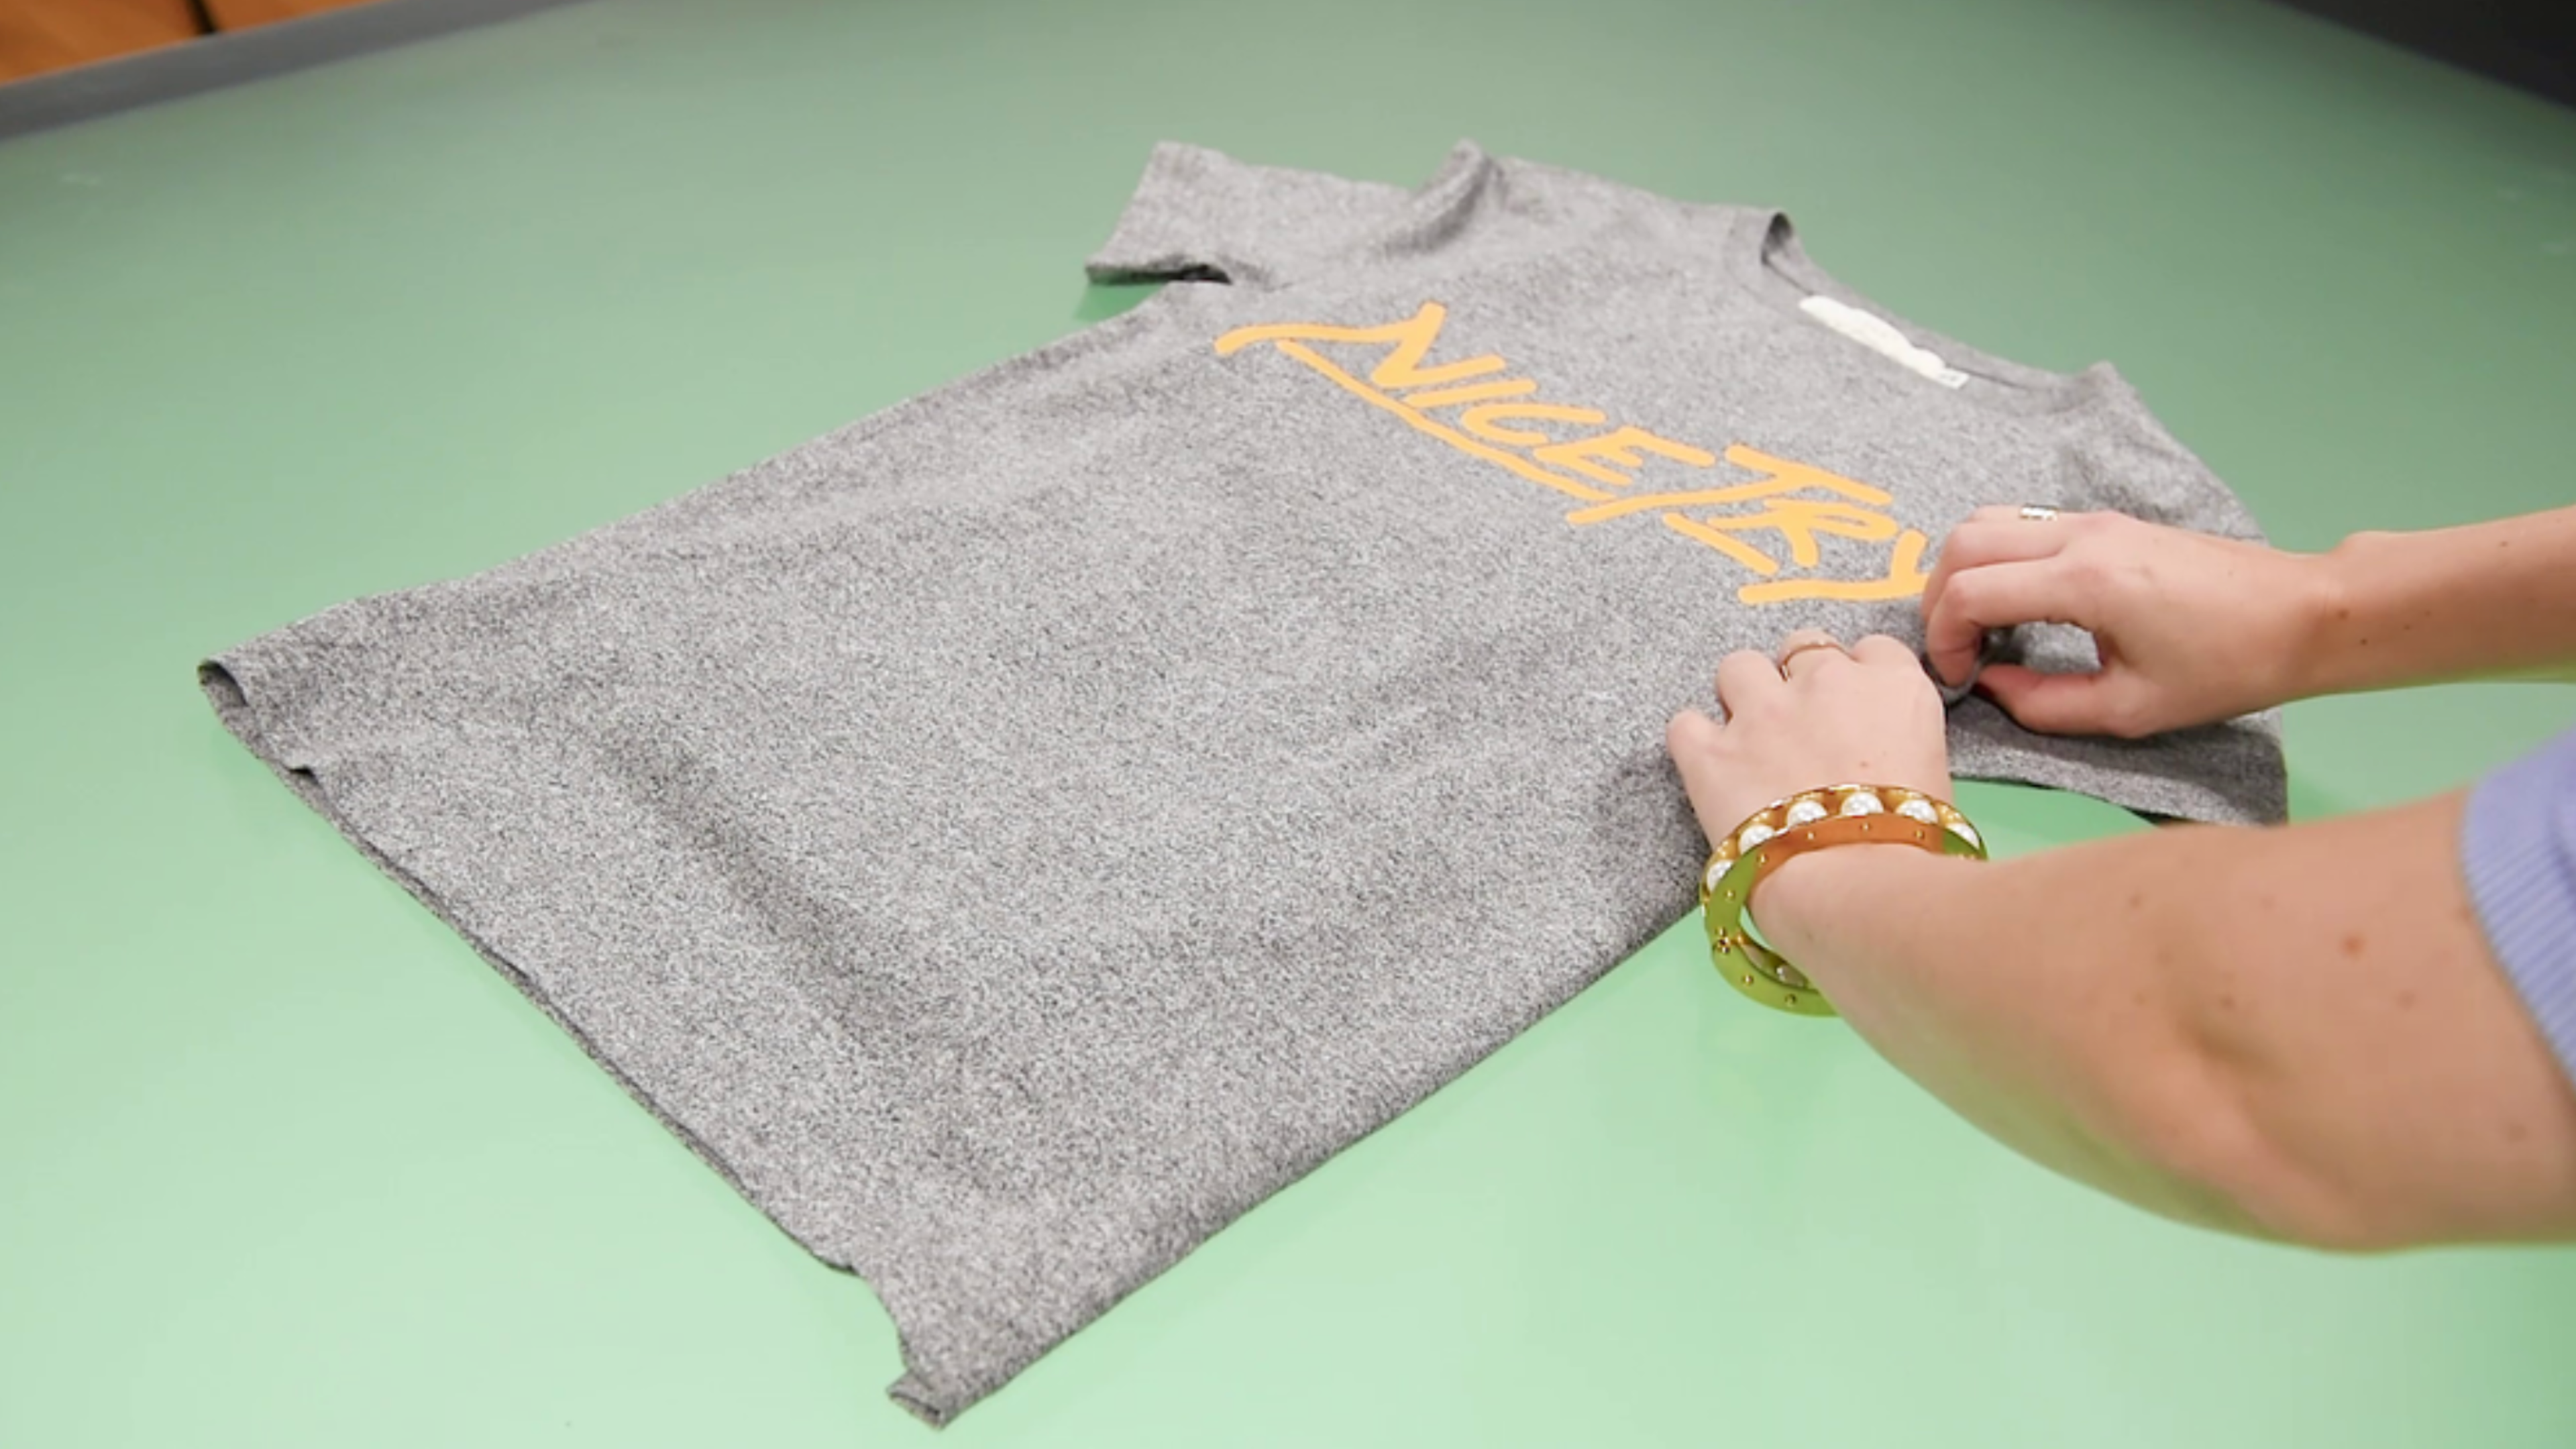
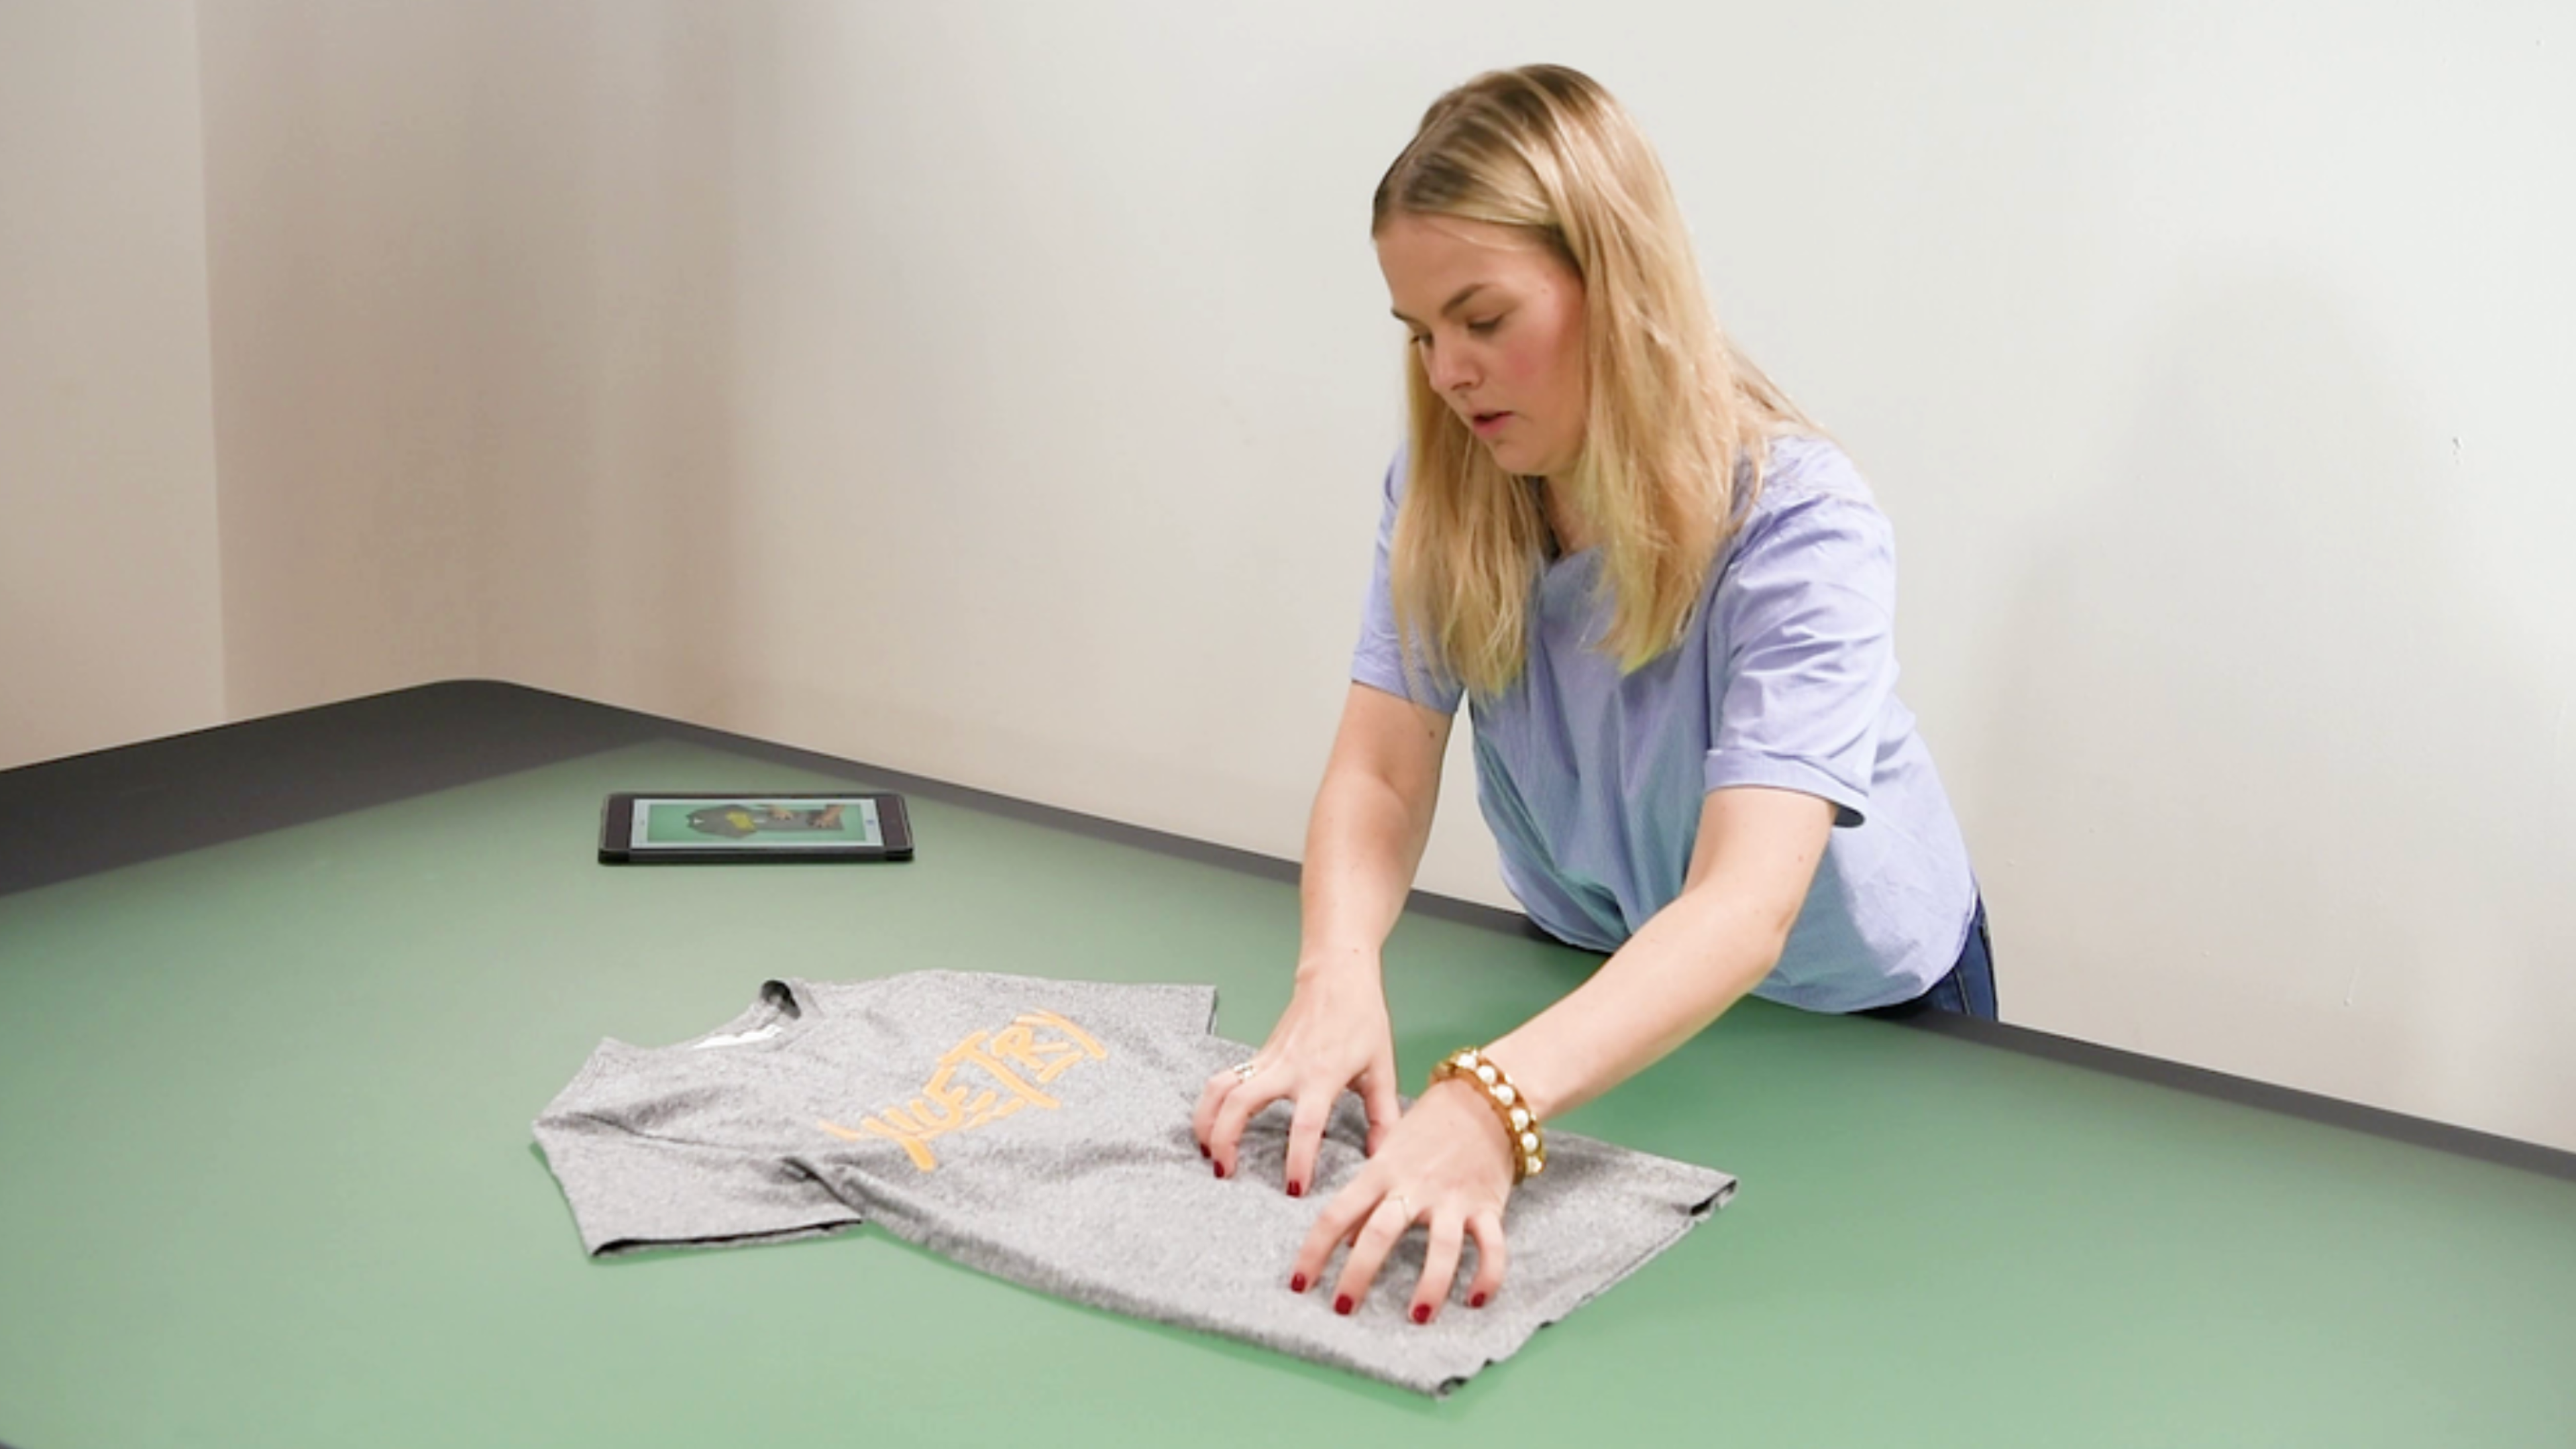
3. Adjust texture with your fingers
By gently pressing down on the tissue paper with your fingers, you can vary the texture and add an impression of movement to the fabric.
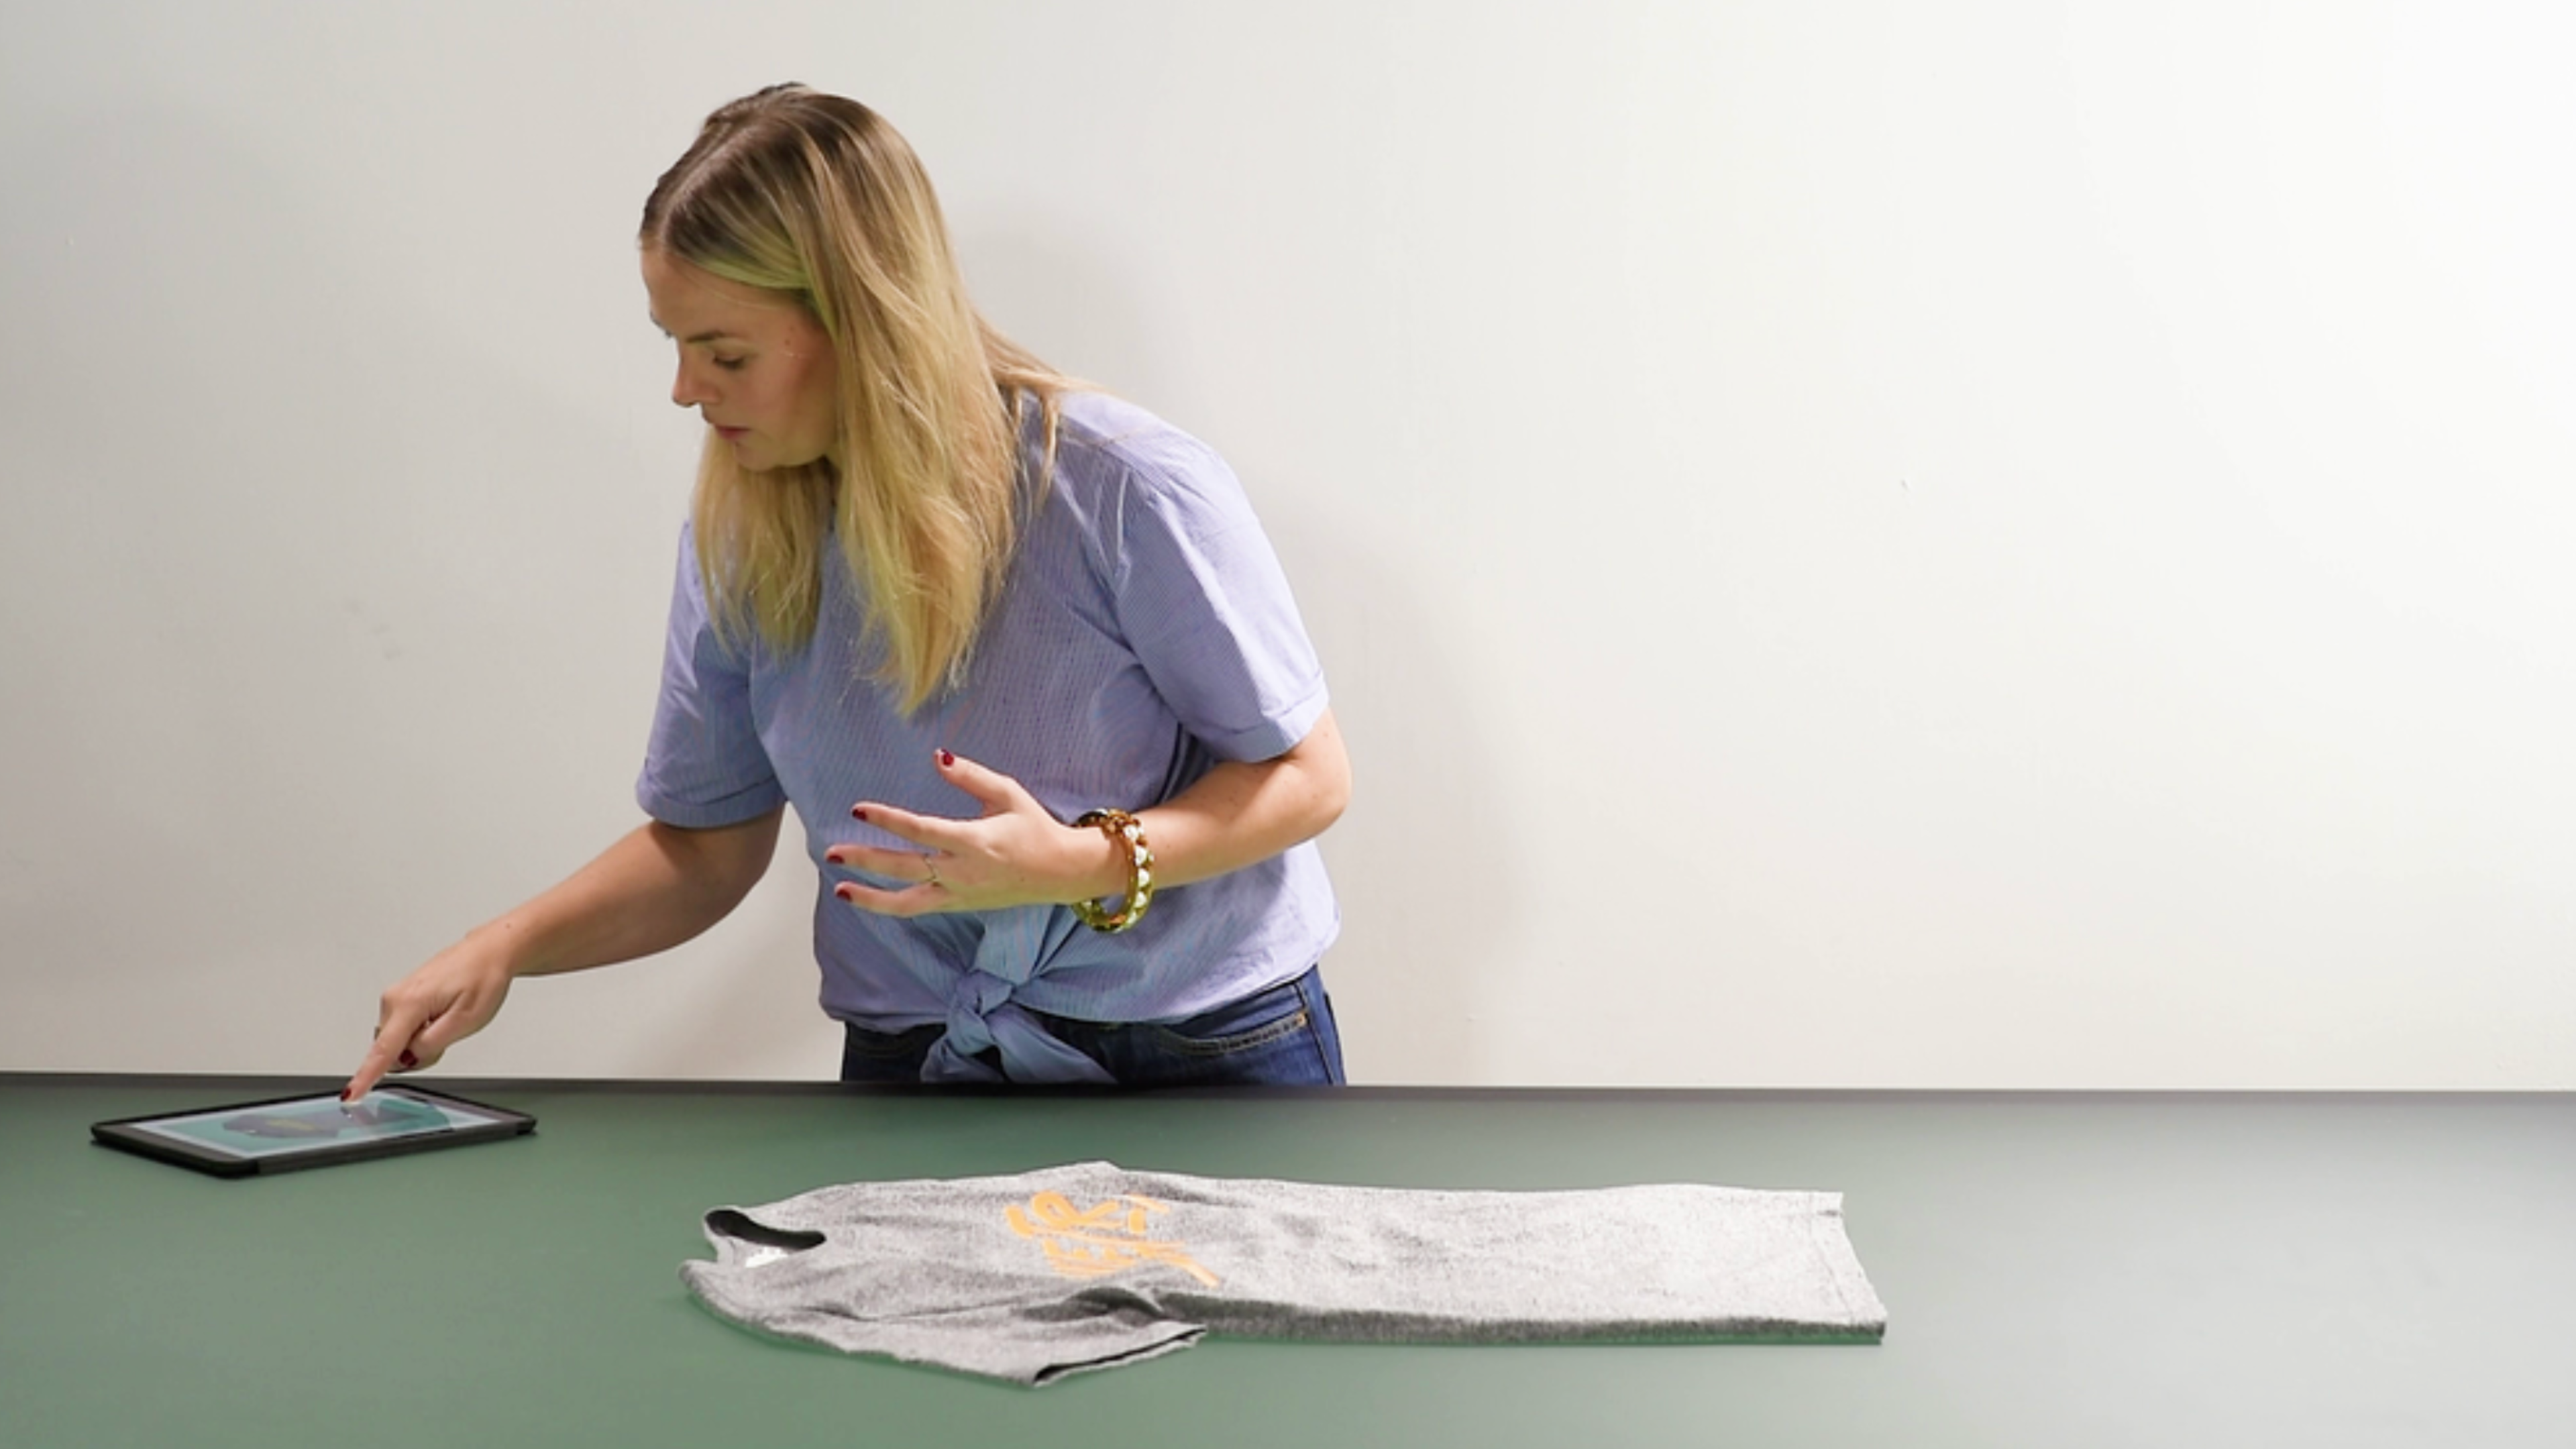
4. Position your light source
Move the light around to see what position best highlights the texture, adding or taking away drama.
And shoot...
