Setup 3 - LEDs that flash
Written by: Jake Hicks

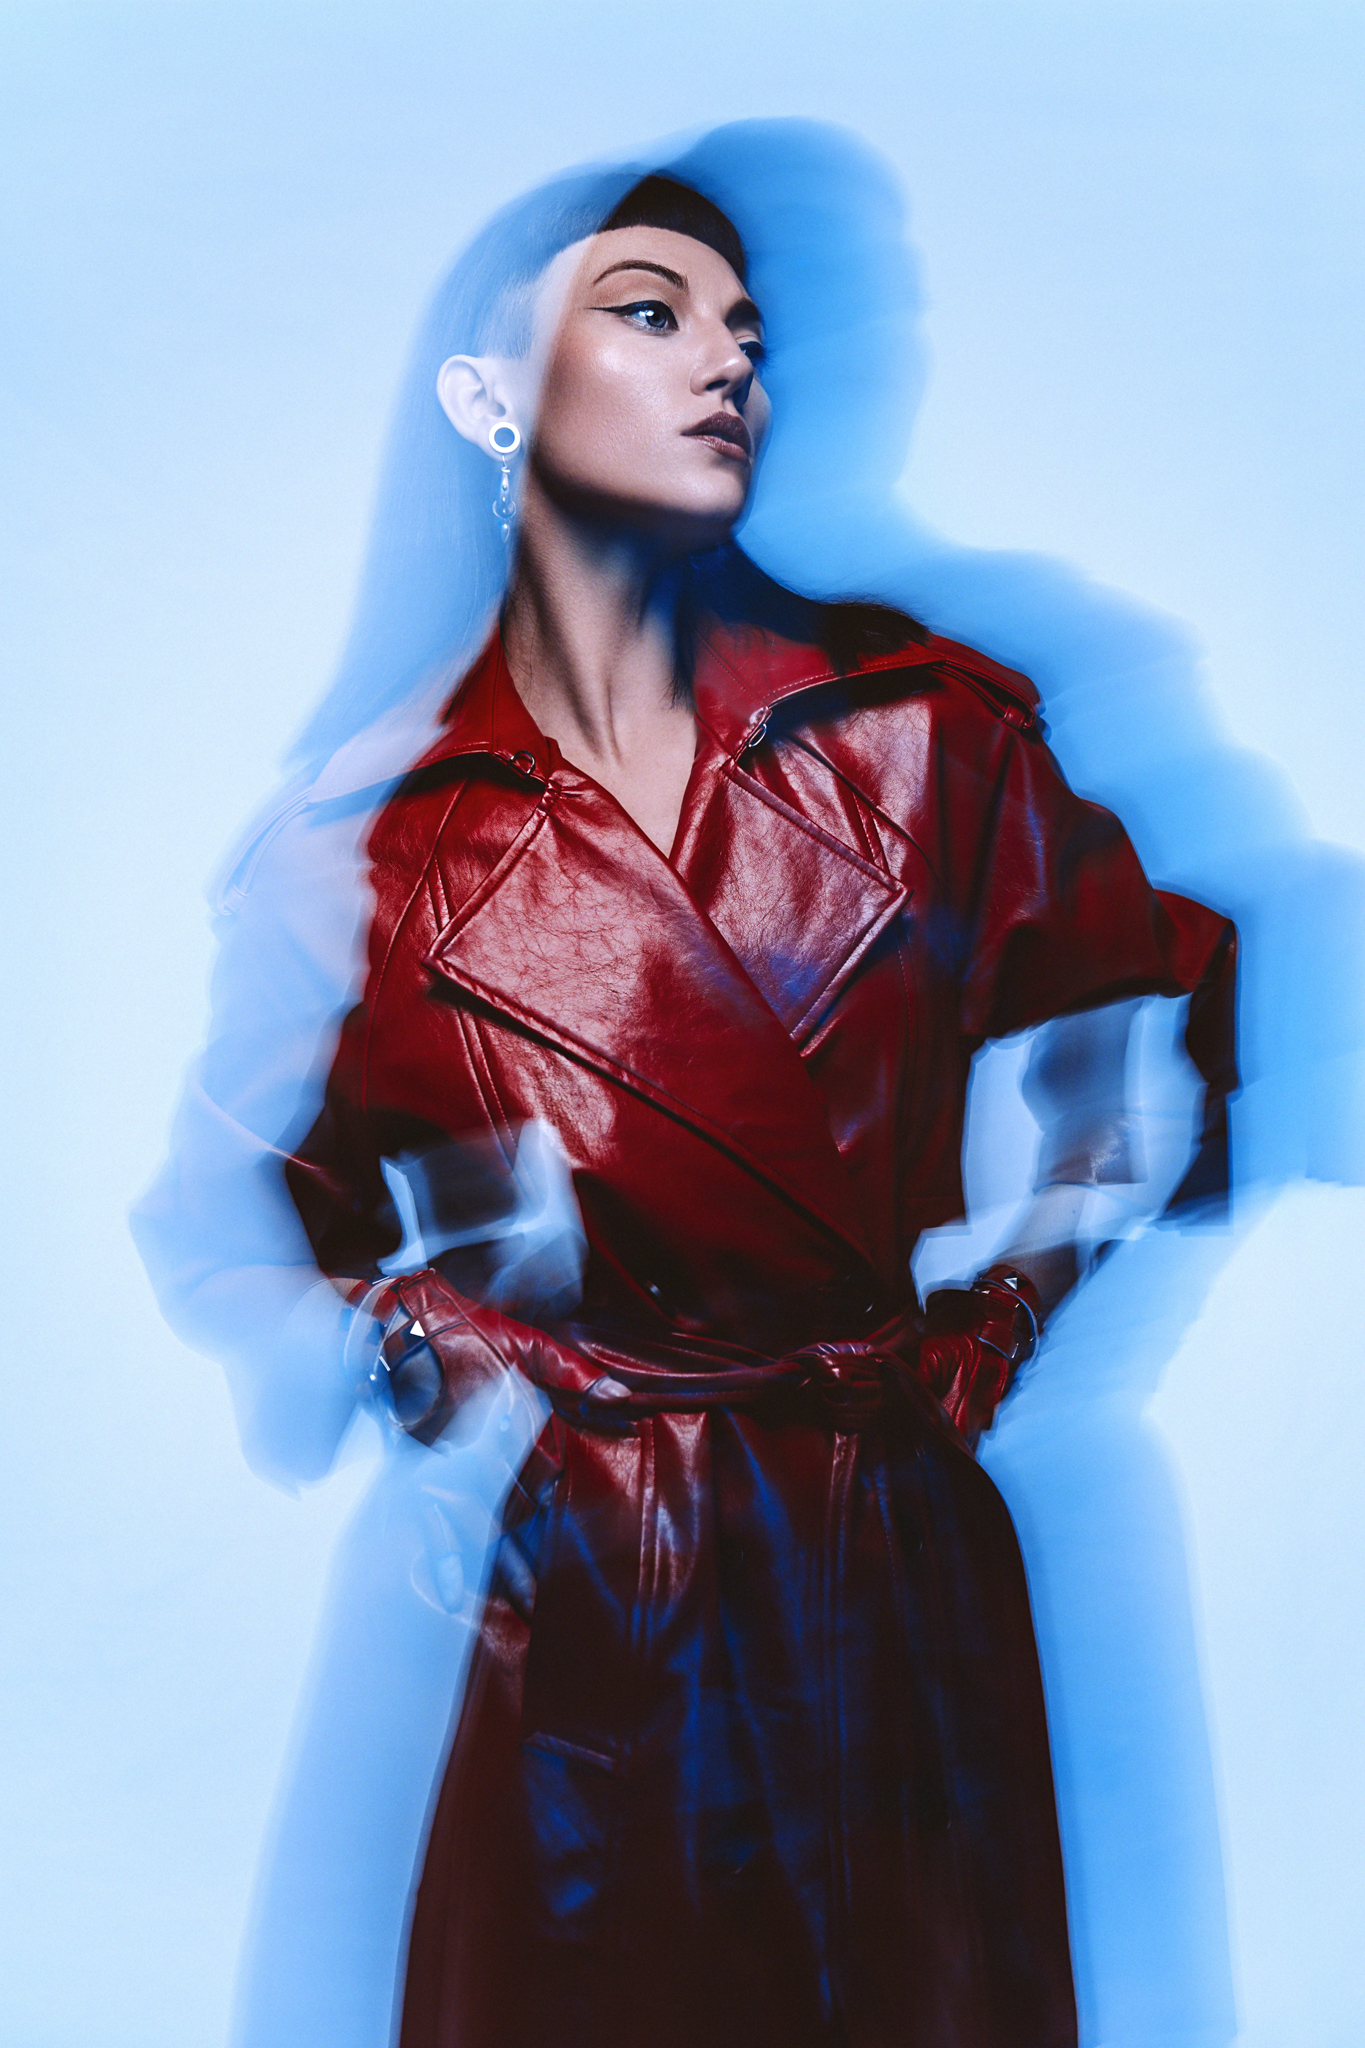
What happens when you let the light move with you?
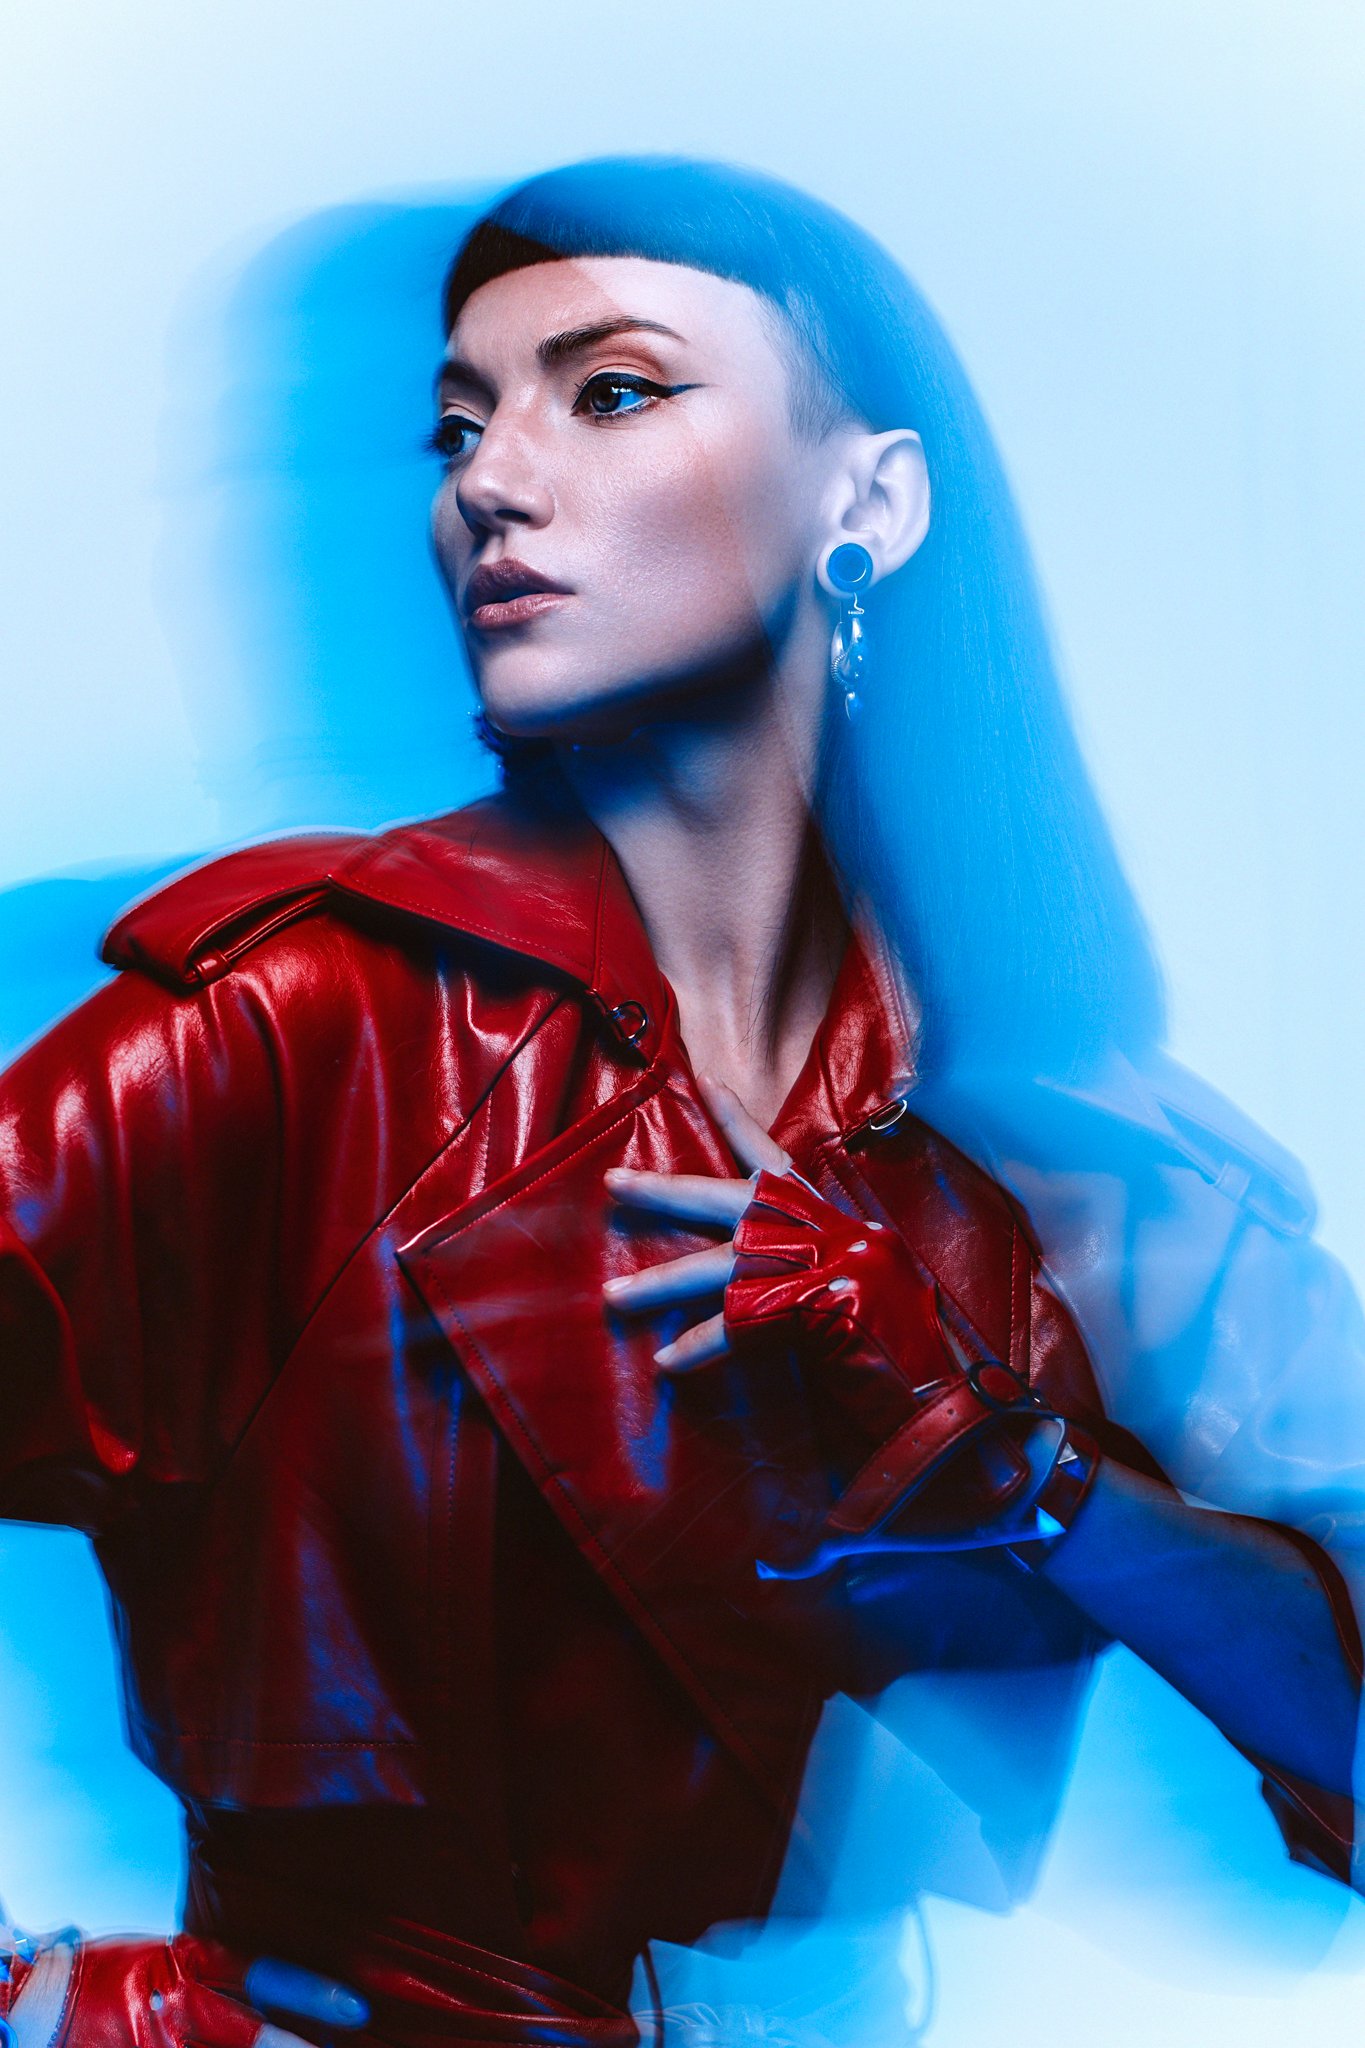
This is where the technical becomes truly experimental. Jake Hicks combines flash and continuous LED light with a half-second exposure to create something a camera alone could never achieve — a sharp, frozen subject wrapped in a halo of ghosted, color-drenched movement. It's a reminder that the best creative tools don't just capture your vision, they help you discover it.
Kit used
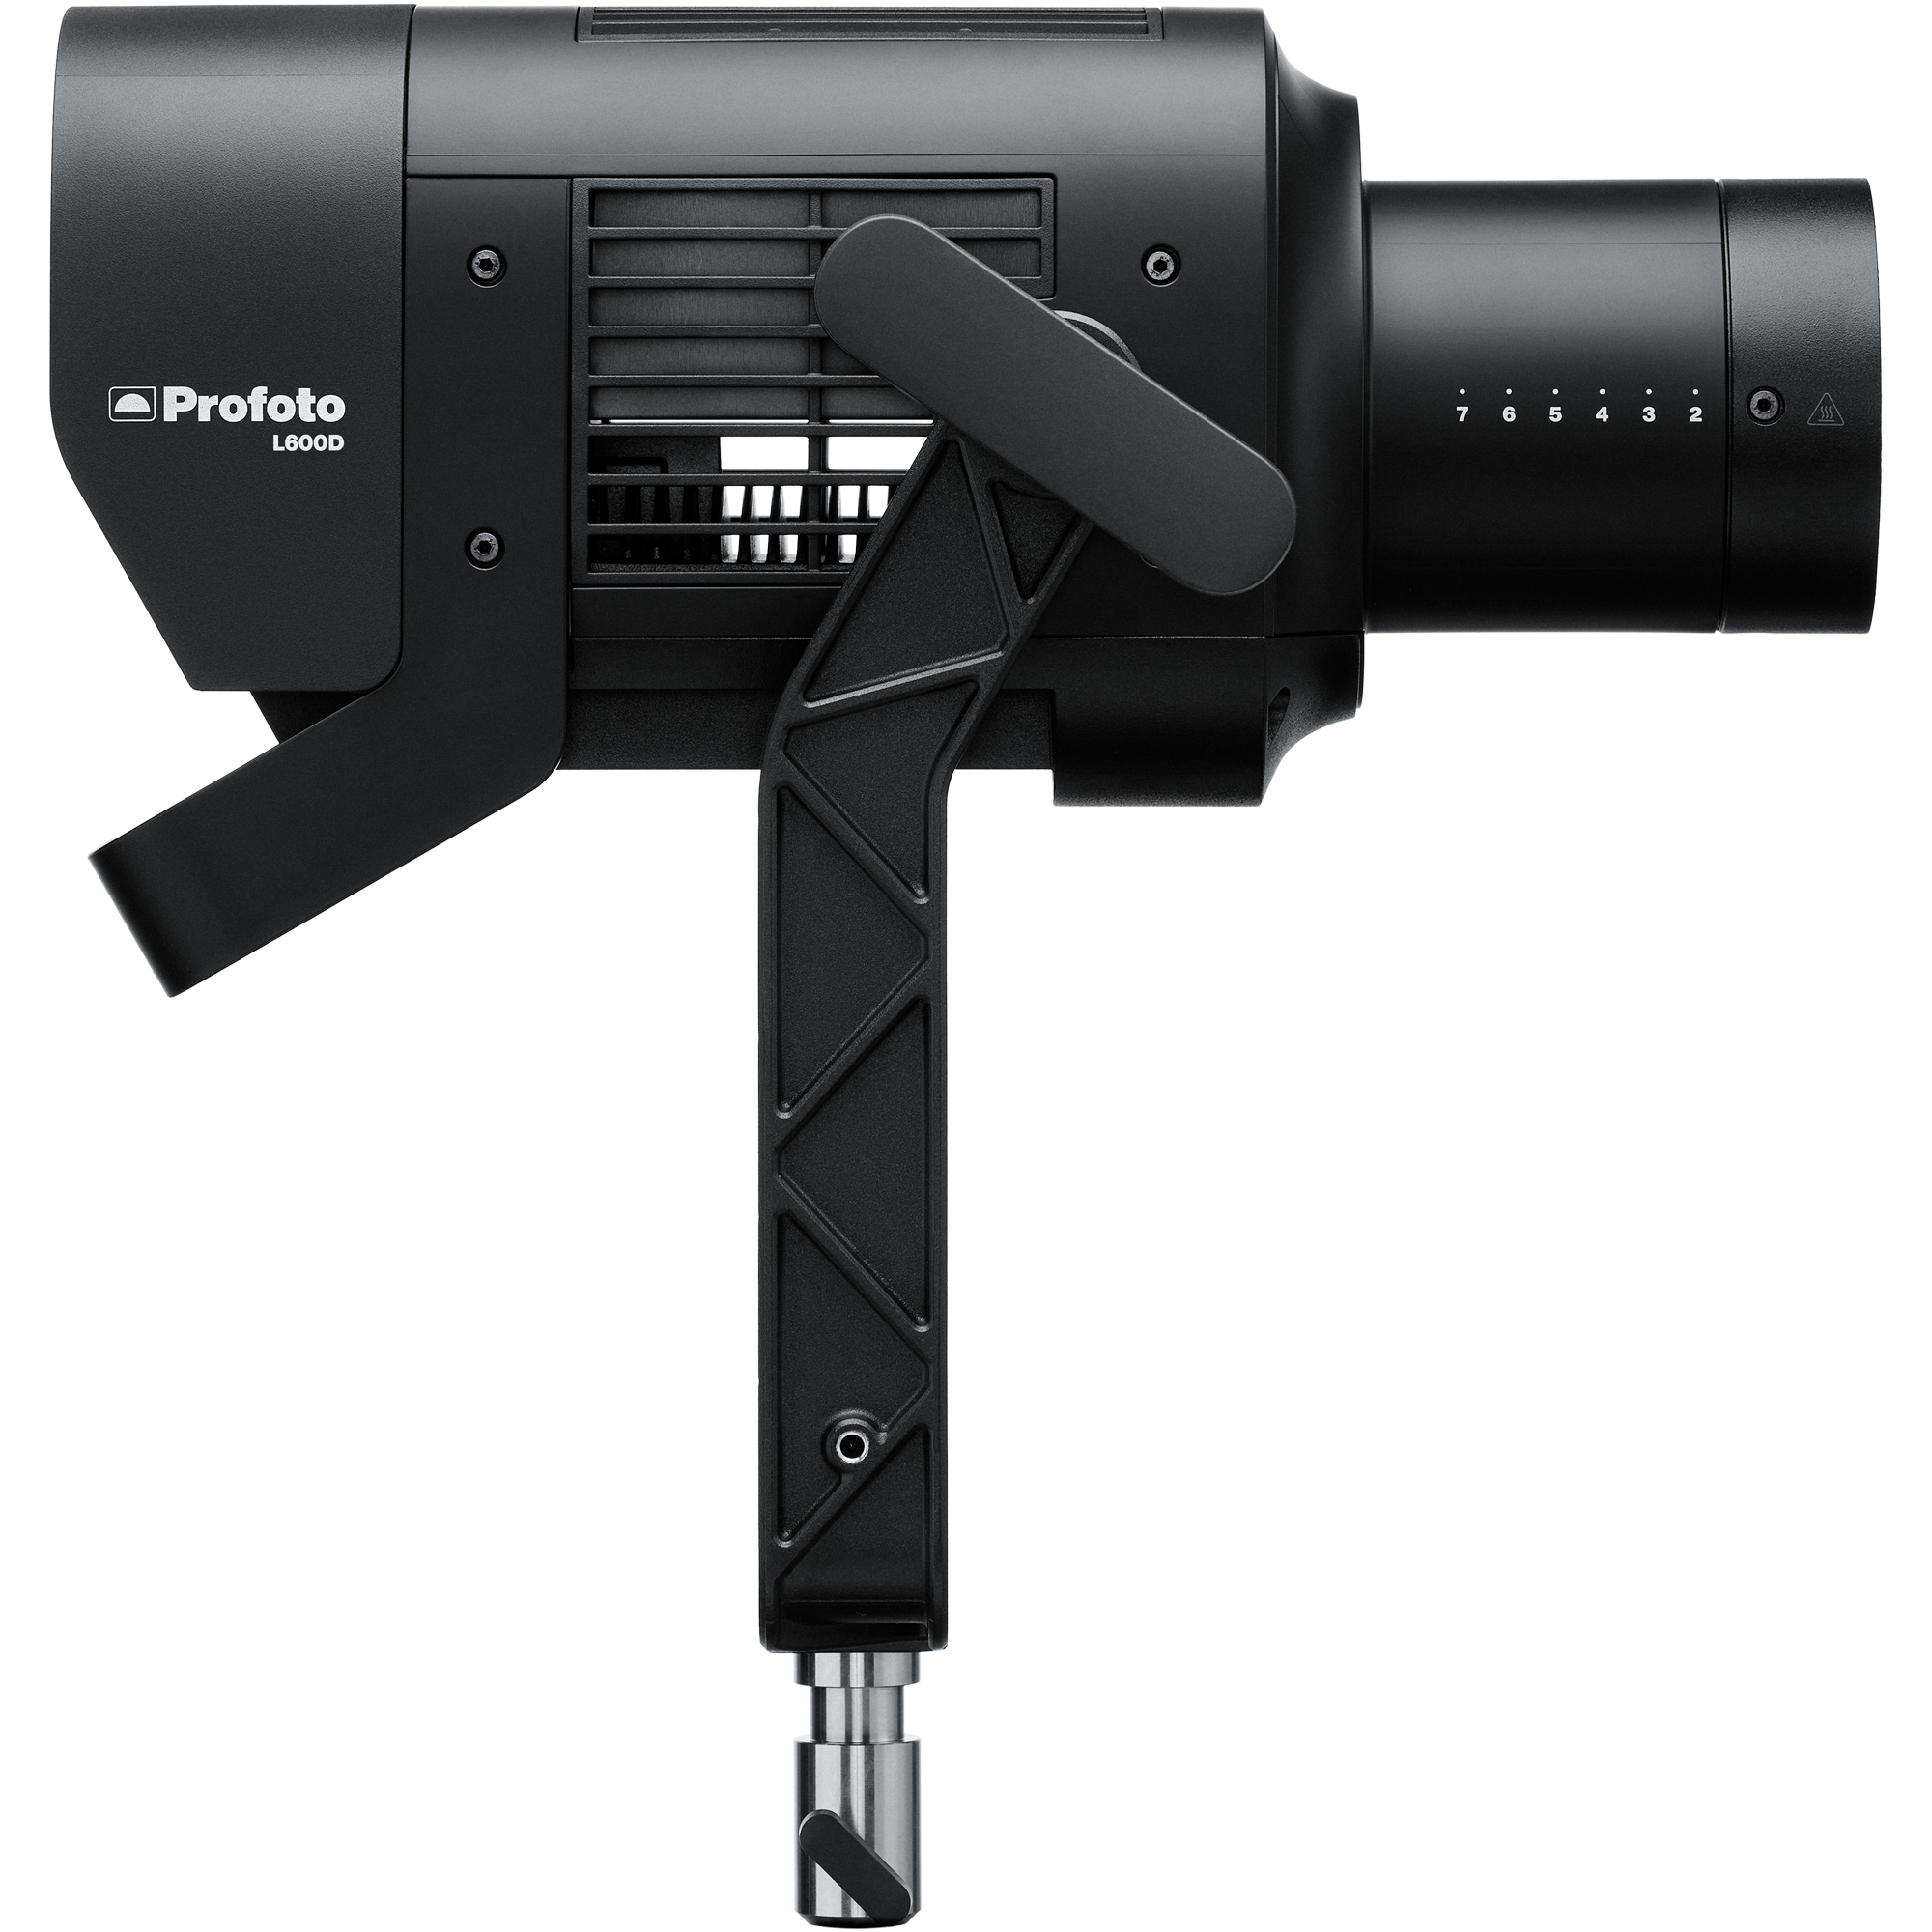
Profoto L600C x2
Two high-output LED units delivering powerful, consistent illumination with precise color control.
View product →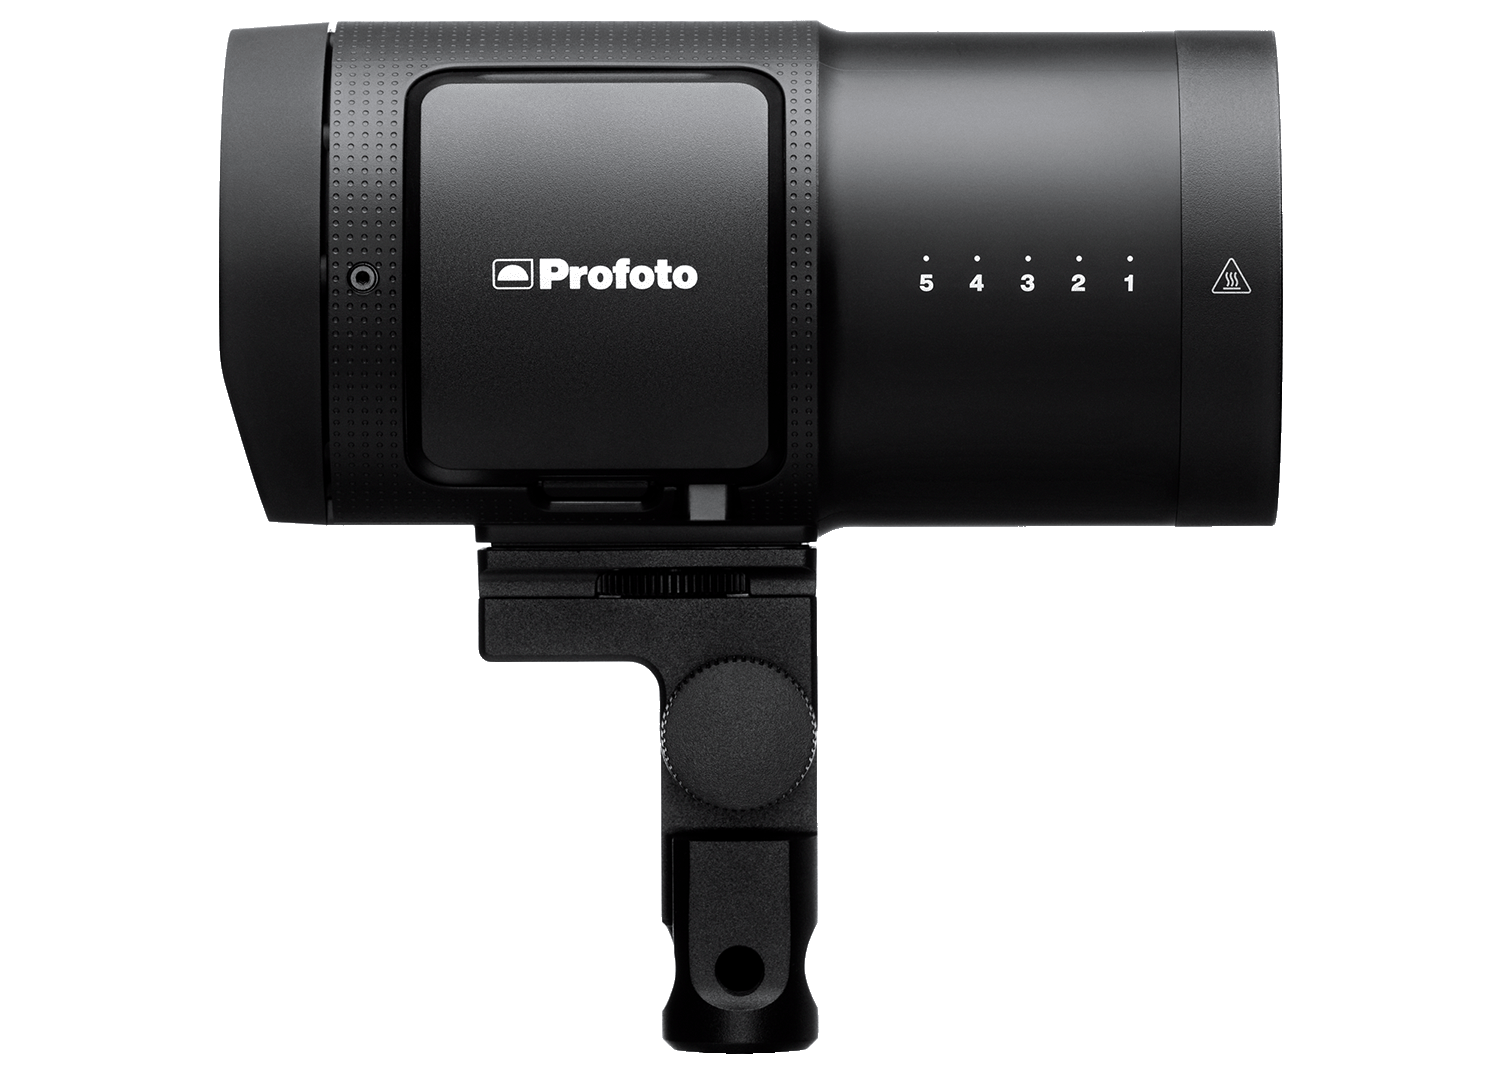
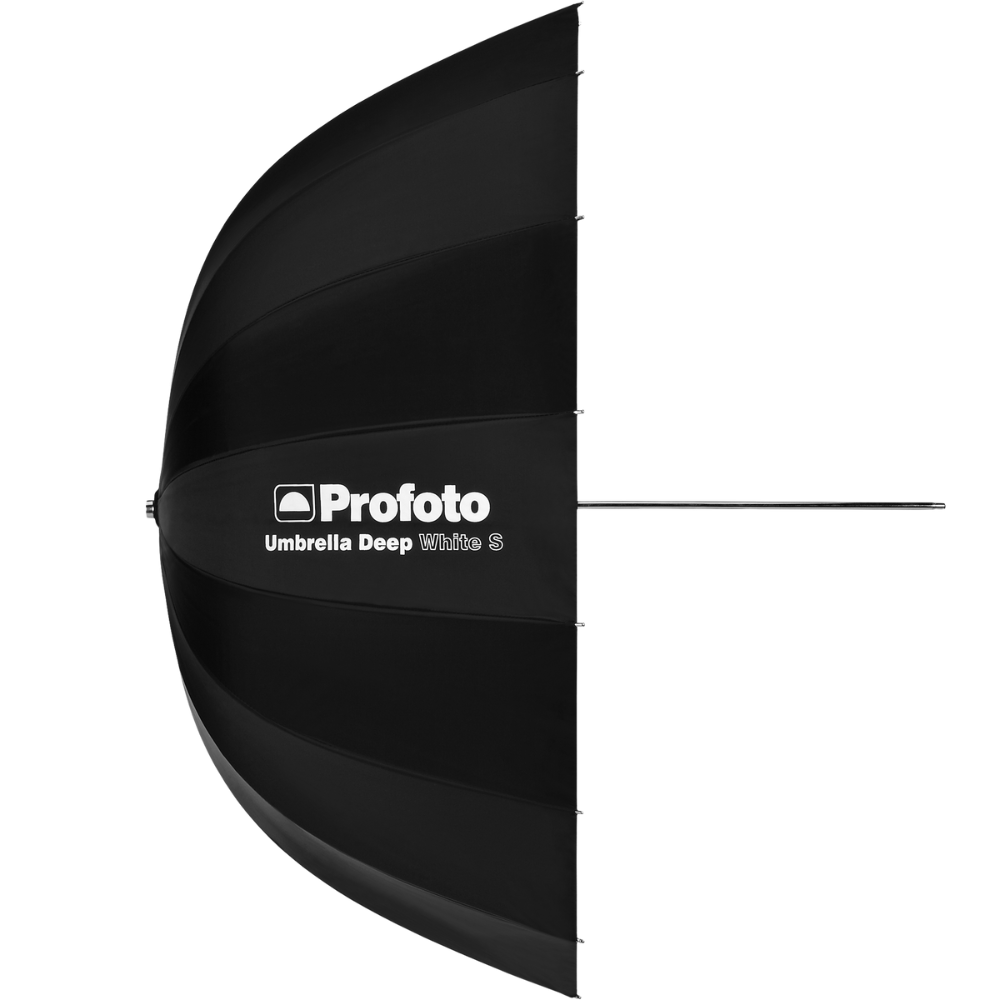
Profoto Umbrella Deep White XL
Broad, natural wraparound illumination with soft falloff.
View product →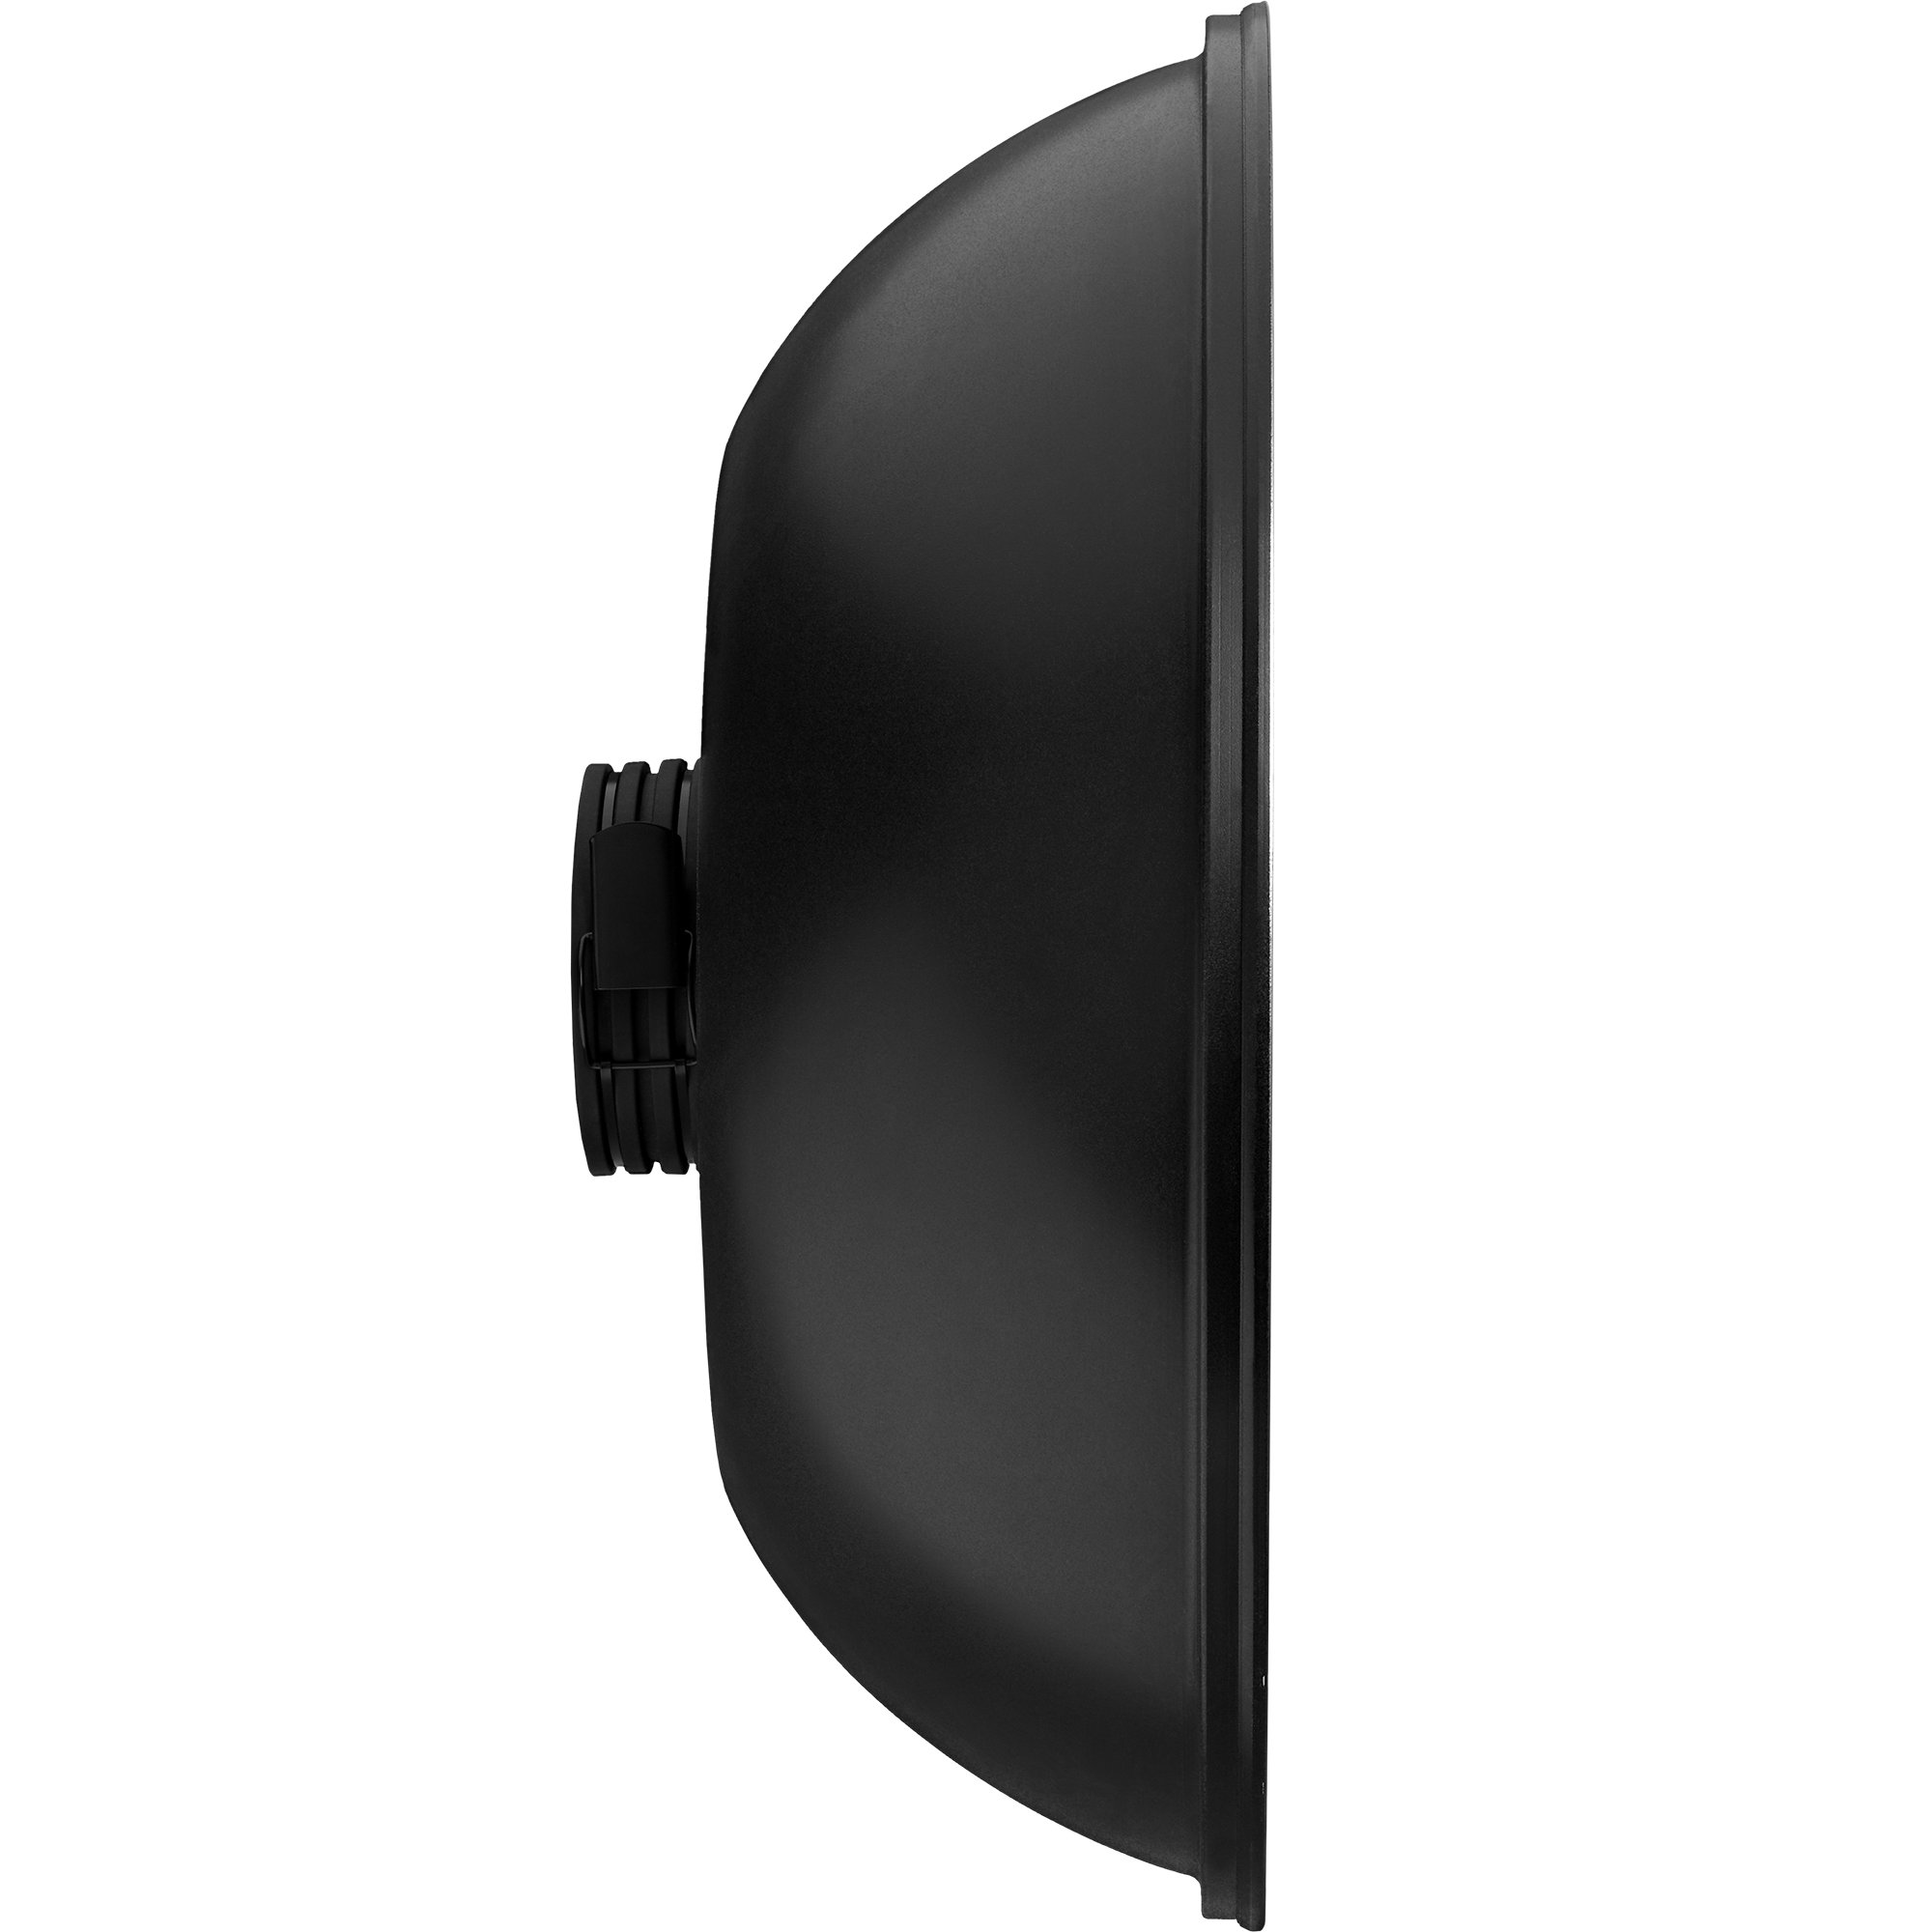
Profoto Softlight Reflector White
Focused soft light with crisp highlights and controlled spill.
View product →Medium (6ftx6ft) Scrim
Broad, natural wraparound illumination with soft falloff.
The breakdown
It’s here that things start to get a little more creative: in this set, we’re going to mix flash with continuous light in the form of a long exposure image. You may have noticed in the camera settings below that my camera’s shutter speed is set to 1/2 second. It’s during this half-second that the creativity happens, as it's here that we can start creating unique-looking imagery.
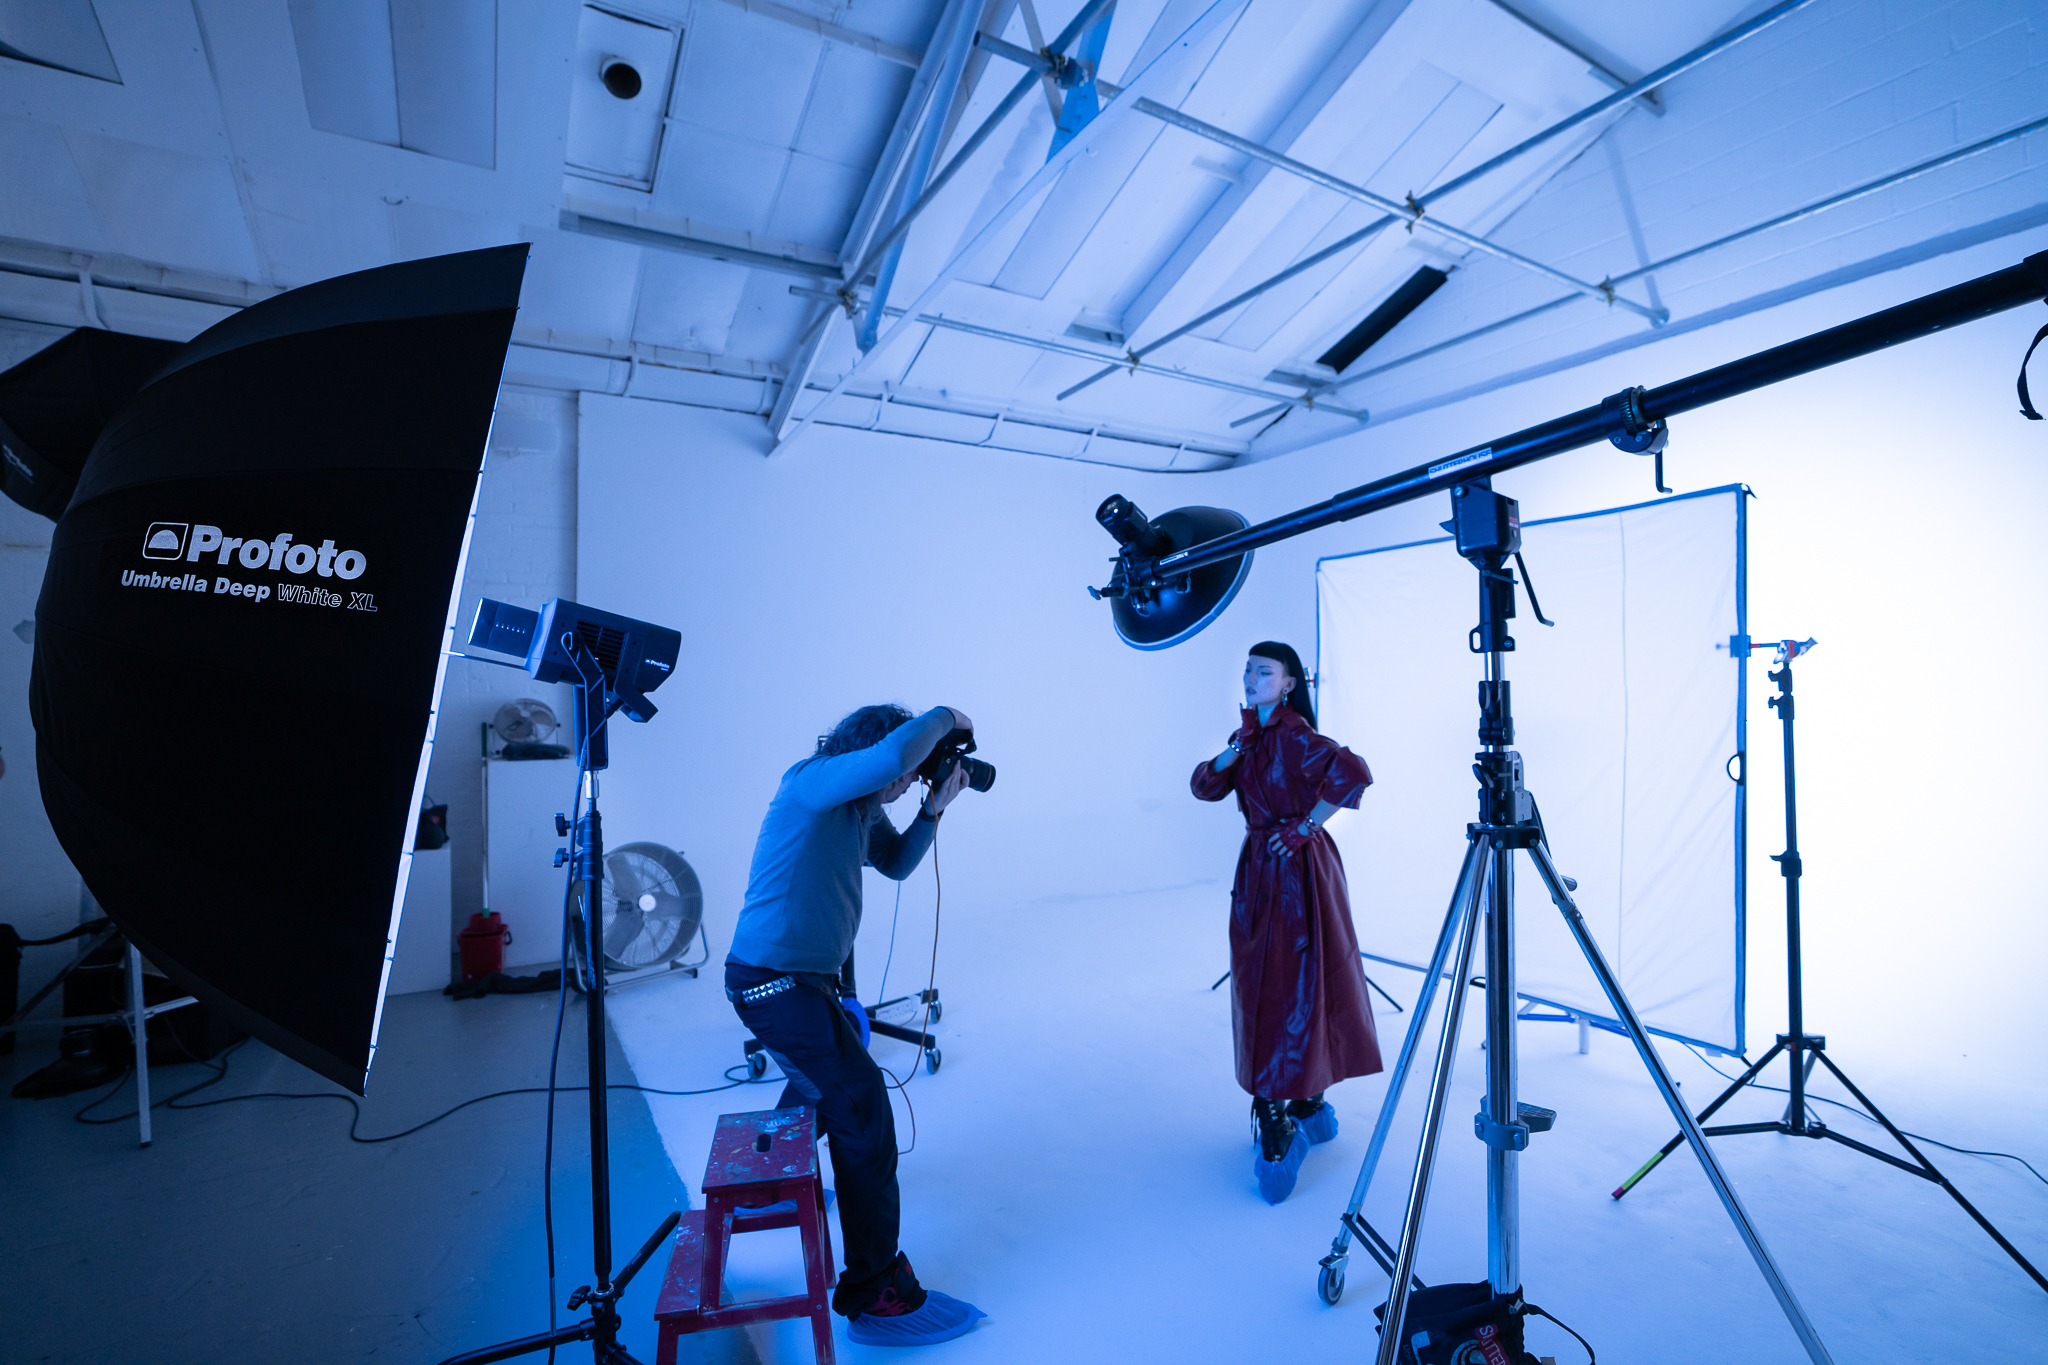
To start, let’s get the key light in place. For this shot, that’s the Profoto B20 strobe with the Profoto Softlight Reflector White attached. This is positioned above the model’s head and angled down, leaving enough room for me to shoot underneath it. Although it’s obvious that this B20 will be flashing, it’s worth noting that I didn't have the modelling light on for this unit.
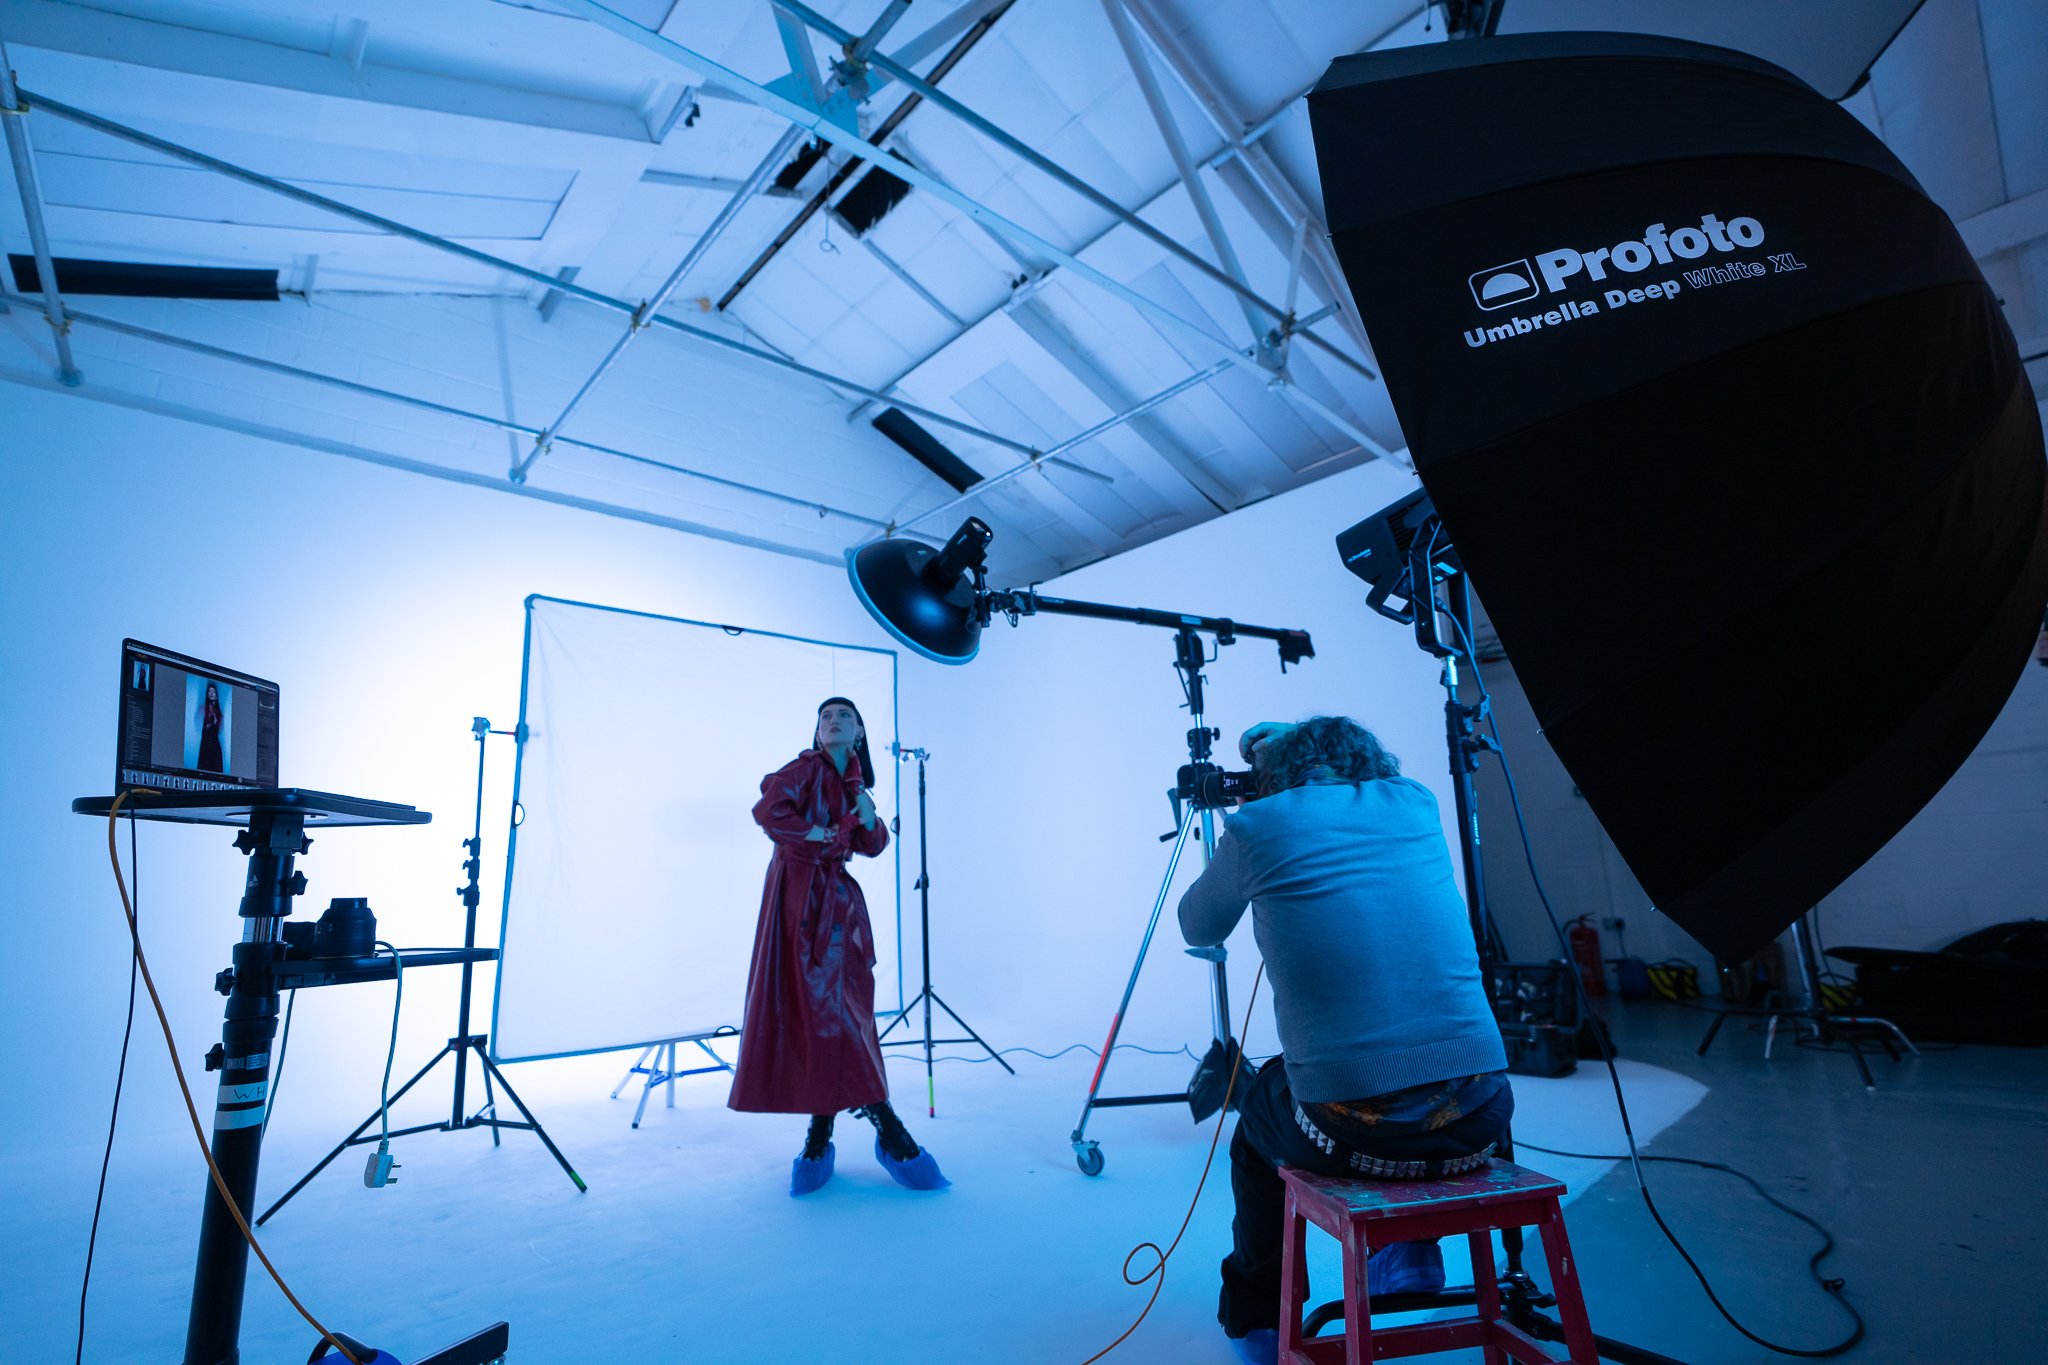
Next, we can add the large light behind me in the form of the L600C with the Profoto Umbrella Deep White XL attached. This light is set to a cool blue color, and the LED light is also set to flash mode as well as being on continuously. This continuous mode was set extremely low so as not to affect the image too much, but it did help a lot with the whole ‘focusing in the dark’ issue.
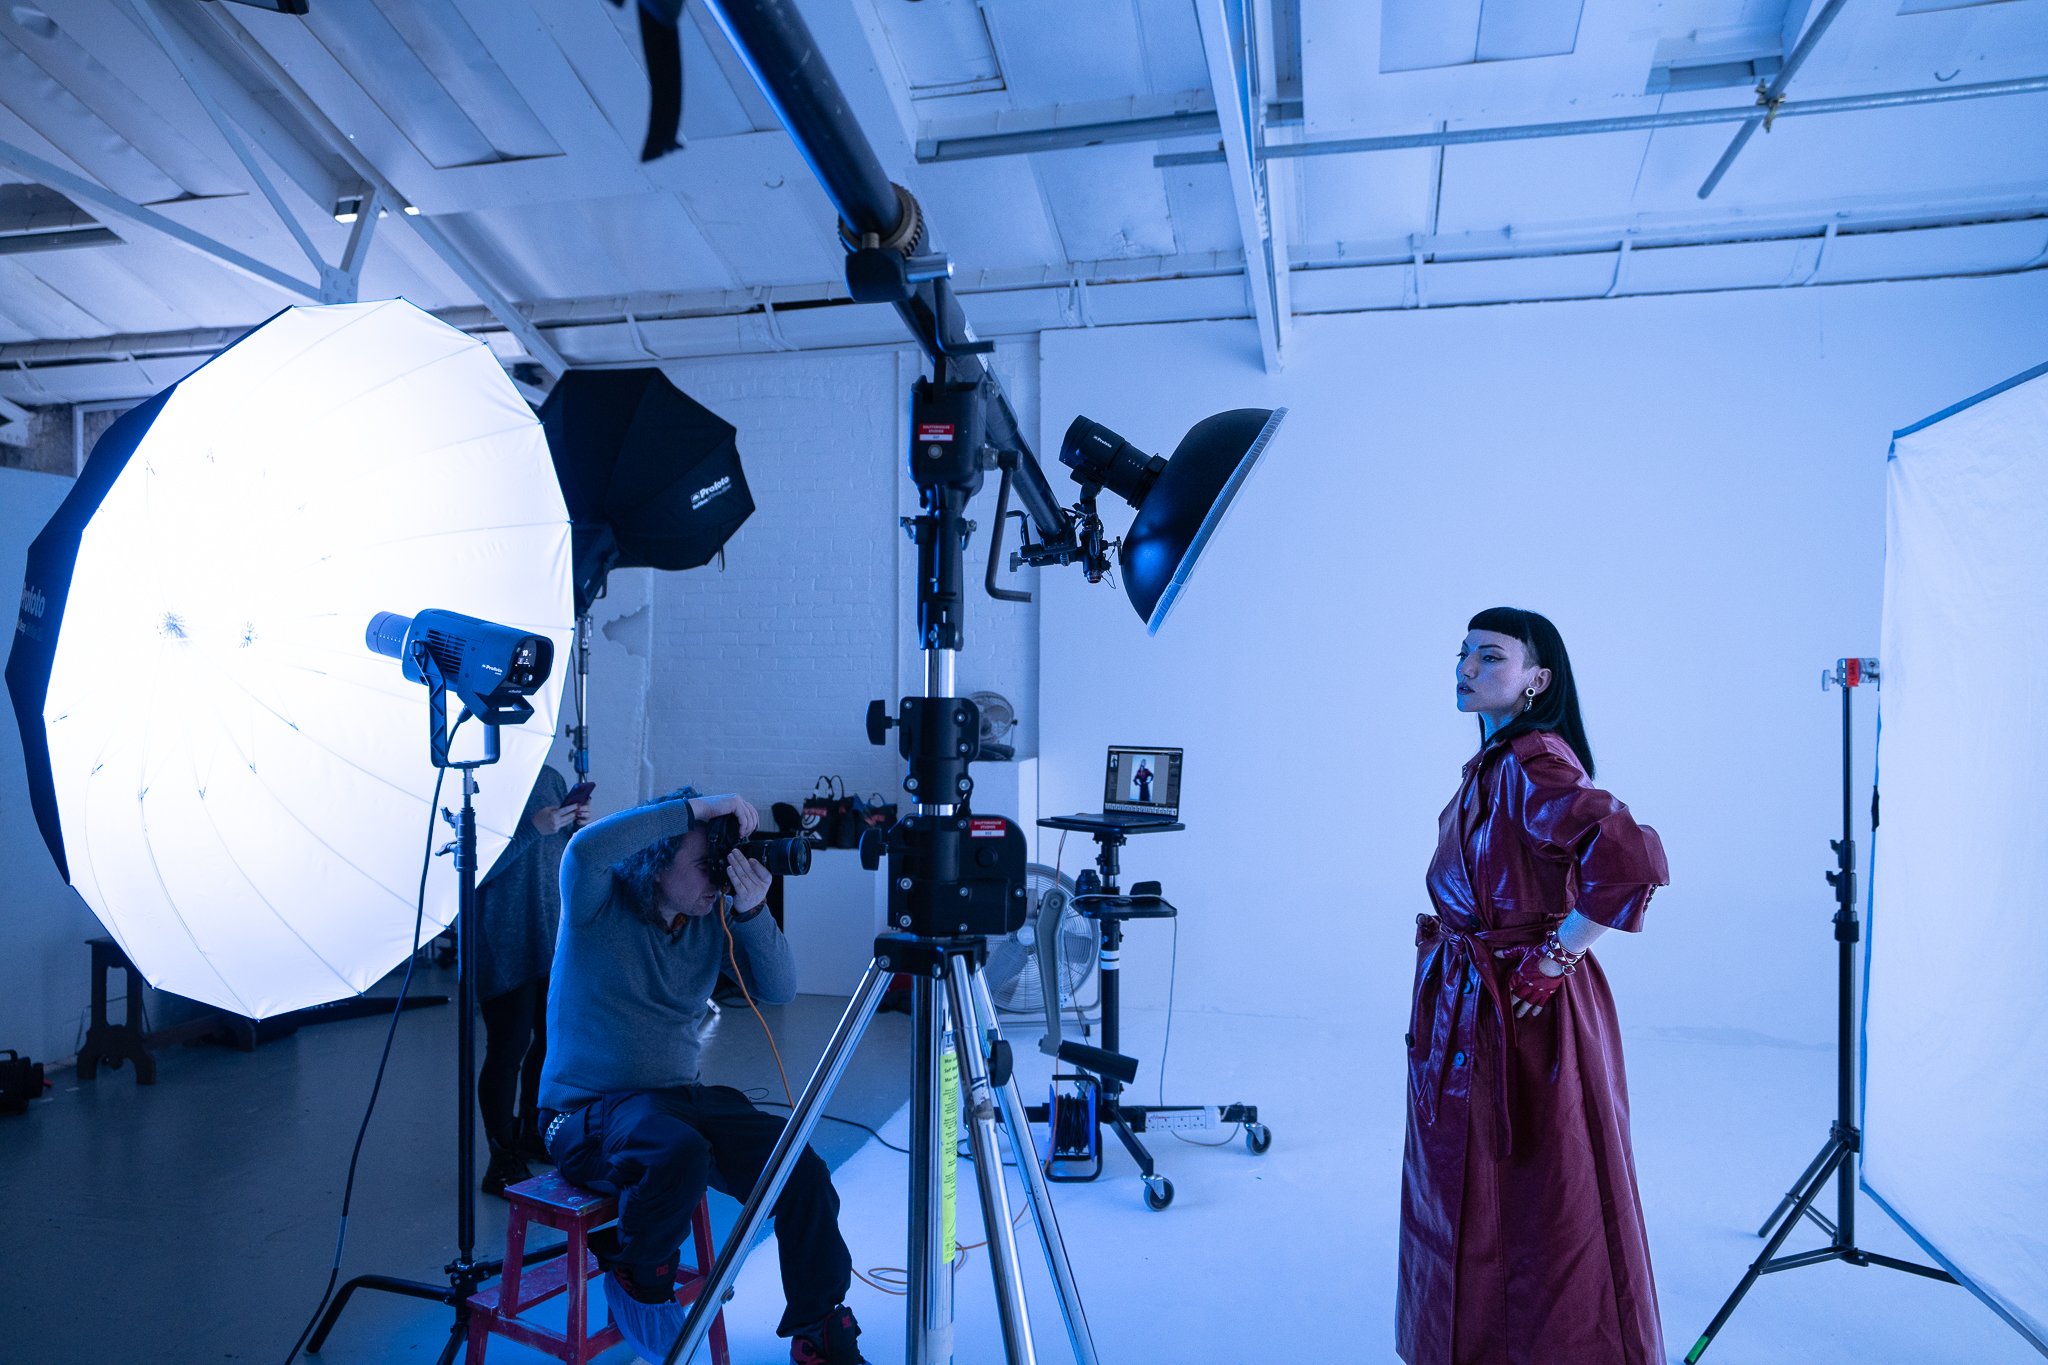
Lastly, we can add our third and final light, positioned behind the model and pointed back toward the white background. I’ve also placed a white scrim between the model and the light to help soften any hotspoting that can occur when using lights close to the background like this. Note that this third light is set to a cool kelvin value and is set to continuous mode only.
So, to briefly recap what’s going on in the shot. The light above the model is flashing as soon as I press the shutter. This light captures a frozen image of the model in the frame. Behind me, the big blue umbrella with the L600C is also flashing, and that is also capturing a clean, frozen image of the model. Lastly, the light behind the model is always on, so when I press the shutter and the camera captures light for that 1/2 second, it’s seeing that bright white background behind the model and because I’m not shooting on a tripod, any movement I create with the camera during that time, is displayed as that blue ghosting effect around the edge of the model.
See setup 4 - Environmental lighting - cinematic set