Setup 1 - The Kelvin push
Written by: Jake Hicks

Light is everything. How you shape it defines the shot.
In this series, photographer and lighting specialist Jake Hicks breaks down the setups behind some of his most striking images — revealing exactly how he uses Kelvin color to transform a simple two-light setup into something truly cinematic. Whether you're shooting portraits, fashion, or editorial work, these techniques will change the way you think about color and contrast.
Kit used
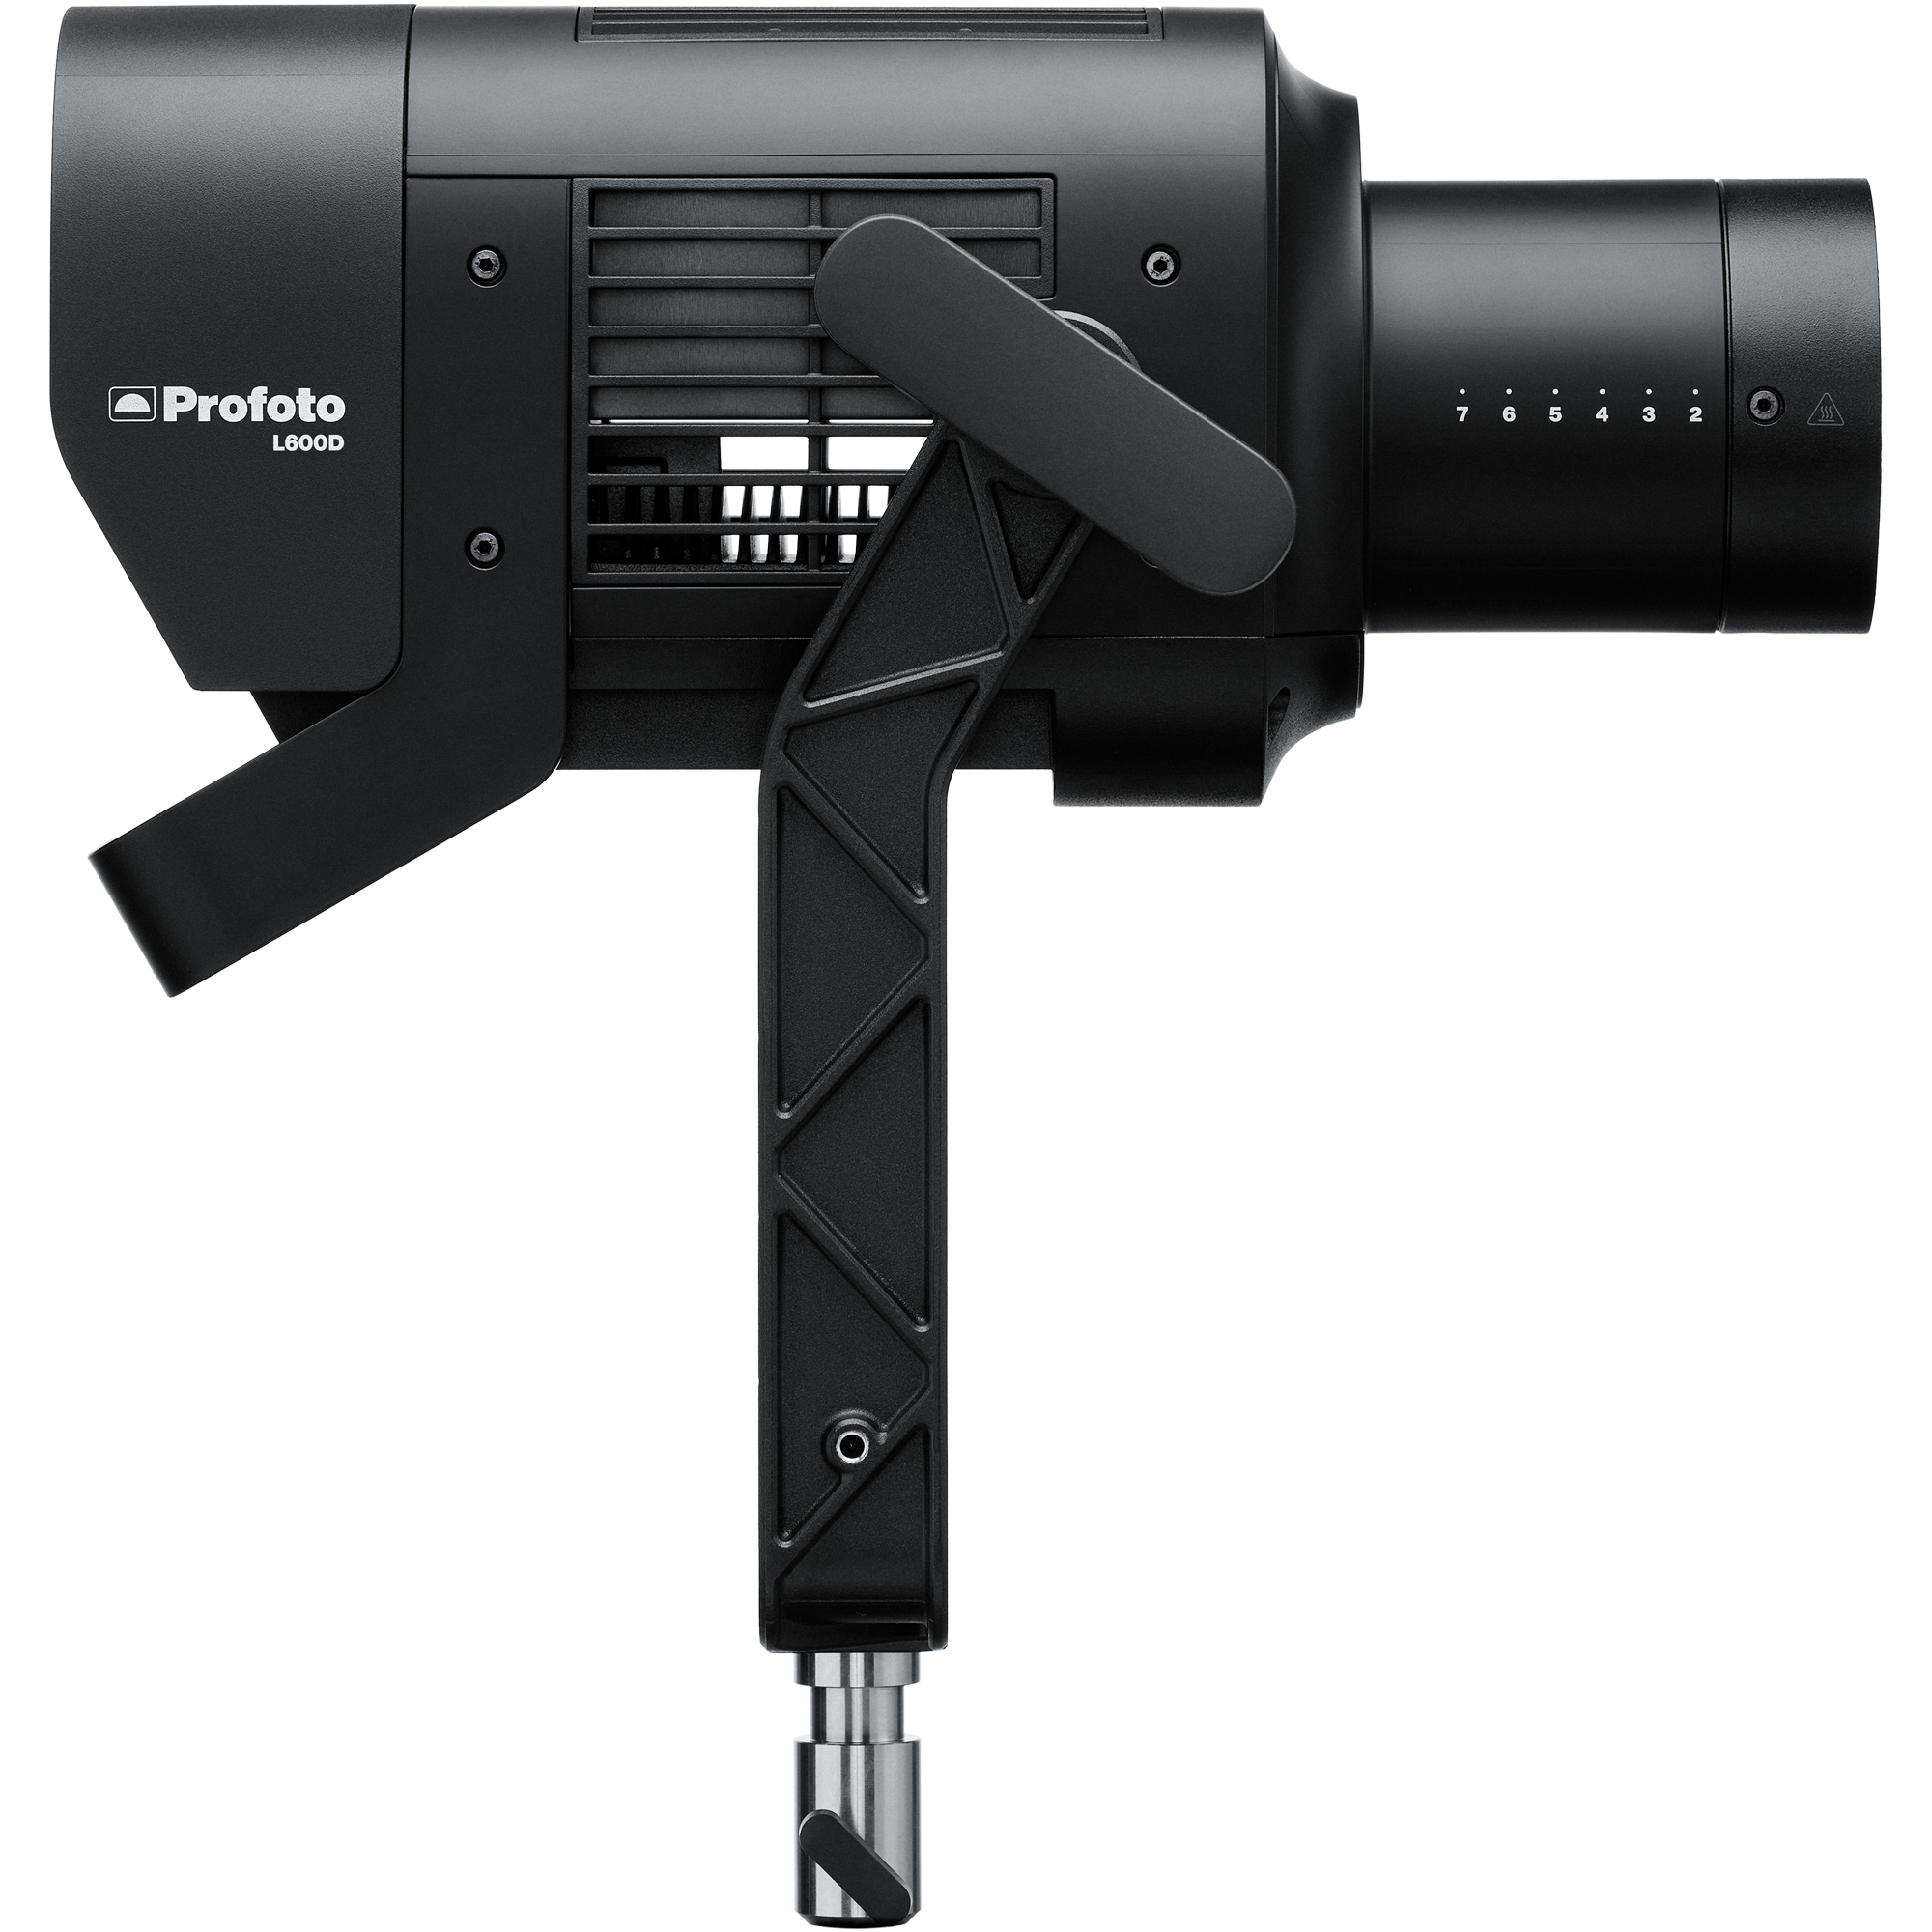
Profoto L600C x2
Two high-output LED units delivering powerful, consistent illumination with precise color control.
View product →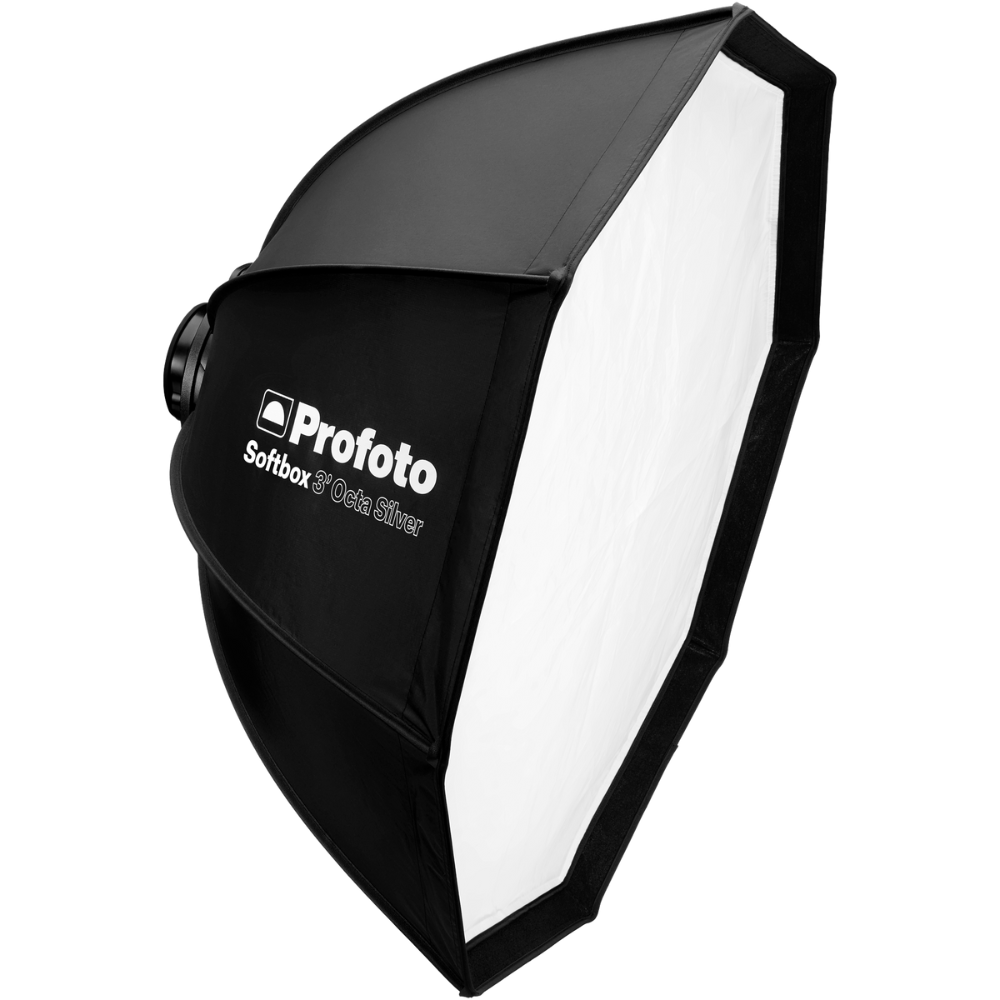
Profoto 4’ Octa Silver
Focused soft light with crisp highlights and controlled spill.
View product →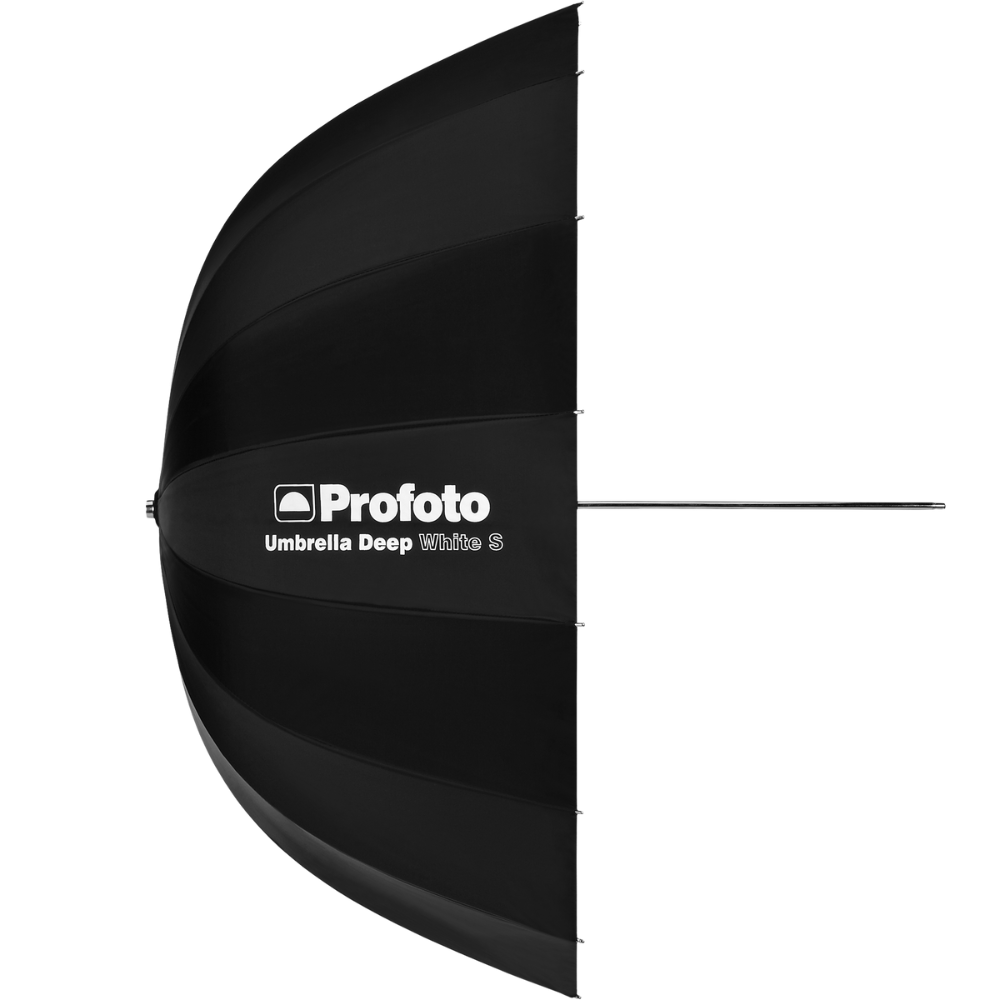
Profoto Umbrella Deep White XL
Broad, natural wraparound illumination with soft falloff.
View product →
The breakdown
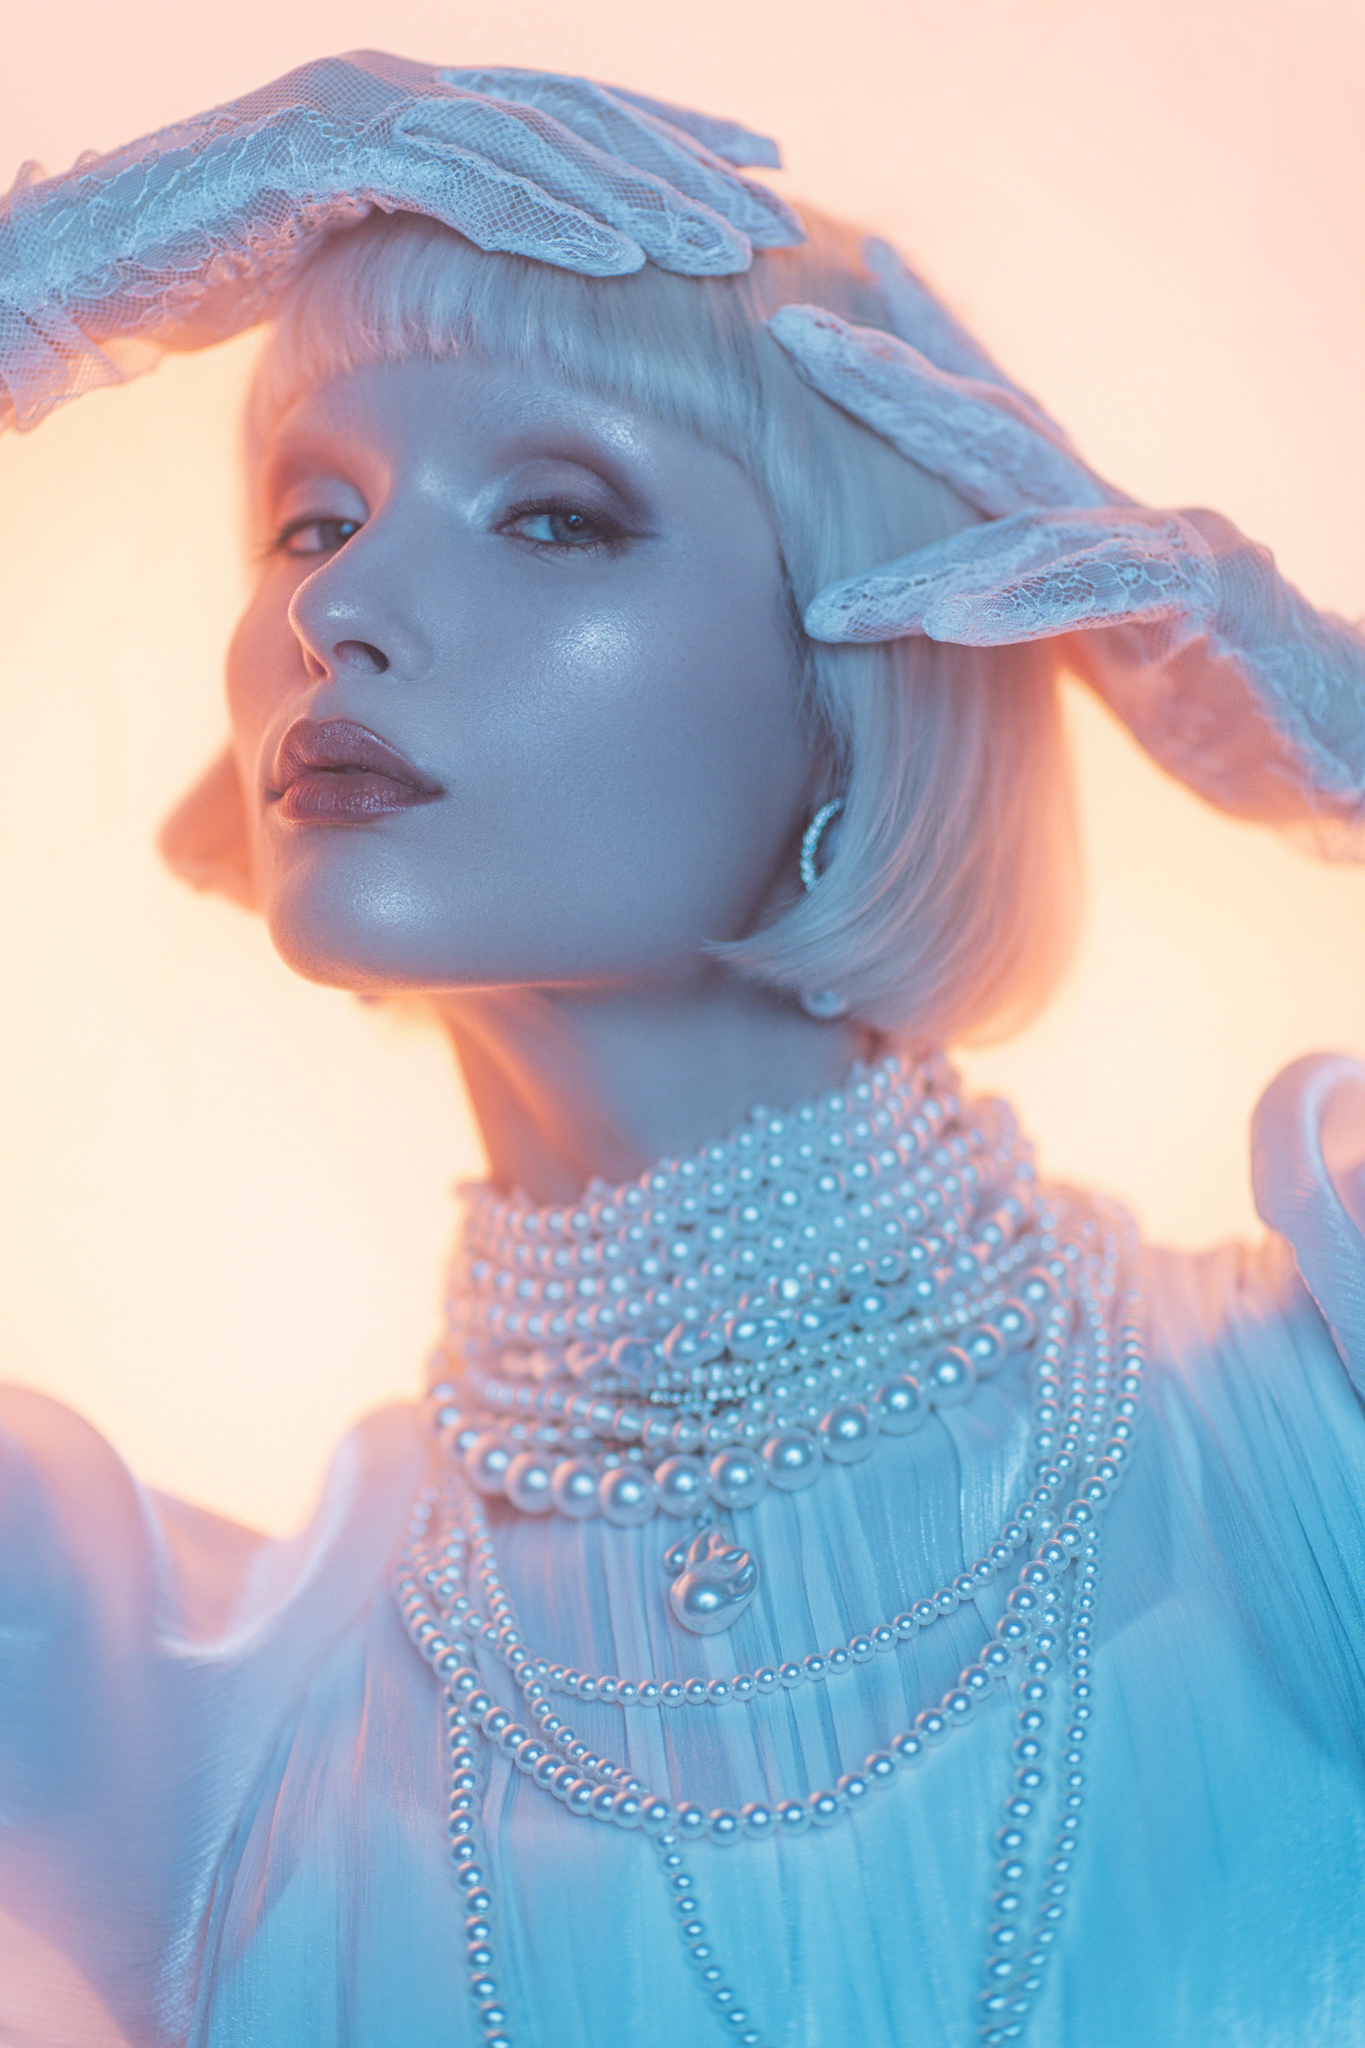
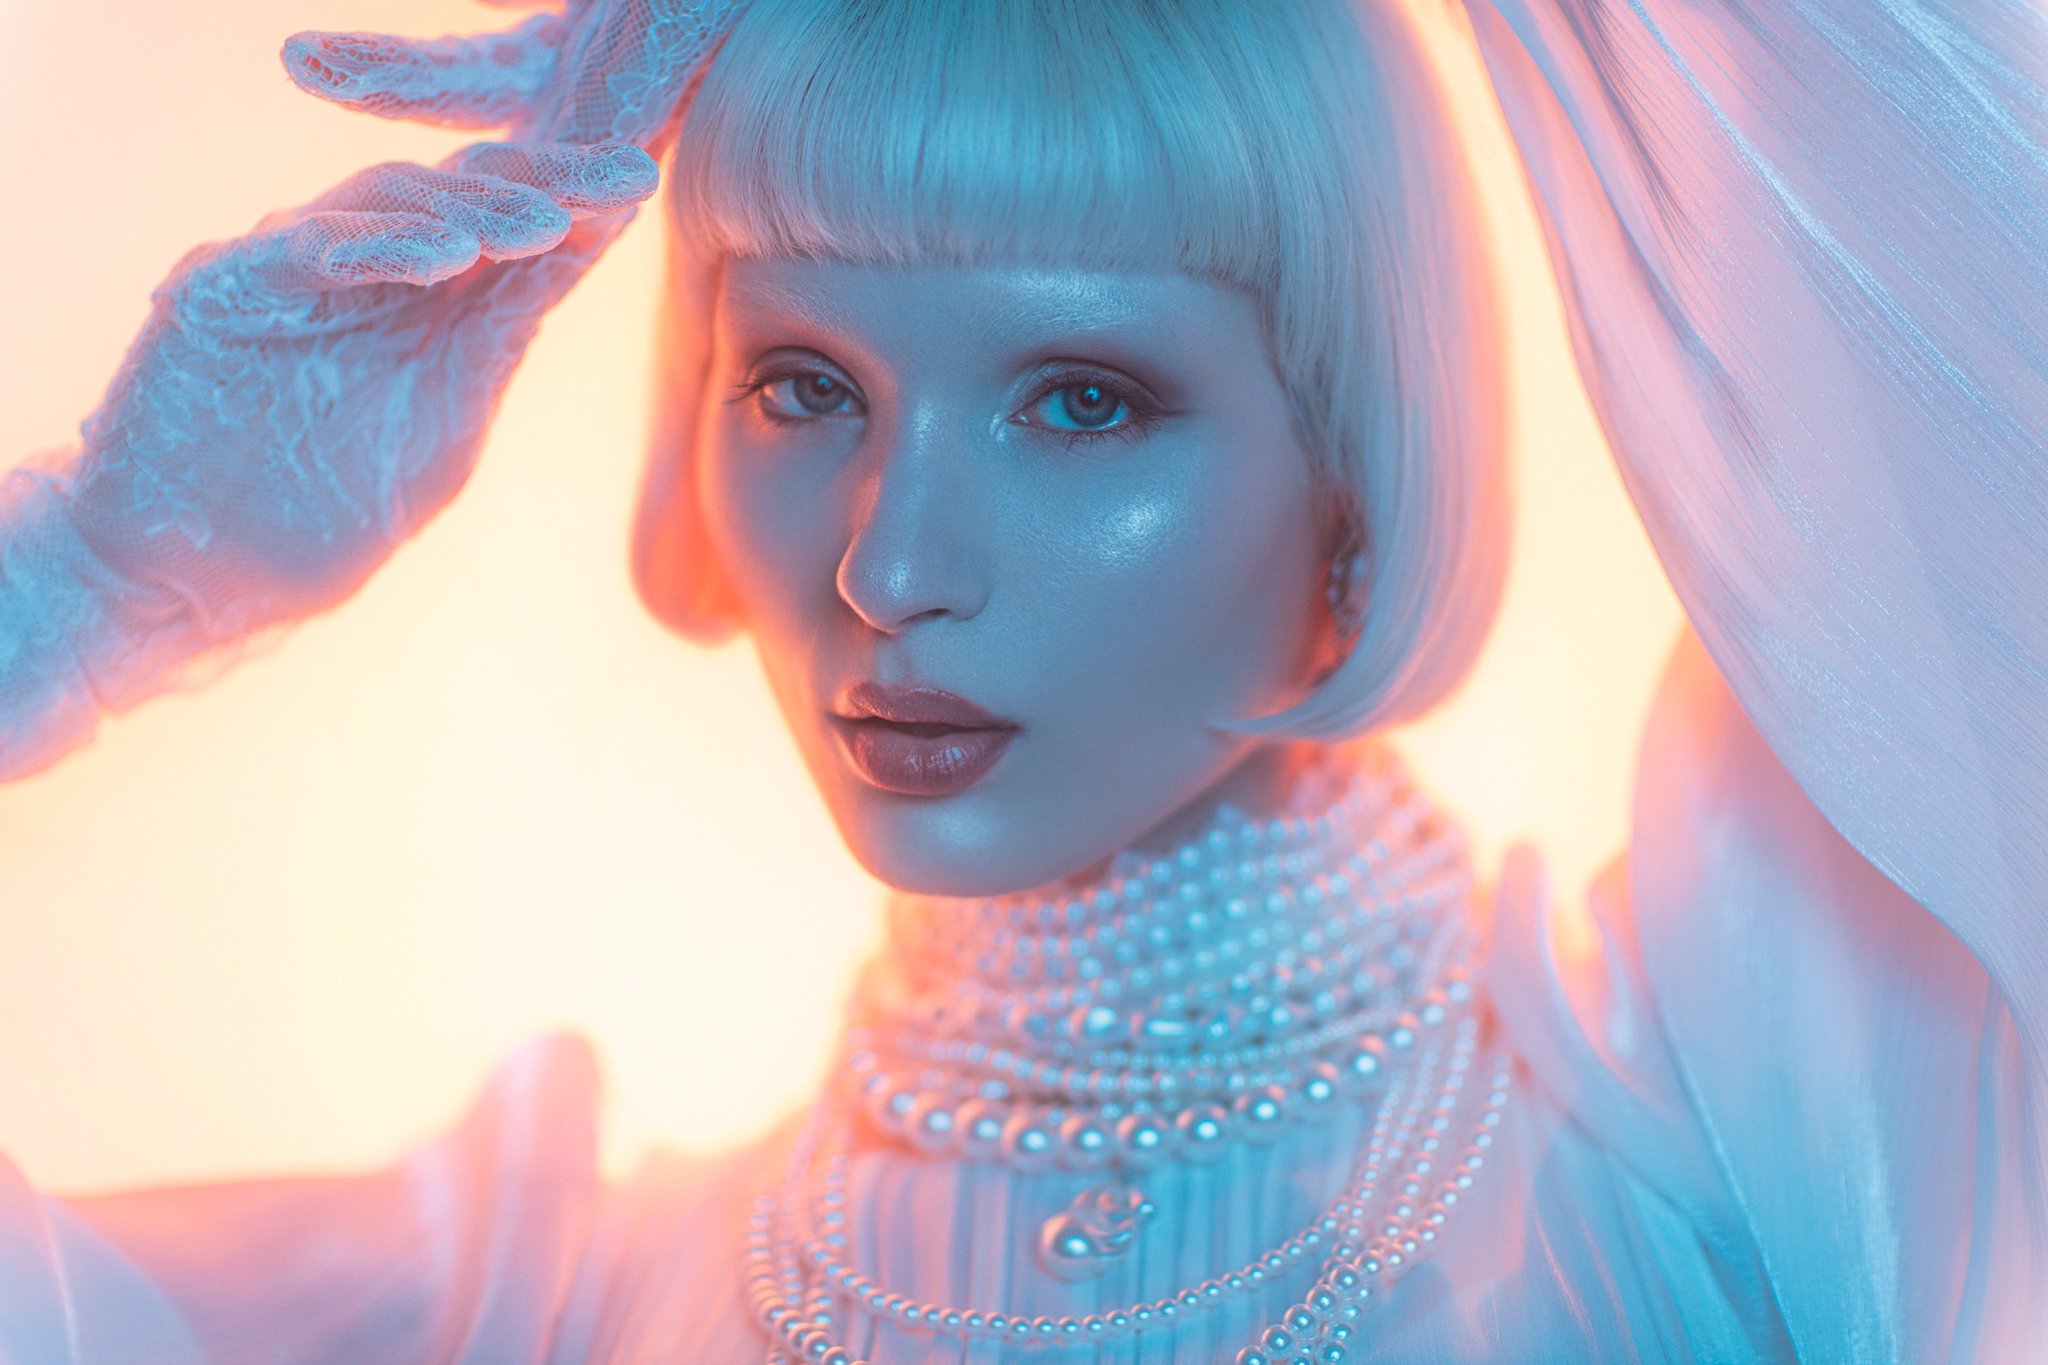
I’ll start with one of the easier setups from the day, since it's actually pretty simple and very quick to set up: all you need are two lights and a couple of standard lighting modifiers. Start by placing a large softbox behind the model. I’m using a Profoto Softbox 4’ Octa Silver here. It’s this light behind the model that we want to shine the very warm light, so set the kelvin to a low value. I’m using the L600C’s base 2000K here.
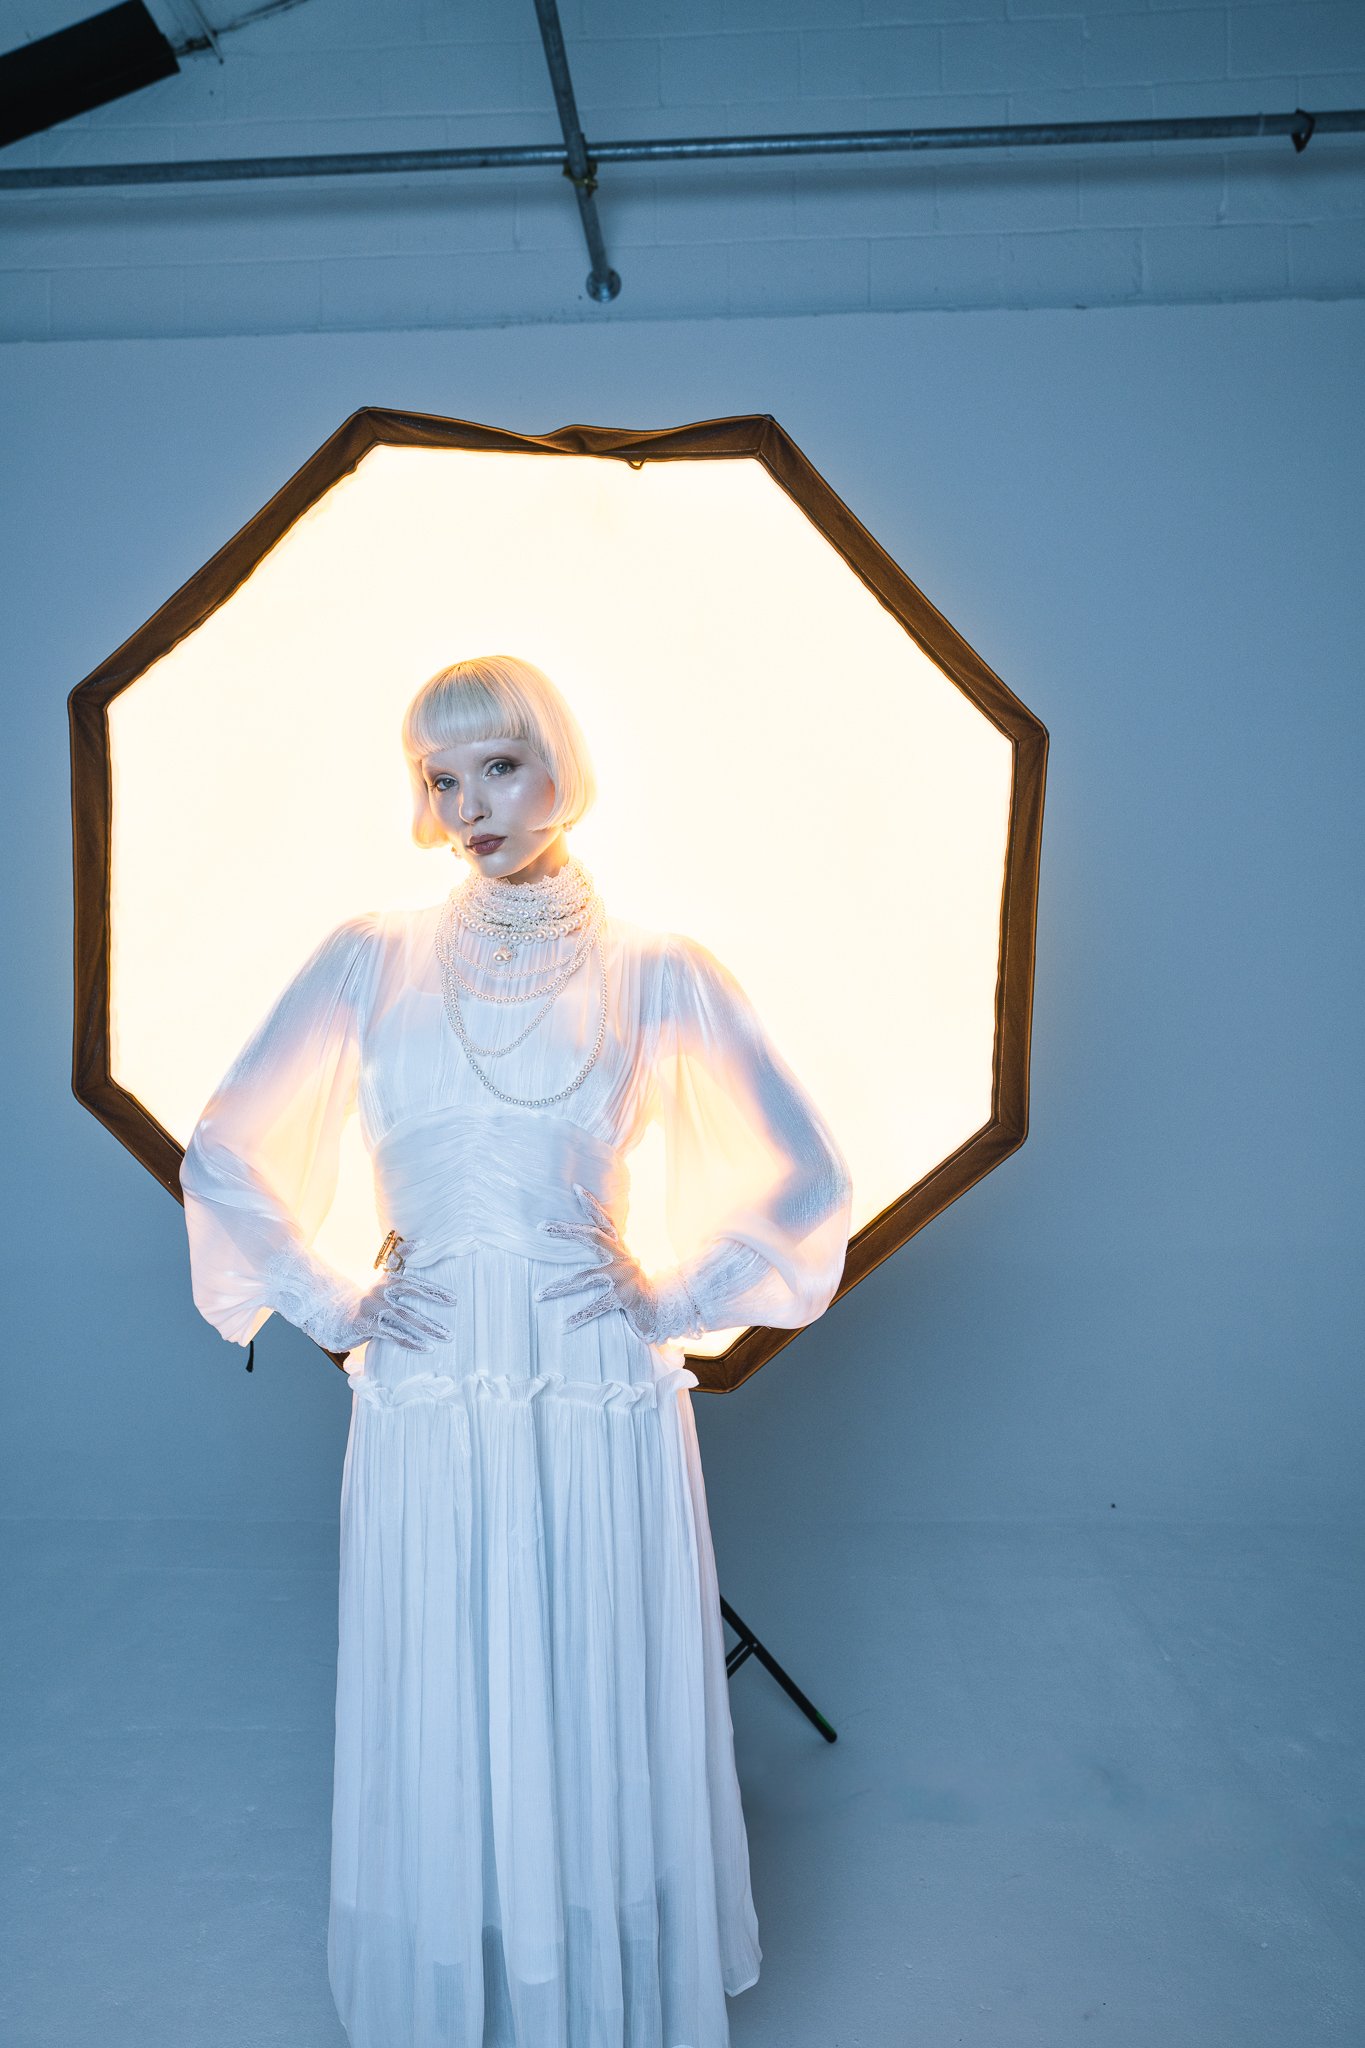
Next, you want to place another large light behind yourself. I’m using the Profoto Umbrella Deep White XL here. I will add that this giant umbrella produces a truly gorgeous wraparound light, and it’s immediately obvious as soon as you open it up and turn it on. It’s this light that you want to set at a contrasting kelvin color. For me, I wanted to test the extremes of kelvin these new heads could offer, so I set this L600C to its maximum kelvin of 15000K in stark contrast to the other light at 2000K.
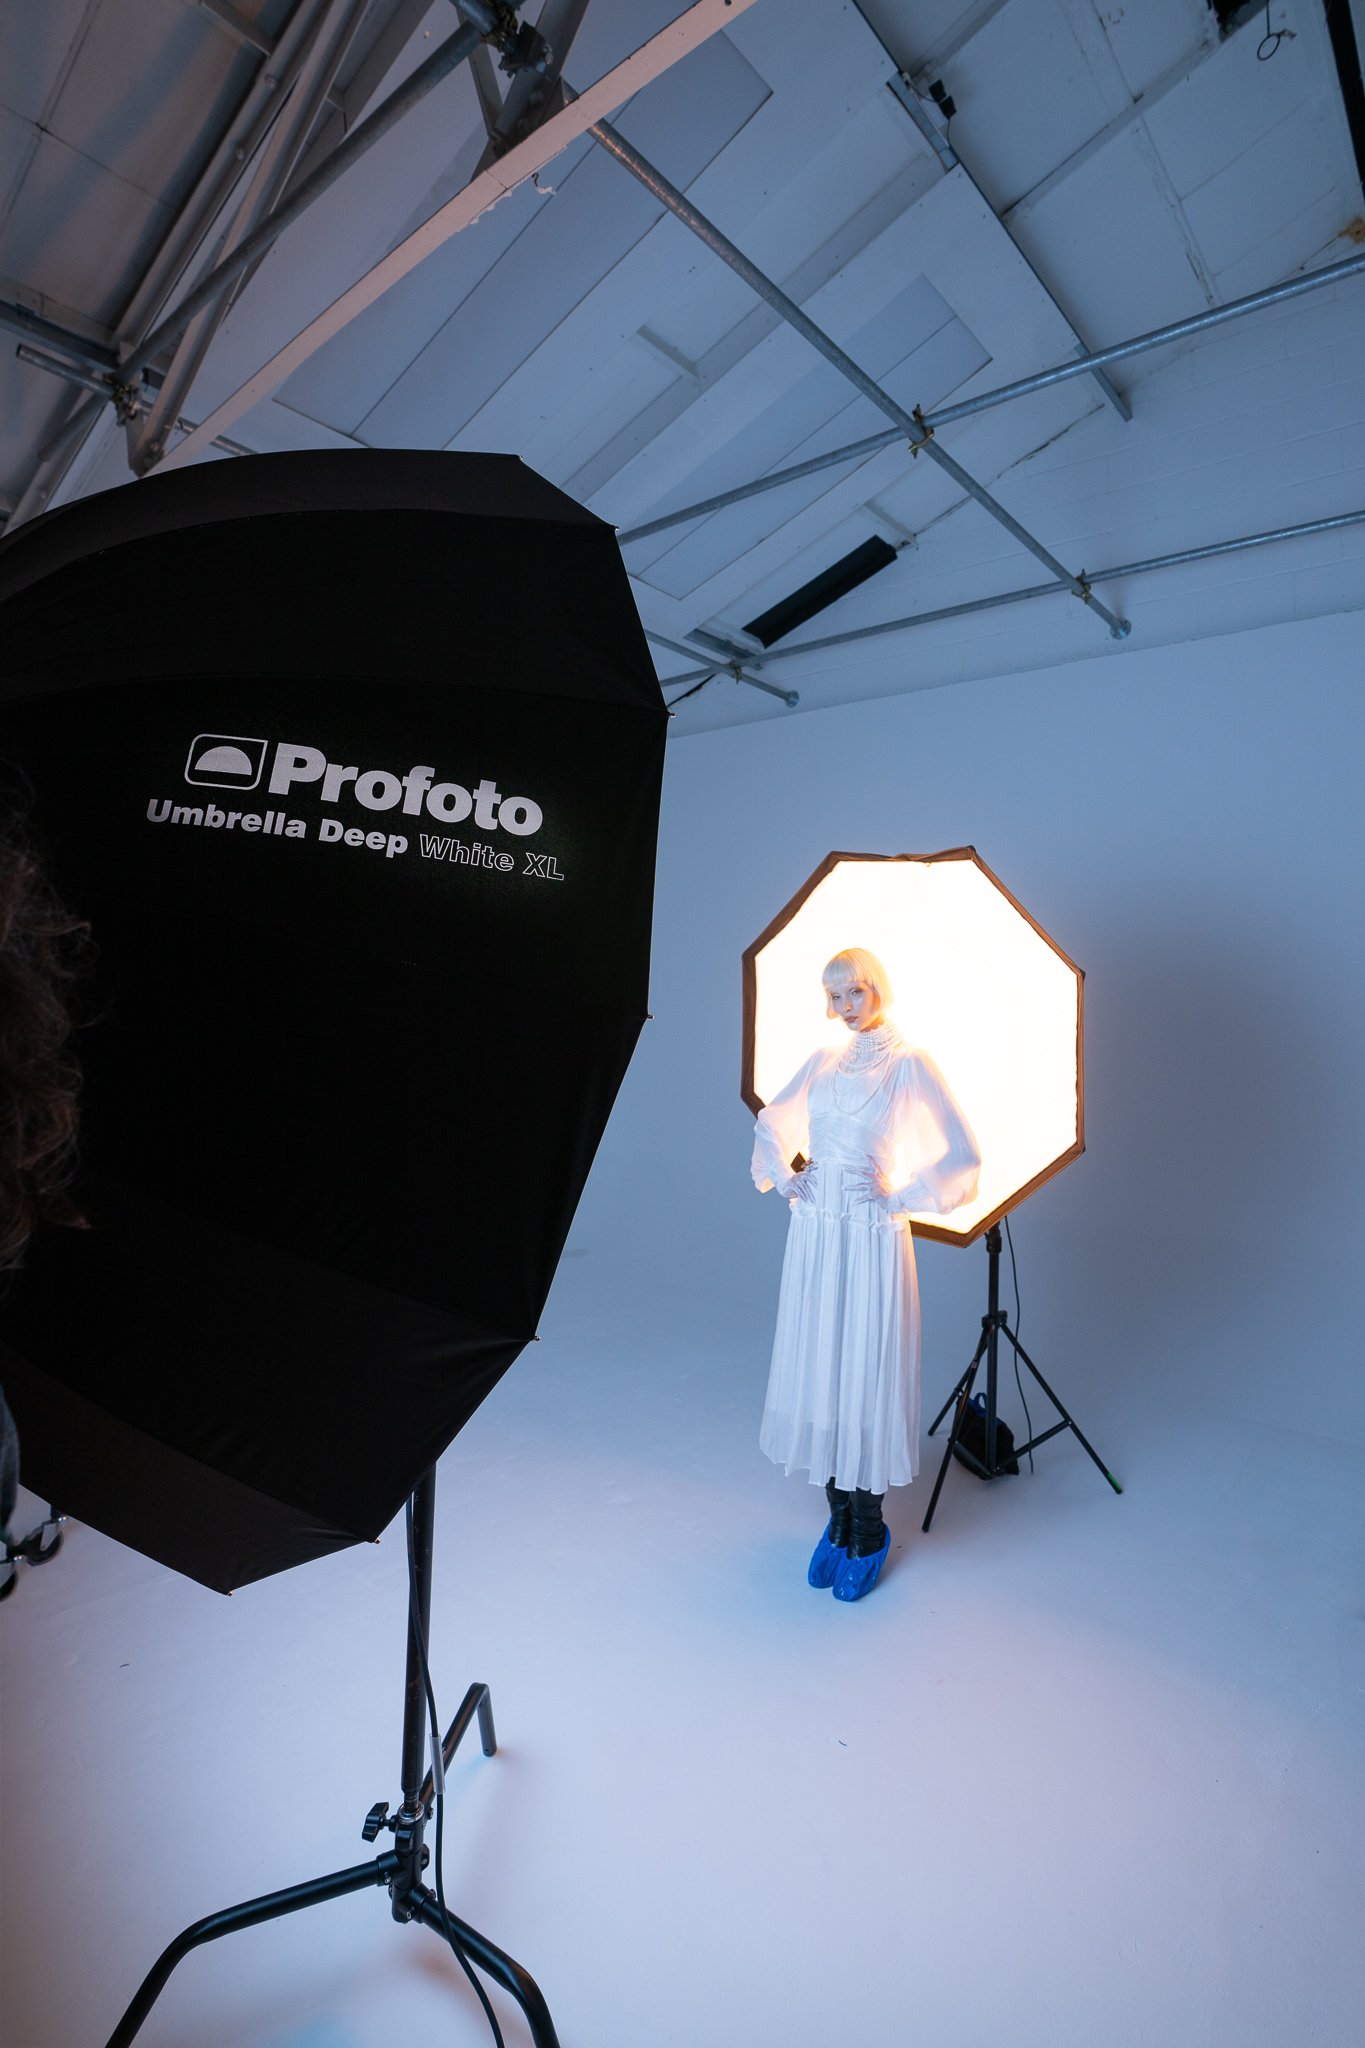
That really is it. You’re almost done. All you need to do now is set your camera up and start shooting. Of course, the trick here is set your camera to a kelvin (white balance) value that you’re happy with. I’d suggest starting with a value somewhere in the middle. That way, the kelvin from behind the model will shine through as orange, and the color and the kelvin from behind you will shine through as a slightly cooler blue color.
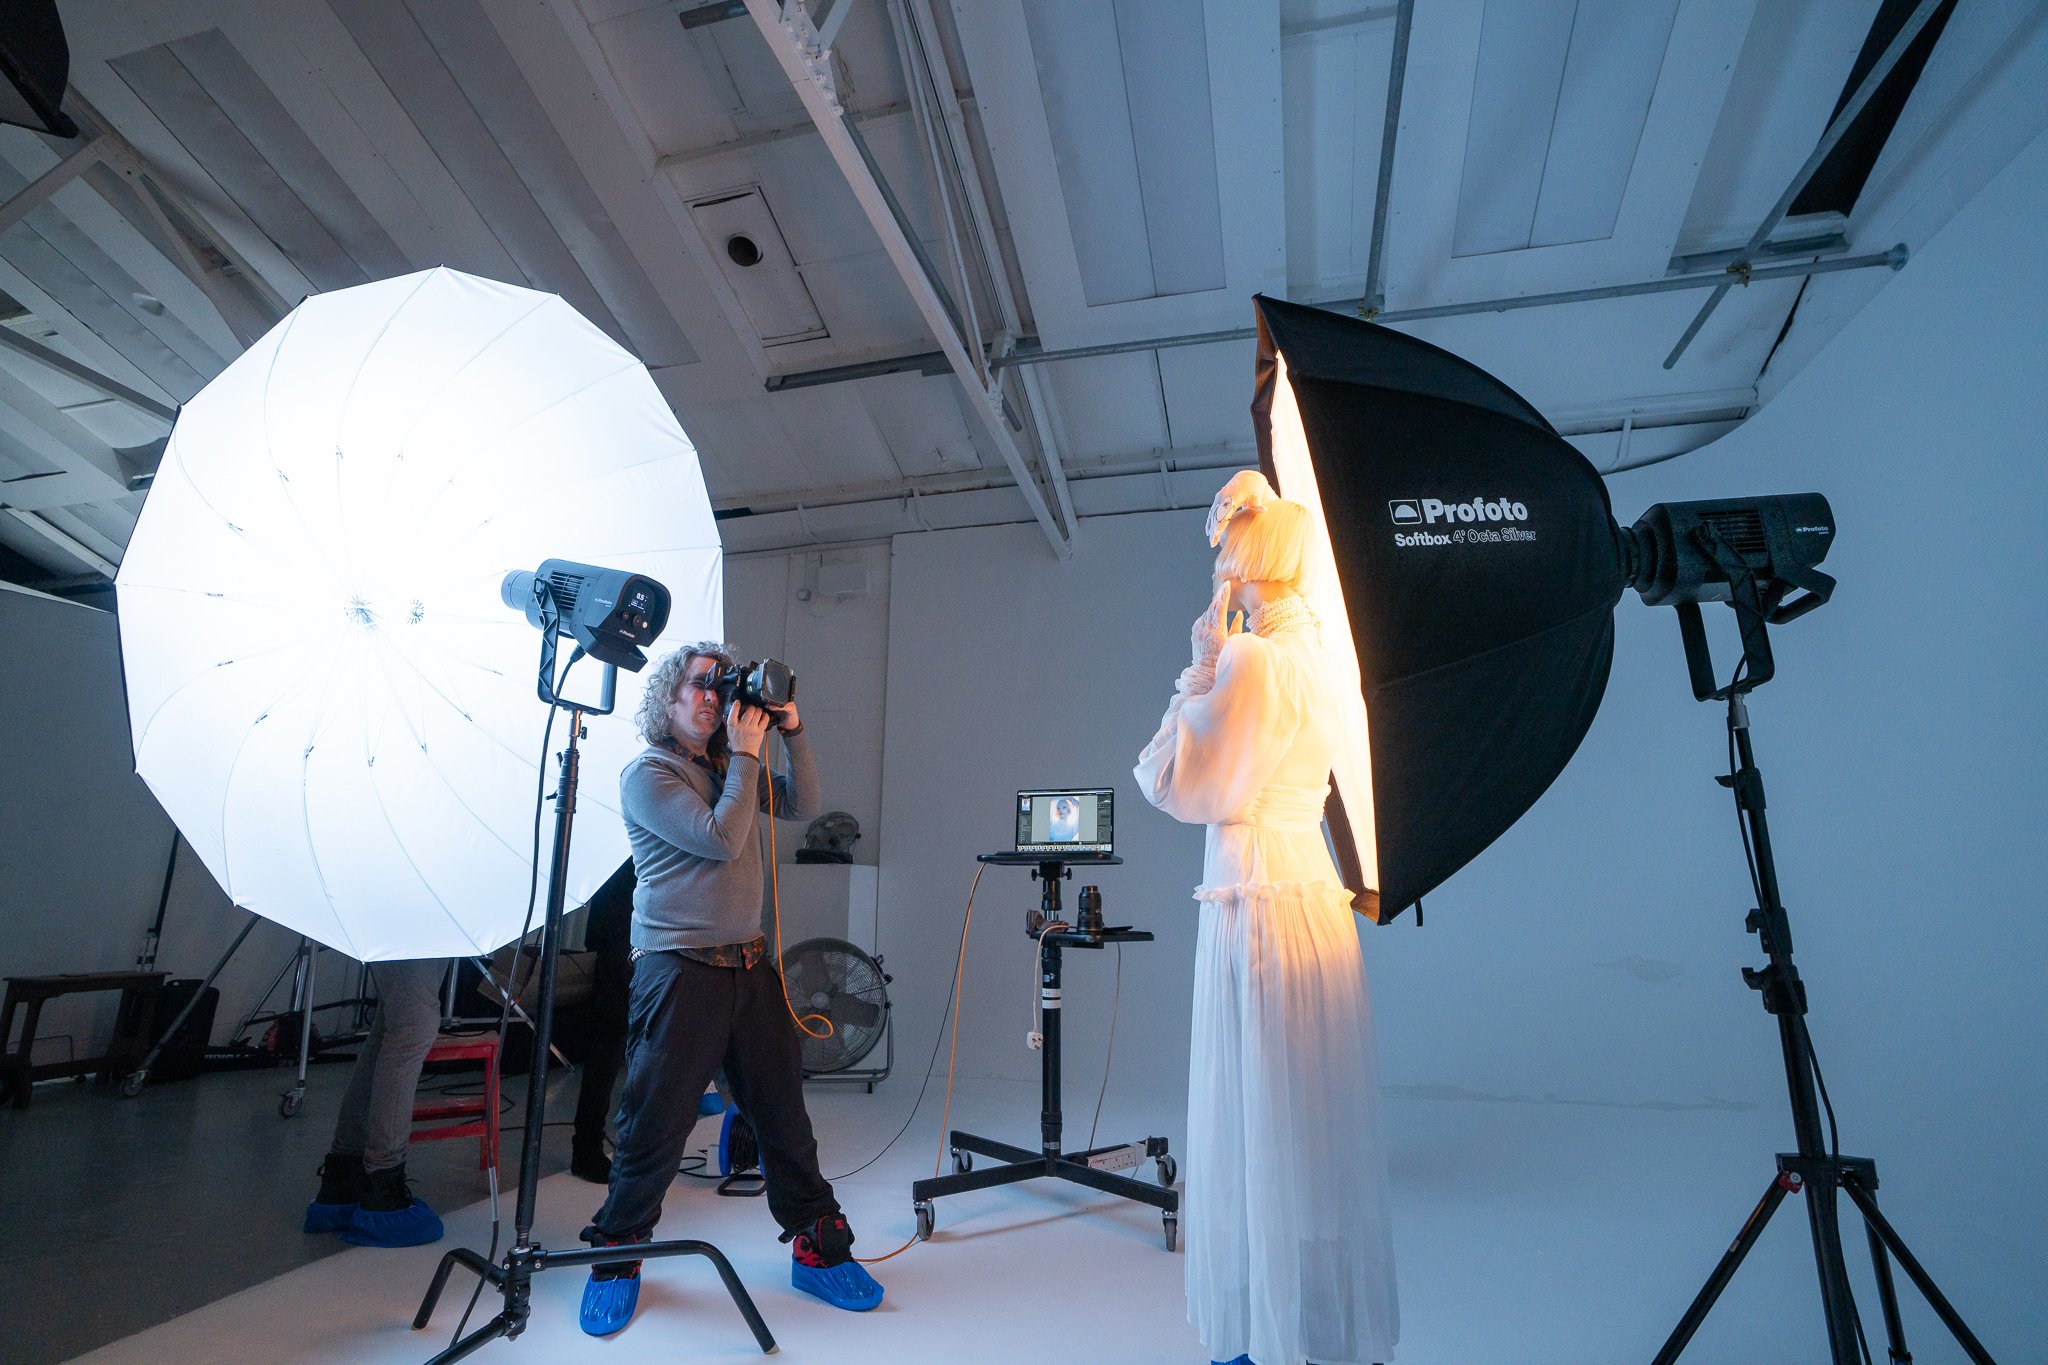
Continuous & flash: When I was shooting this set, I had both the L600C heads set to flash mode. They were in continuous mode the whole time, so I could see what each light was doing and focus the camera, but when the shutter was released, the L600Cs would flash. I shot like this primarily to make life a little easier on the model. Directly in front of her was a huge umbrella and had the full brightness of that light been bearing down on her the whole time, it would have gotten pretty uncomfortable, pretty quickly. By setting the L600C continuous light to low and the flash to high, I can capture a bright image without annoying the model in the process.