How to photograph a strap dress on a ghost mannequin
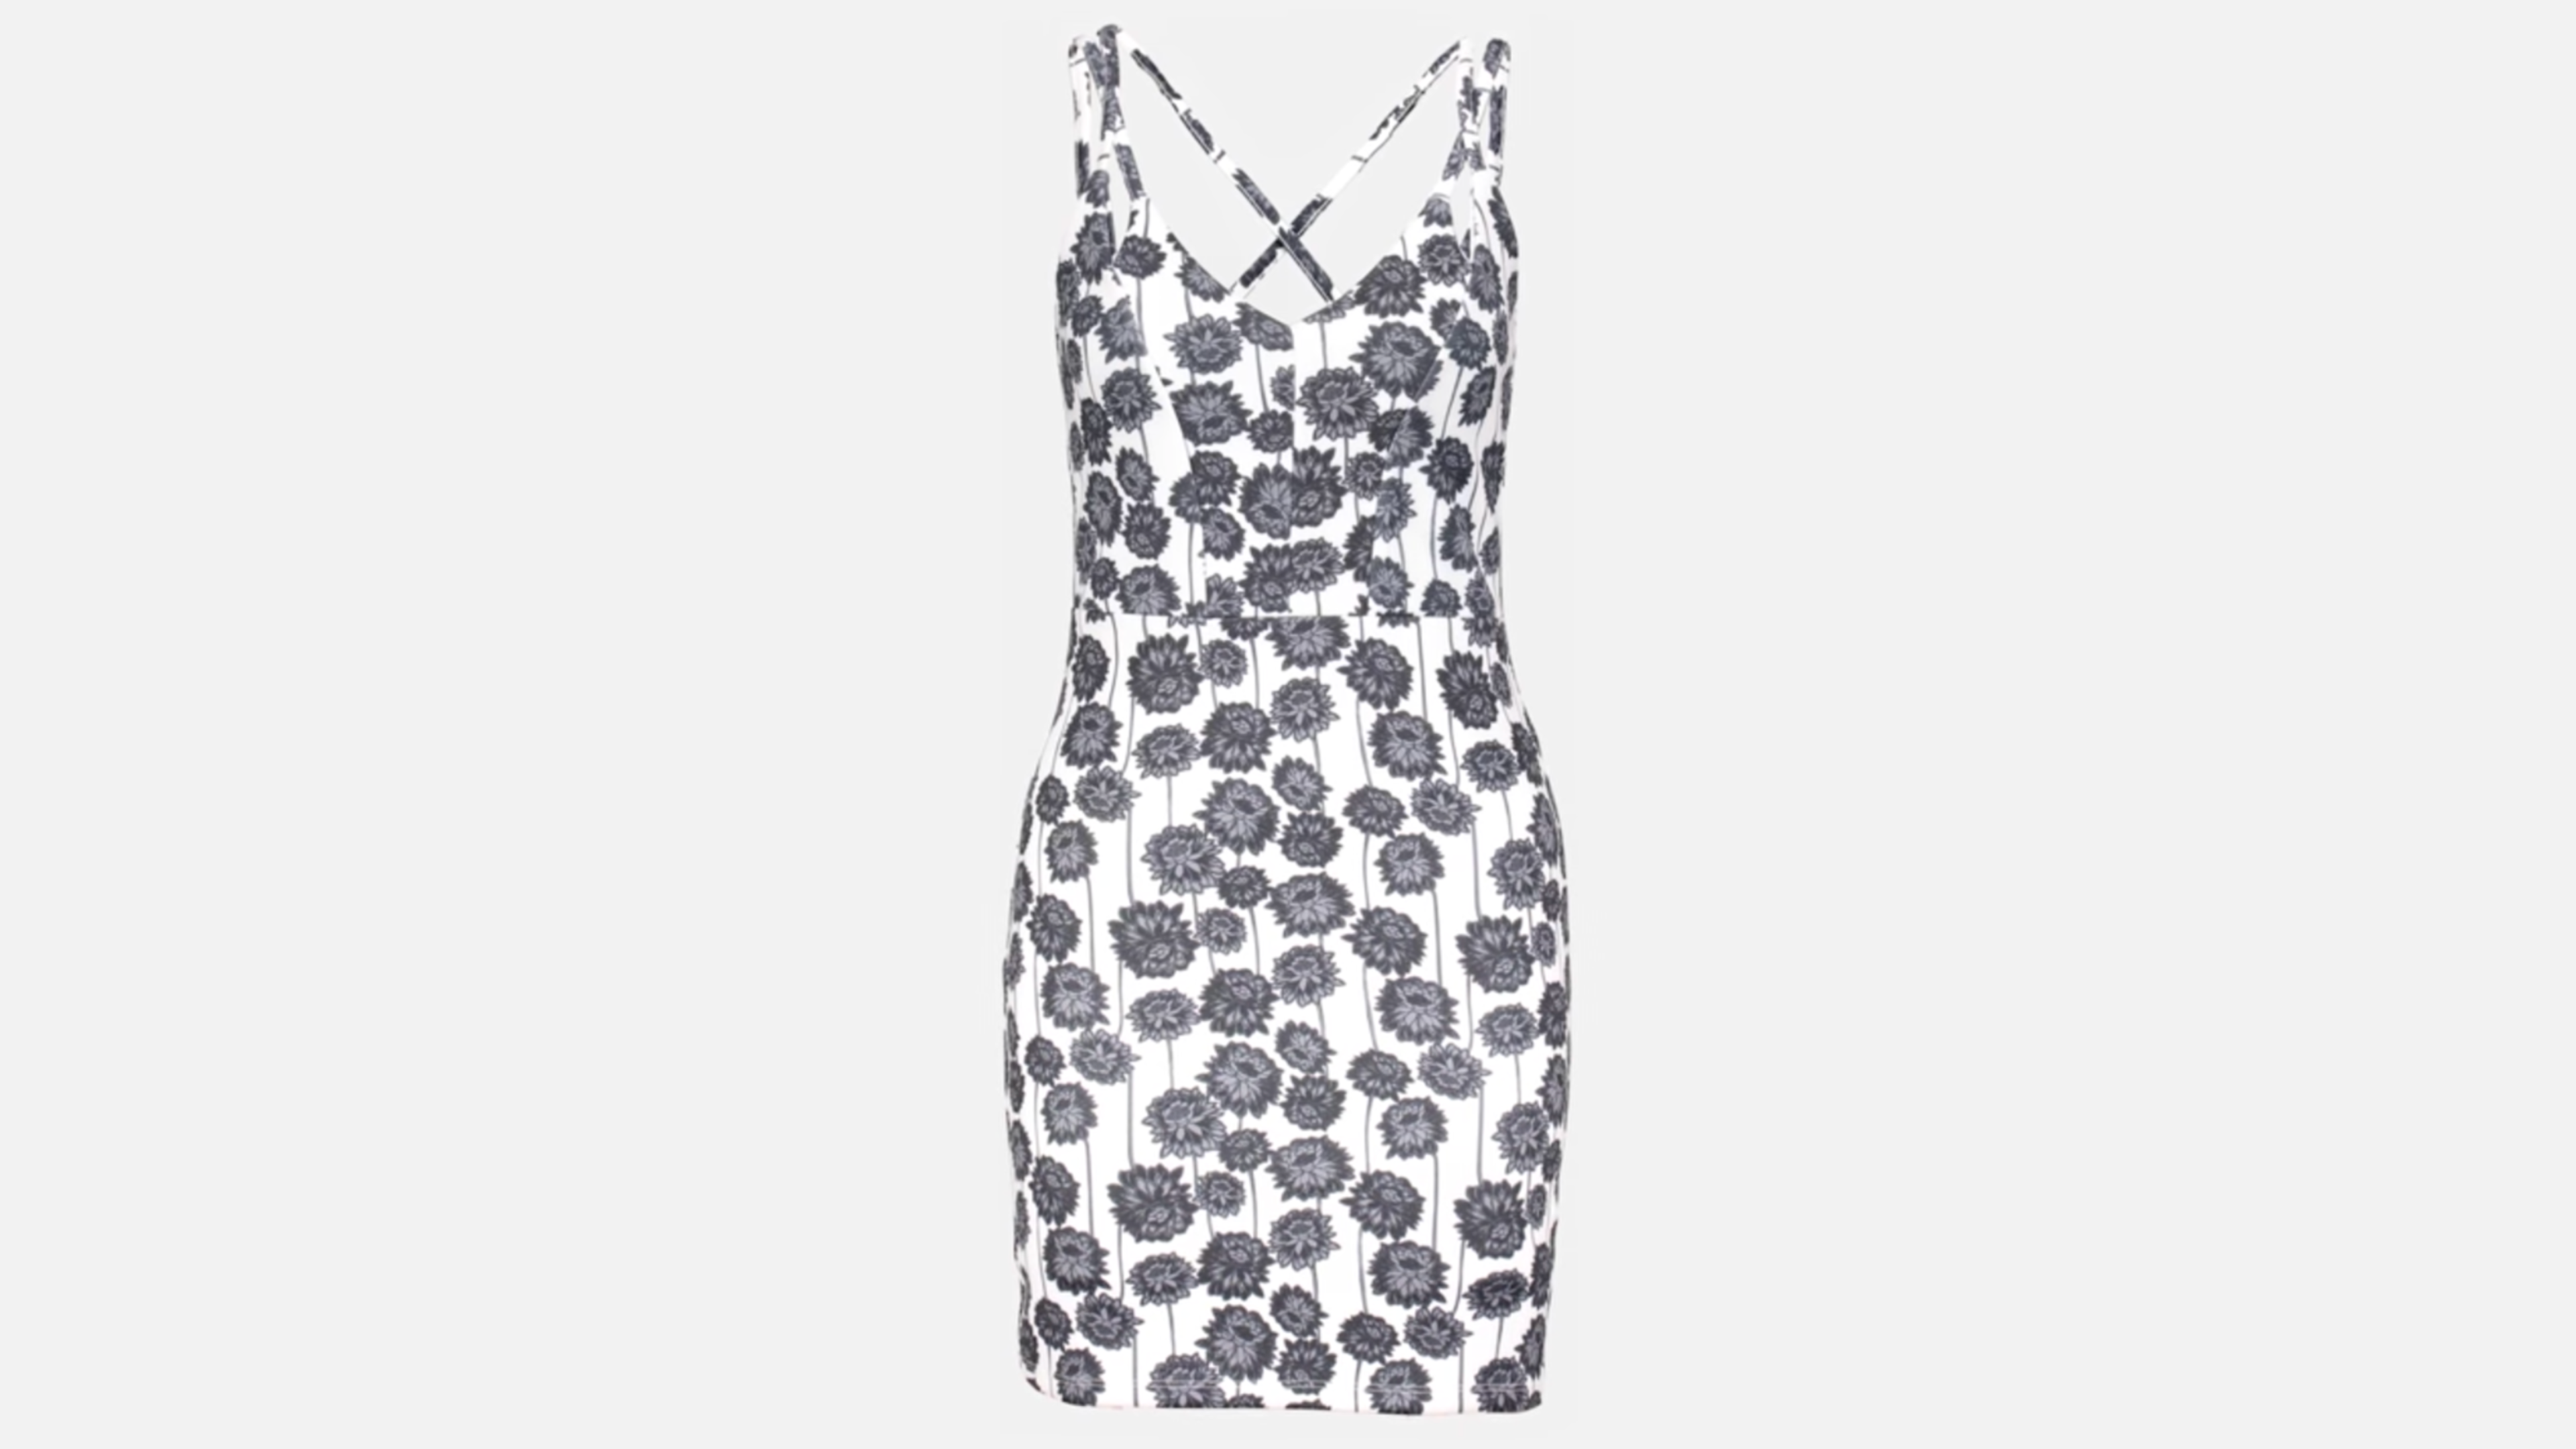
‘Spaghetti strap’ dresses in particular pose a challenge to present online, so it helps learn how to achieve a professionally styled shot quickly. In this fashion product photography tutorial, we will teach you how to style a spaghetti strap dress using a ghost mannequin to look great on your web store.
When photographing strap dresses, many stylists will choose to shoot it hanging in order to save time and achieve a simple look. This does have the effect of showing off the straps, but ultimately the dress can appear flat and lifeless.
By styling using a ghost mannequin you can give the dress a full bodied look that will not only look great online, it will also give your store a more professional, consistent appeal.
To learn how to photograph and style strap dresses for your online fashion store, read on. But first, let’s run through the essential tools you’ll need to get prepared:
The equipment you need to style and shoot a strap dress
- Ghost mannequin - Any modular mannequin (with removable v-chest and arms) can be used for getting invisible product shots by removing pieces individually
- Camera - Any camera will suffice but a Canon EOS 5D Mk III is recommended as the industry-standard for professional product photography
- Studio lighting - A source of continuous cool LED lamps are recommended for lighting to ensure exposure, shadows and contrast are kept consistent
- Your garments - Whatever kind of dresses you wish to shoot and get uploaded to your web store quickly
- A reflector - A sturdy bright and reflective surface, such as a whiteboard, helps cast light back into areas of the dress
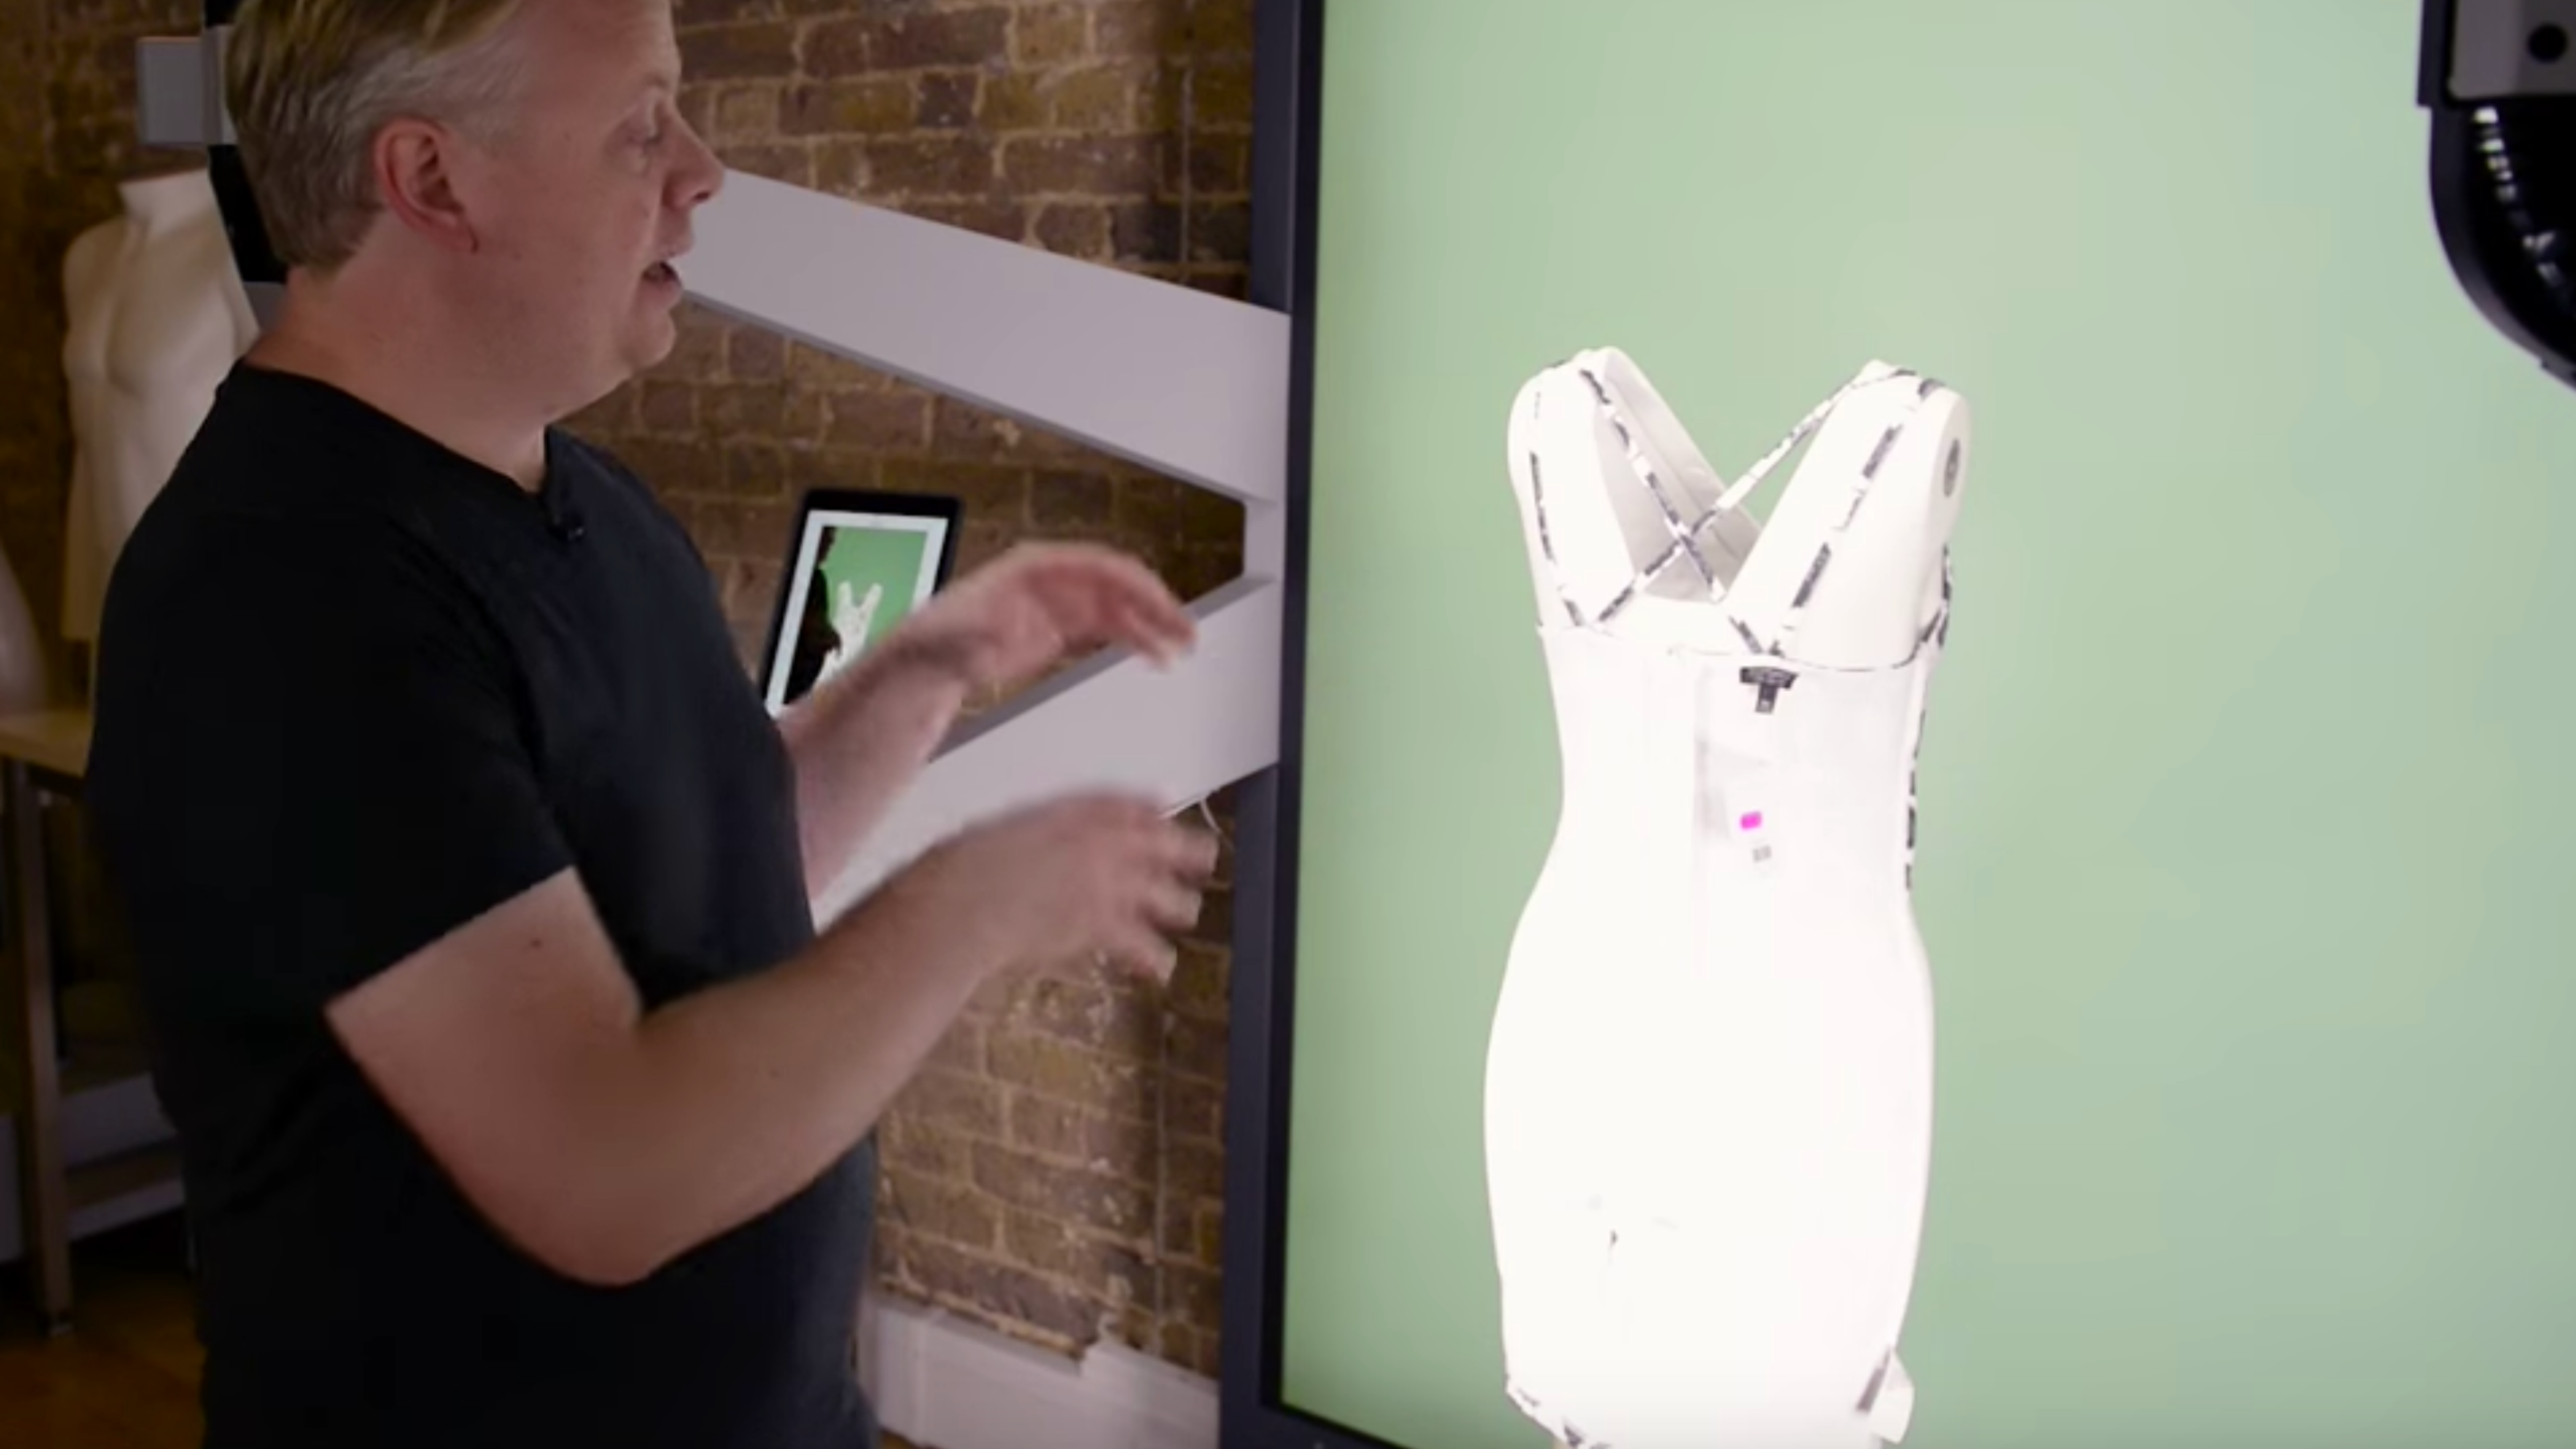
1. Choose a ghost mannequin that fits
Due to the style of the dress, there will always be some post-production work required. However, a ghost mannequin can hugely reduce the time spent as you can remove pieces of it individually. Choosing one that fits closest to the size and shape of the dress will make it naturally easier to taper and contour around the body.
By removing the neck and inner chest piece, it becomes possible to include the straps on the back of the dress in your shot. This will give you a better indication of how the final image will look after post-production.
If you don’t have a special mannequin like this, you can still follow this tutorial to learn how to achieve a great style when shooting your dresses. If you want to learn more about them, you can check out the range of mannequins for invisible product photography here.
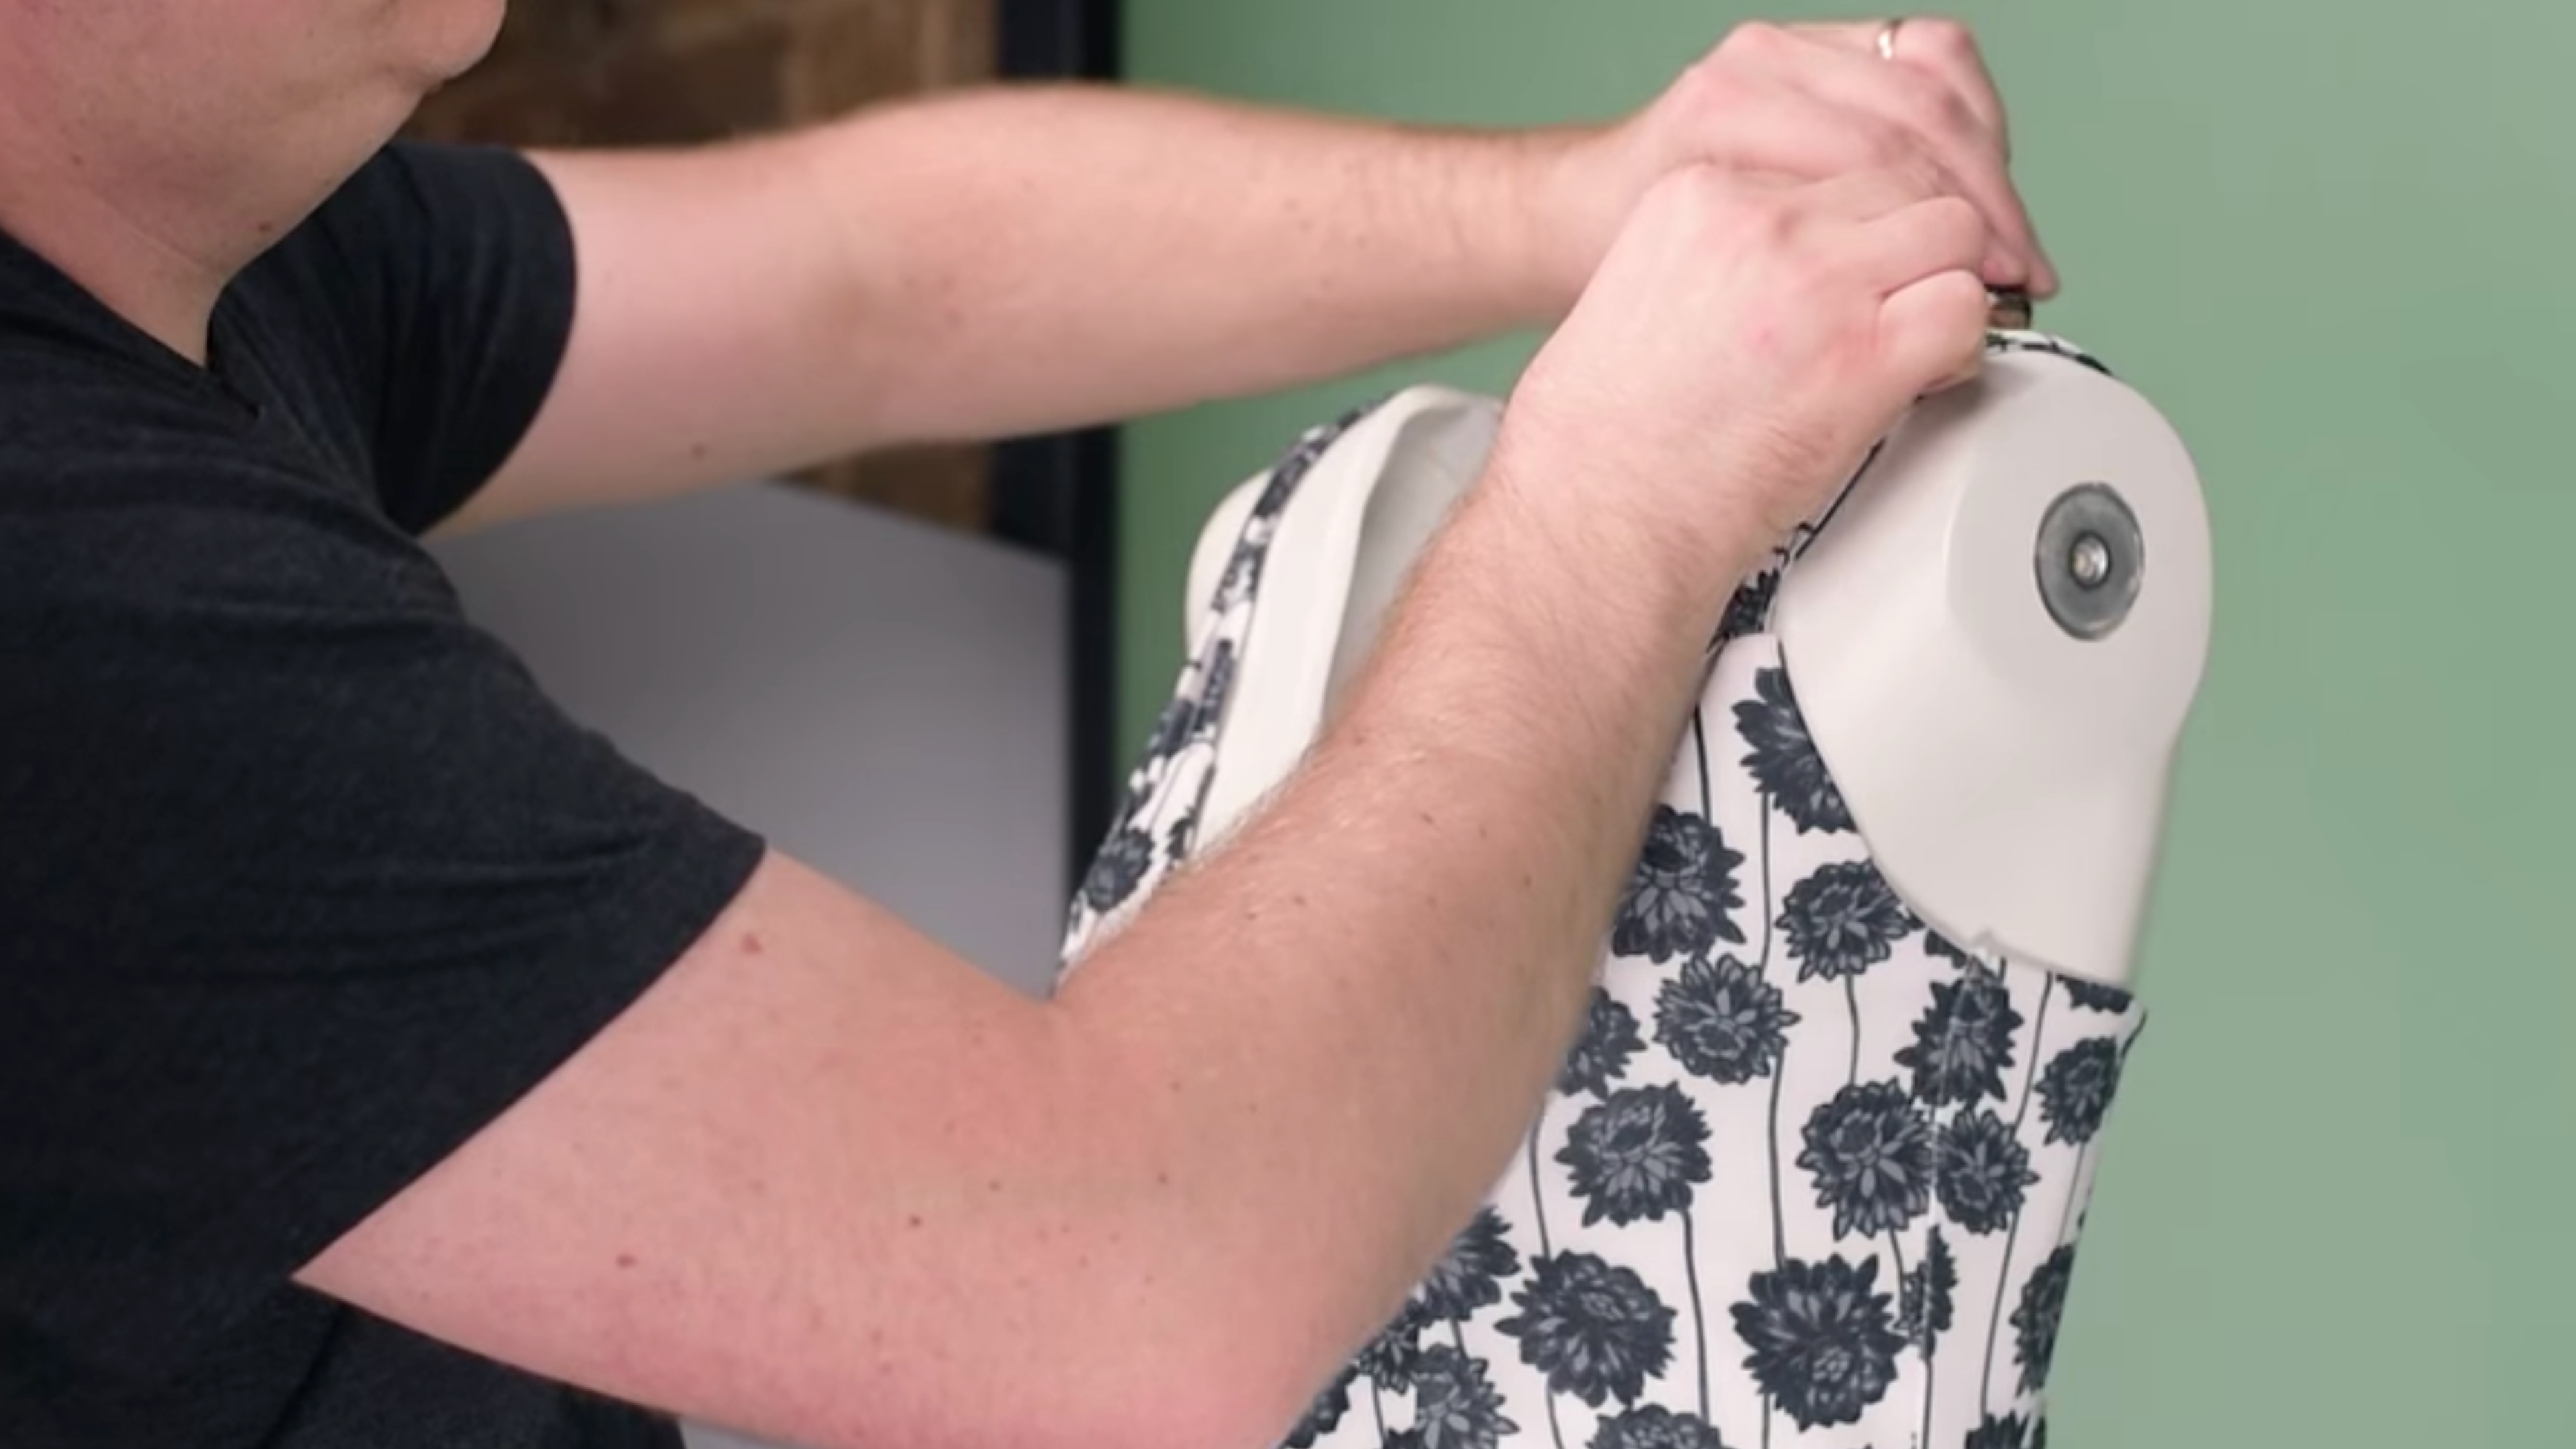
2. Fit your dress on the mannequin
It’s likely that you won’t have a mannequin that fits your dress perfectly. However, there are a few tips and tricks you can utilise in order to better shape the dress around the mannequin’s form. For this part, it helps to have a variety of tools on hand - so check out our guide to 10 essential tools every stylist should have.
First, focus on the shoulders of the dress. Ensure they are symmetrically aligned on the mannequin and use double sided tape to keep the shoulder straps from falling down.
3. Styling your dress on the mannequin
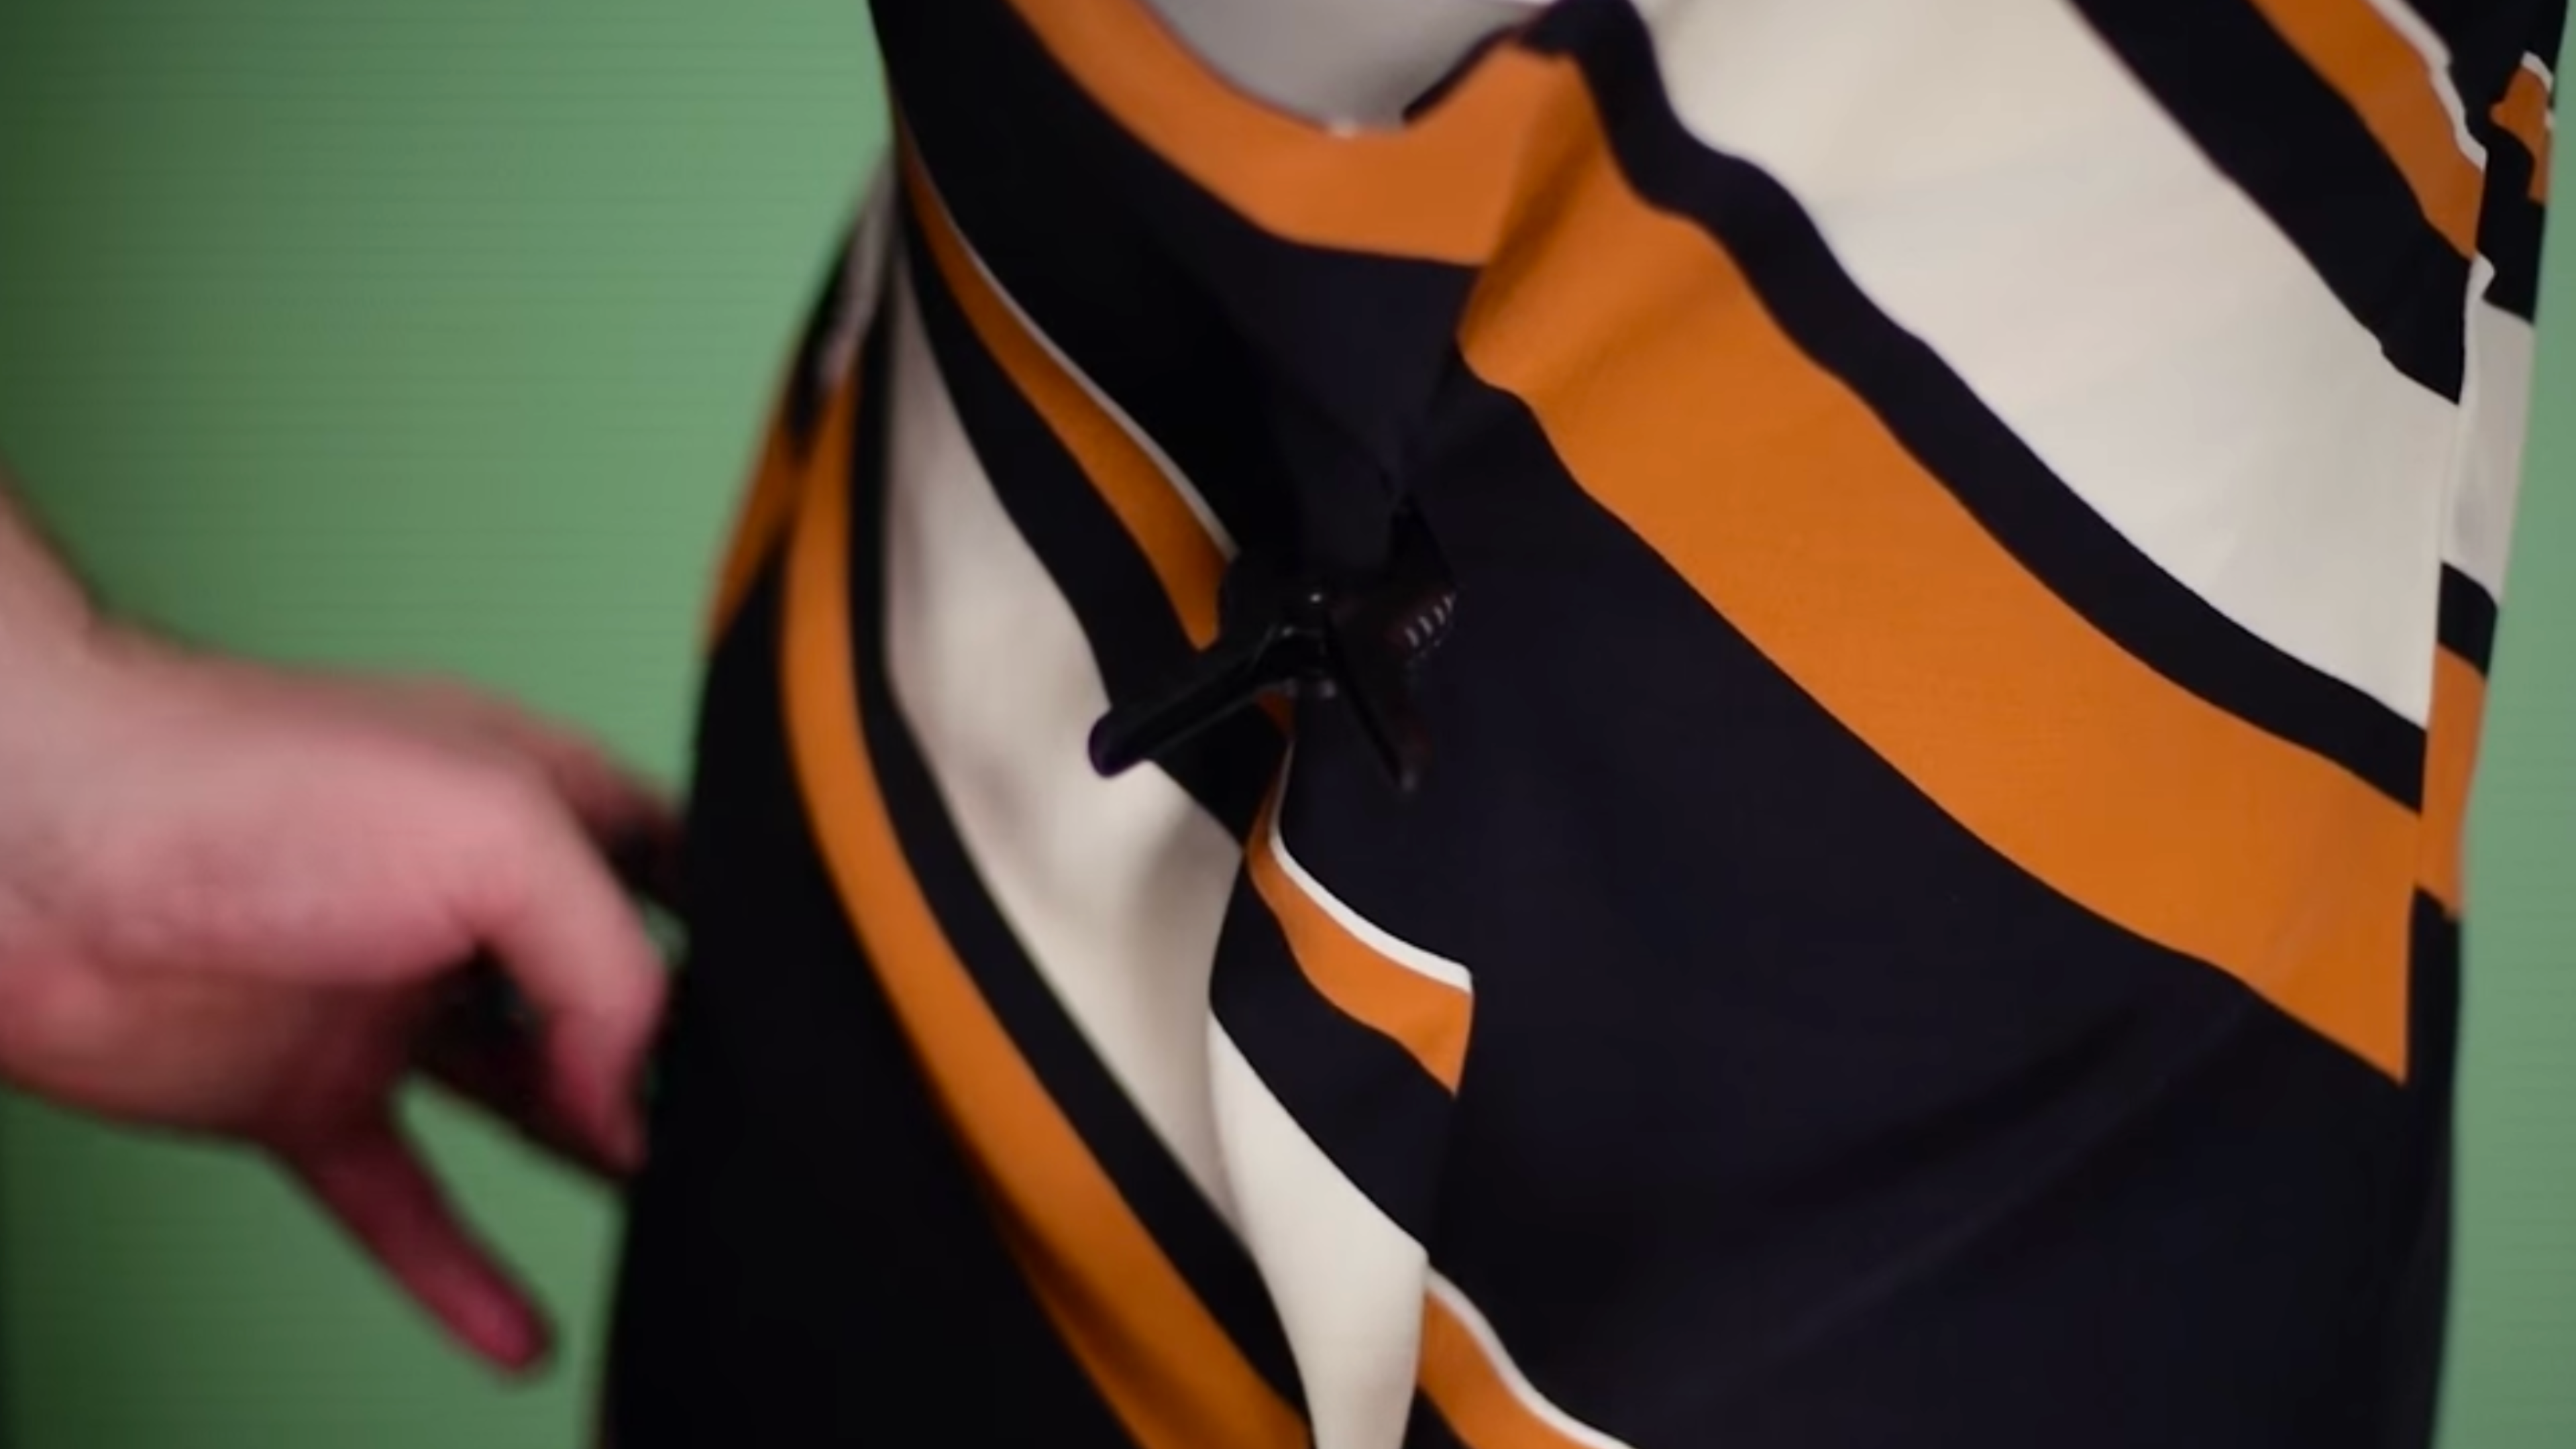
Next, rotate the mannequin 180 degrees. Assess how the back of the dress tapers around the bust and hips. Grab and fold any excess fabric - ideally along the zipper line of the dress - and lightly pull the dress tight. Use clips to hold the taut fabric in place.
Turn the dress back around and preview how it looks. Scan for any areas where the fabric is scrunching up and remedy any problem areas by adjusting the tightness of your previous clipping work.
Beneath the shoulders and armpit area is an important place to focus your styling efforts on. To get the armpit area to contour more closely to the mannequin, use pins to stick together any excess fabric on the back of the dress. You will see how the dress achieves a more shapely appeal.
4. Highlight details with lighting
Many dresses will have unique fabrics or features that you’d like to draw a customer’s attention to. So that’s why it’s important to play with the lighting in your shot to bring out and highlight these details.
Experiment with the angle of your lighting to see how shadows can be cast on the dress. Check out our other tutorial to learn more on how to use light direction to bring out details in your products.
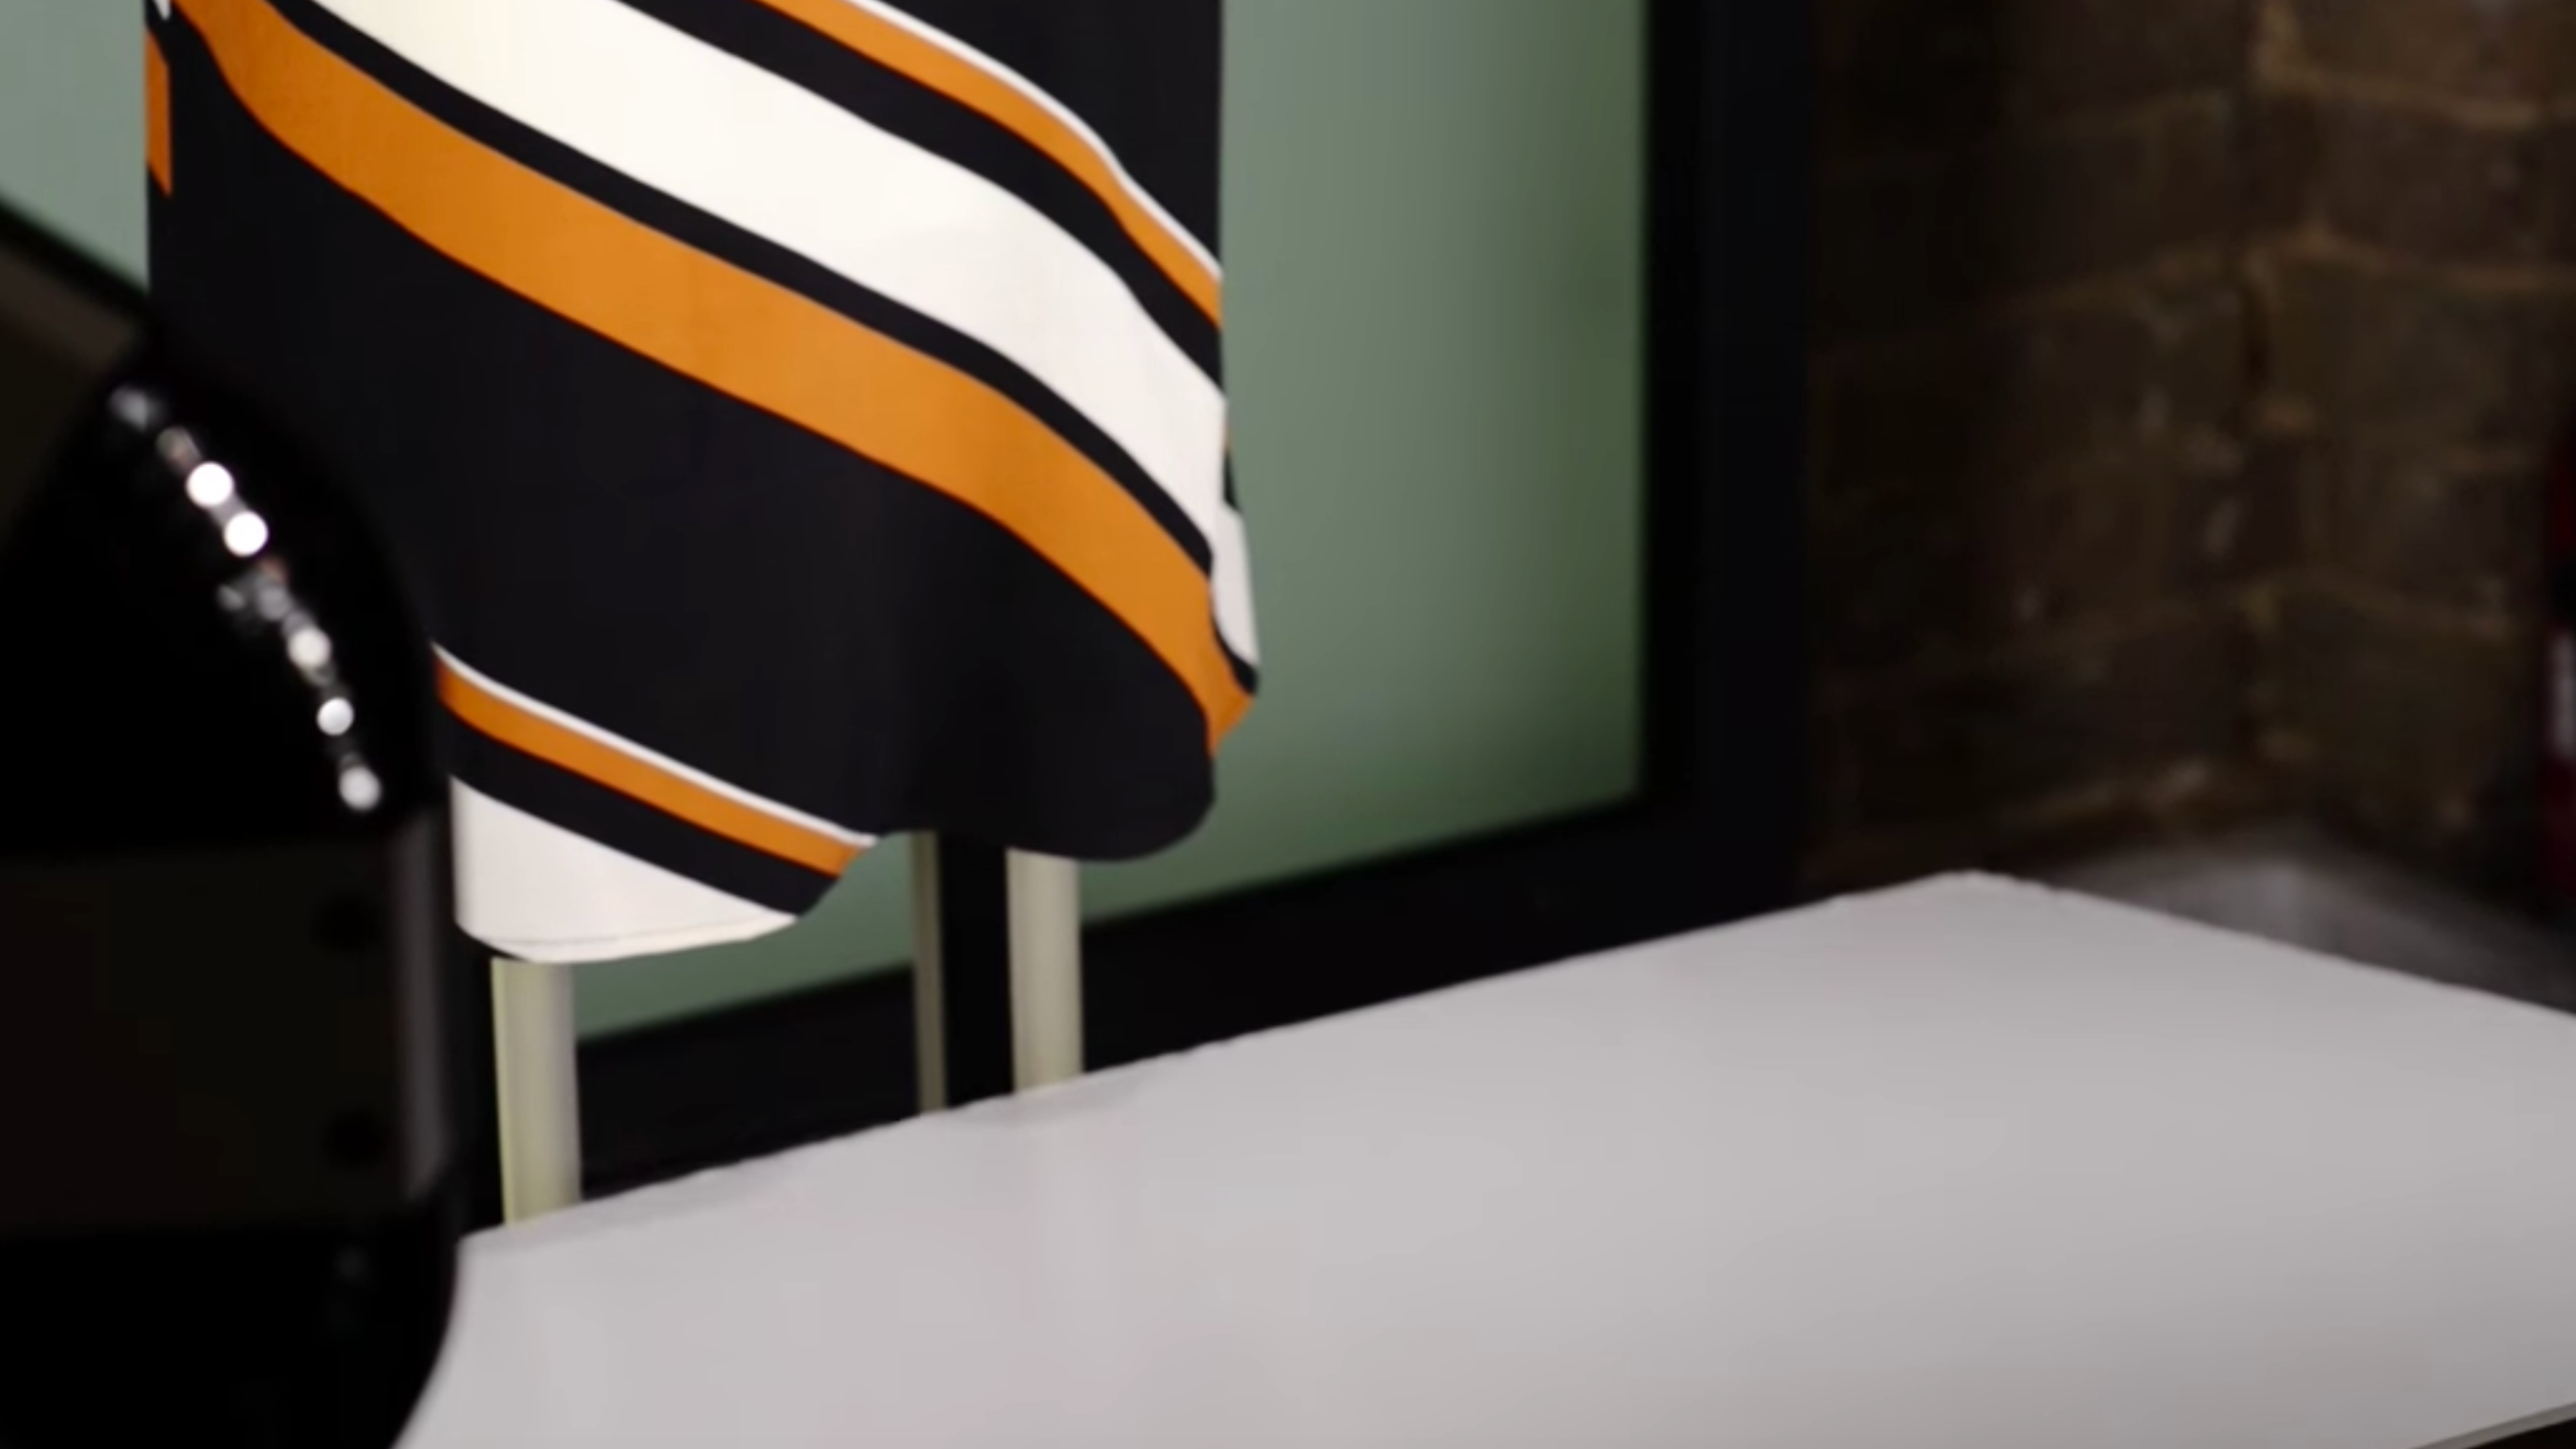
You can also use a reflector - or a sturdy piece of bright white material - to reflect light back into areas you wish to highlight. In this example, we have used a reflector to cast a small amount of light back upwards into the bottom of the dress. This achieves a subtle, yet interesting effect.
5. Shoot the dress
This is an area where most problems occur in shooting these types of dresses. However, we will show you a simple, easy trick to show off the straps from both sides as if they were being worn by an invisible woman.
This trick simply revolves around turning the dress inside out, and putting the straps in the same position that they were in to match the front. Ensure the straps lay in a similar manner as the front shot.
Shooting this image allows both shots to be composited - front and back - in post-production to make it look like the straps of the dress are flowing naturally over the wearer’s shoulders. You can see this on the image below.