How to photograph a model wearing a coat for e-commerce
We show you how to style and shoot a model wearing a winter coat in this fashion photography tutorial.
In this model photography tutorial, we'll show you how to show off a winter coat look for your web store.
We'll cover tips on directing your model, styling and preparation, as well as some guidance on lighting the shot.
What do you need to get started?
-
A model that fits your brand look
-
A coat and matching products from your collection
-
A studio setup with lighting and pro-grade camera
-
A photographer and stylist to get the visuals right
-
A hair and make-up artist
-
A style guide to keep your imagery consistent and on-brand
What do we go through?
-
Styling and preparation
-
Lighting your video
-
Poses and expressions
-
General tips and tricks
Styling and preparation

Preparing your look
First, we want to make sure the outfit looks good and matches the story you're trying to tell. In this instance we've gone for a casual urban winter look.
To put this together, we've chosen some boots, cropped pants and a brown coat with faux fur cuffs. We've also gone for a light red sweater to add a pop of color into the mix.
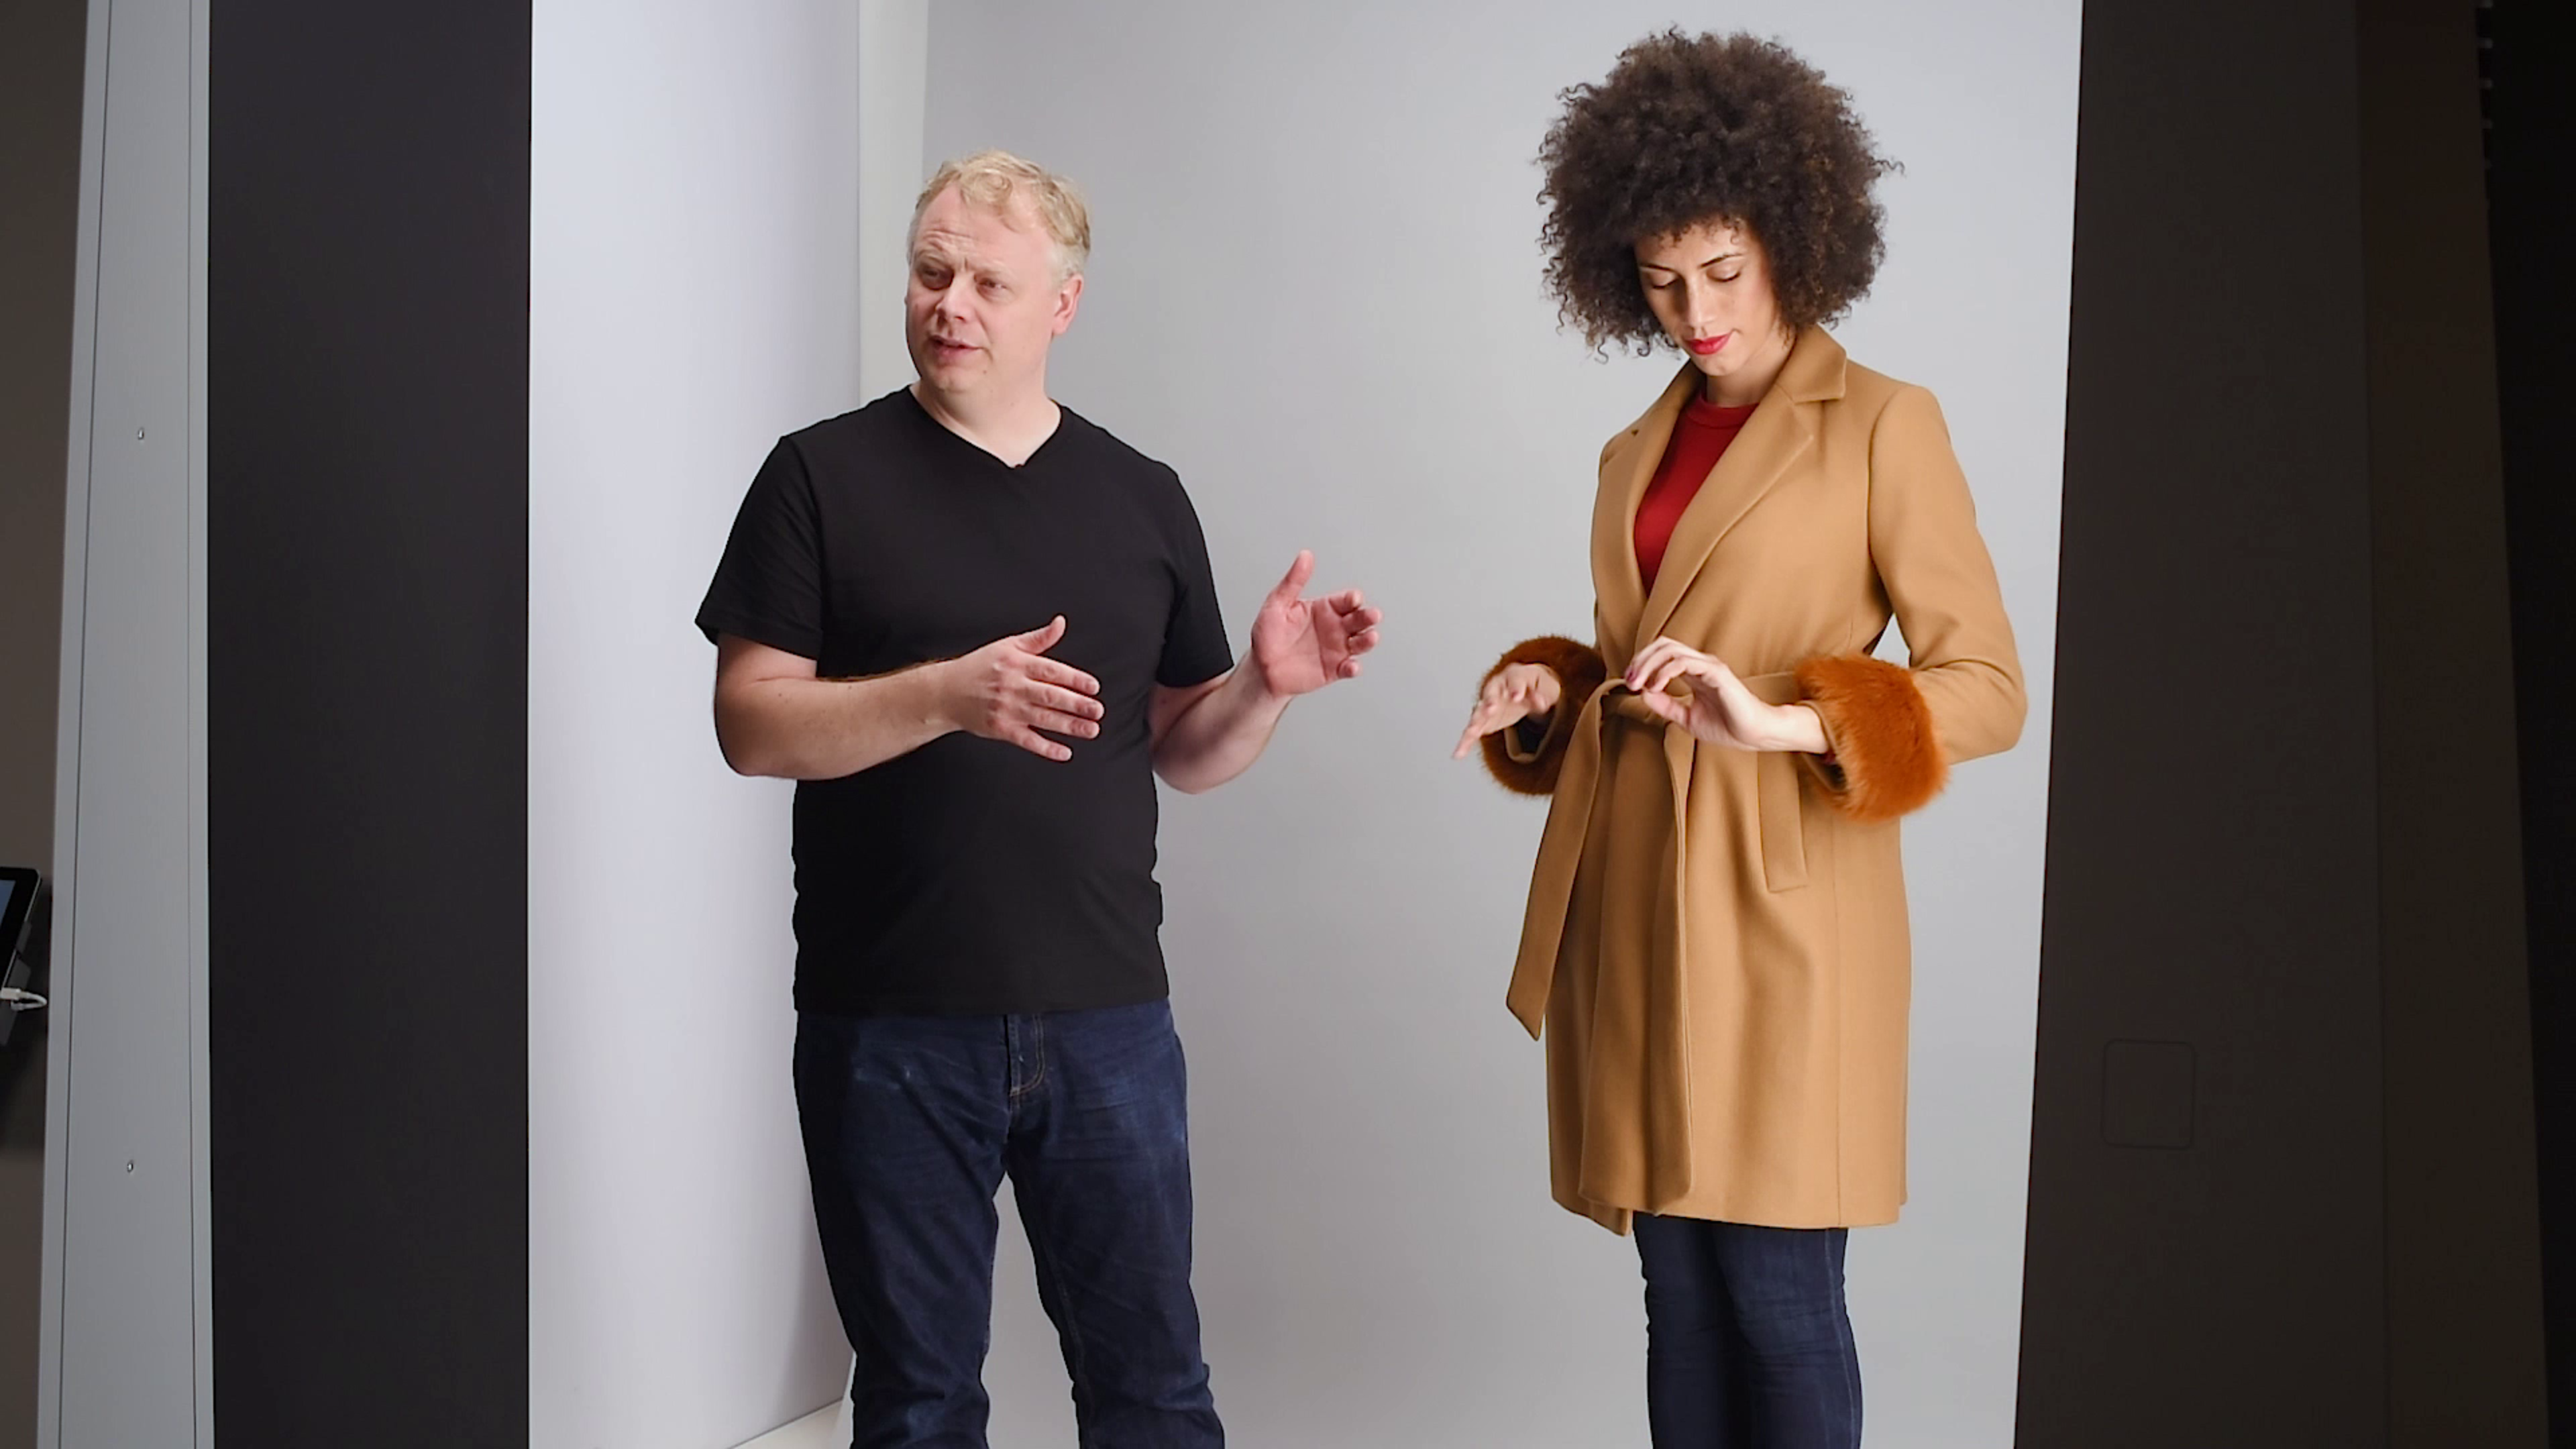
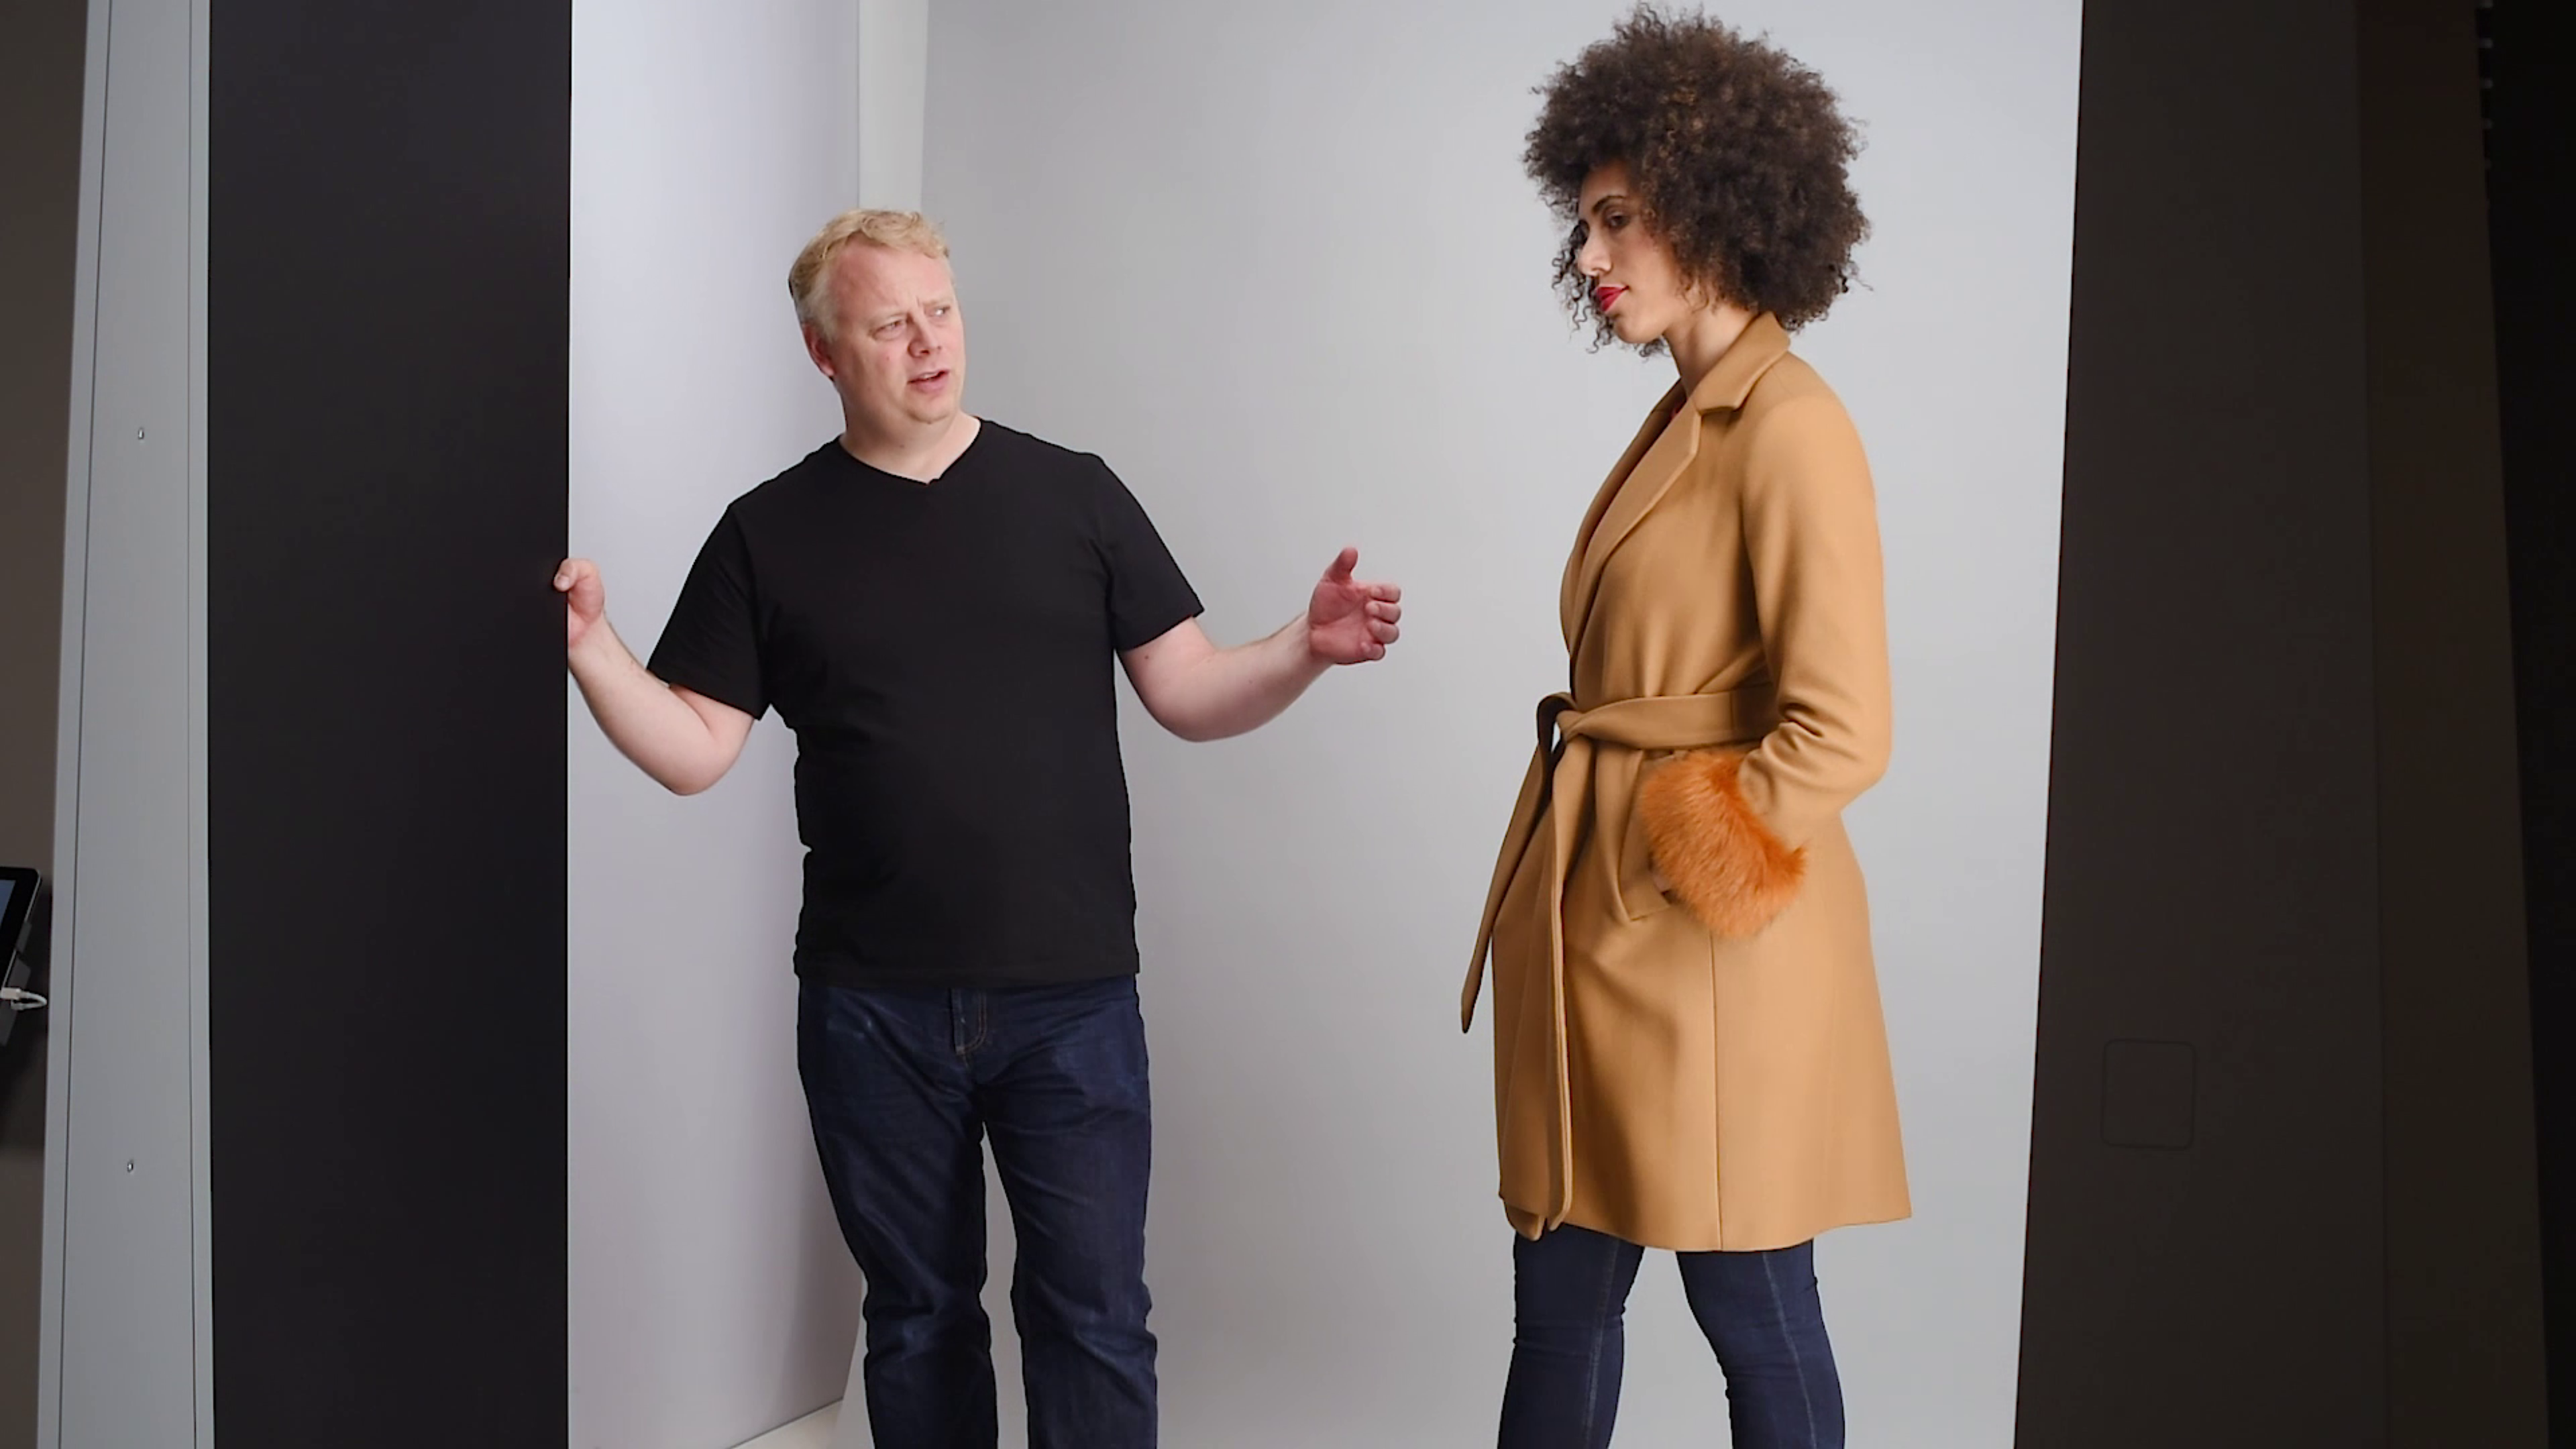
Styling before shooting
Before any photography is done, take time to style your model and do hair and makeup. We've made sure the belt is neatly fastened around the model's waist and checked for bits of lint, or creases anywhere on the outfit.
If you're photographing images where the model's face is cropped out (this is a choice and has an impact on image usage rights)
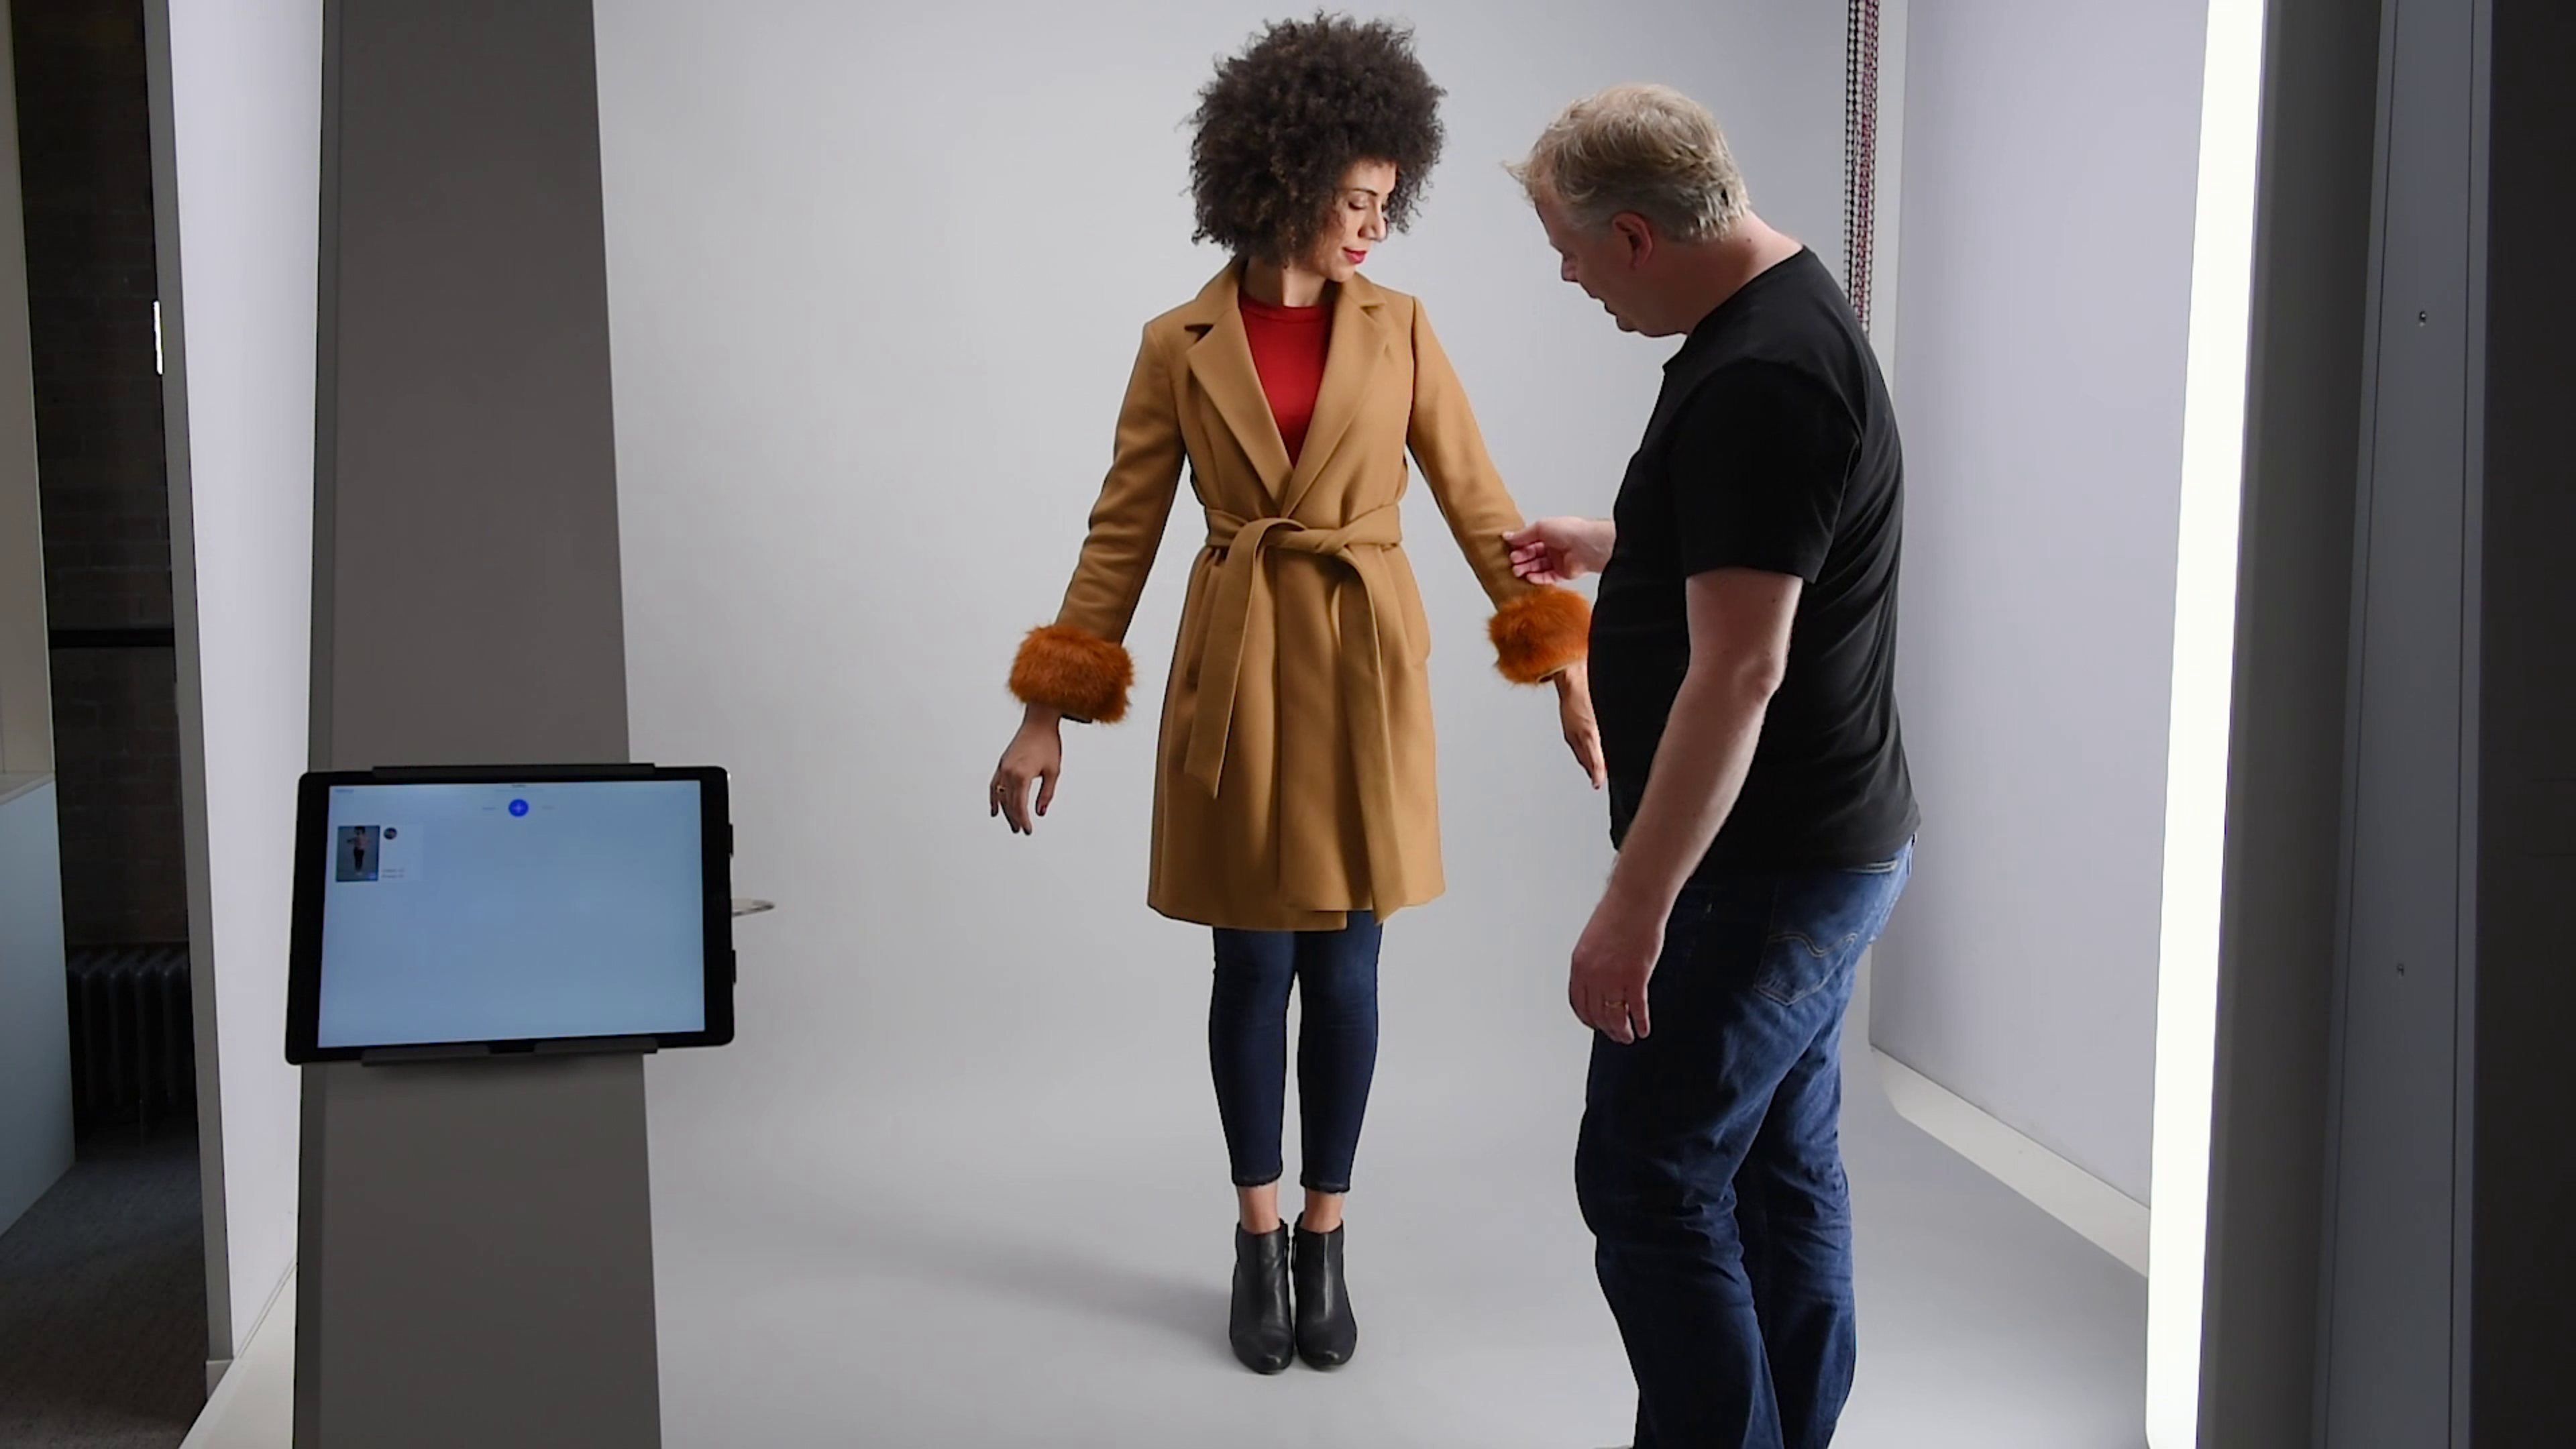
Our stylist and photographer are one in the same in this tutorial, but it helps to have a dedicated stylist who is constantly on the look out for visual elements that aren't working - or could be improved.
Stylists handle making the clothes look good on the model. This means doing up belts, changing elements of the look and basic things like ensuring buttons are done up and that there's no loose threads or heavy creases on the clothes. Think of them as your very own 'crease police'.
The more you ensure your model and outfit is looking perfect at this stage, the less retouching you'll have to do later. It takes time to cover up blemishes, dirt and all sorts of things that prevent your clothes from looking as good as possible.
Keep the camera at waist level
To avoid distorting any proportions of the model, set your camera about waist level height.
Have a style guide
A style guide is a really important thing to have on set - especially if you're not working with the same people every time. It guides you on what shots you need from which angles and how to frame, crop and name them.
There's a lot that goes into the creation of one. You can check here and here for some advice on putting one together.
Lighting
Lighting your shot
Now it's time to get the lighting right. Begin by setting your key light, which is the main source and direction of your light, across your model from his or her left to create a little shadowing and contrast.
Keep the lighting the same throughout to keep your images looking consistent when published online.
Check exposure
Make sure your exposure settings aren't too high or low. Too high and the details and skin tones can be 'washed out'.
You can balance the need to turn your exposure up by adding some more light fill into the foreground of your shot. This ensures the detail of your coat will really shine through.
Bounce light back in with a reflector or absorb it with a dark board
A reflector fills the darker areas with light. We've also added some more light fill into the foreground and background to make sure the final image is crisp and all the details are brought out.
But in this instance, we've used a dark fill to add more contrast and shadowing.
It helps to always think about what your customers want to see. When it comes to coats, it's texture of the material, the silhouette and how it can come together to make a great look.
Posing and expressions
Your model should already have a good base set of poses and looks ready to show the camera. It's a good idea to discuss beforehand what kind of look you're after.
Better yet, if you have a specific look you want to achieve, use some moodboards or visual inspiration from other websites, magazines or Instagram.
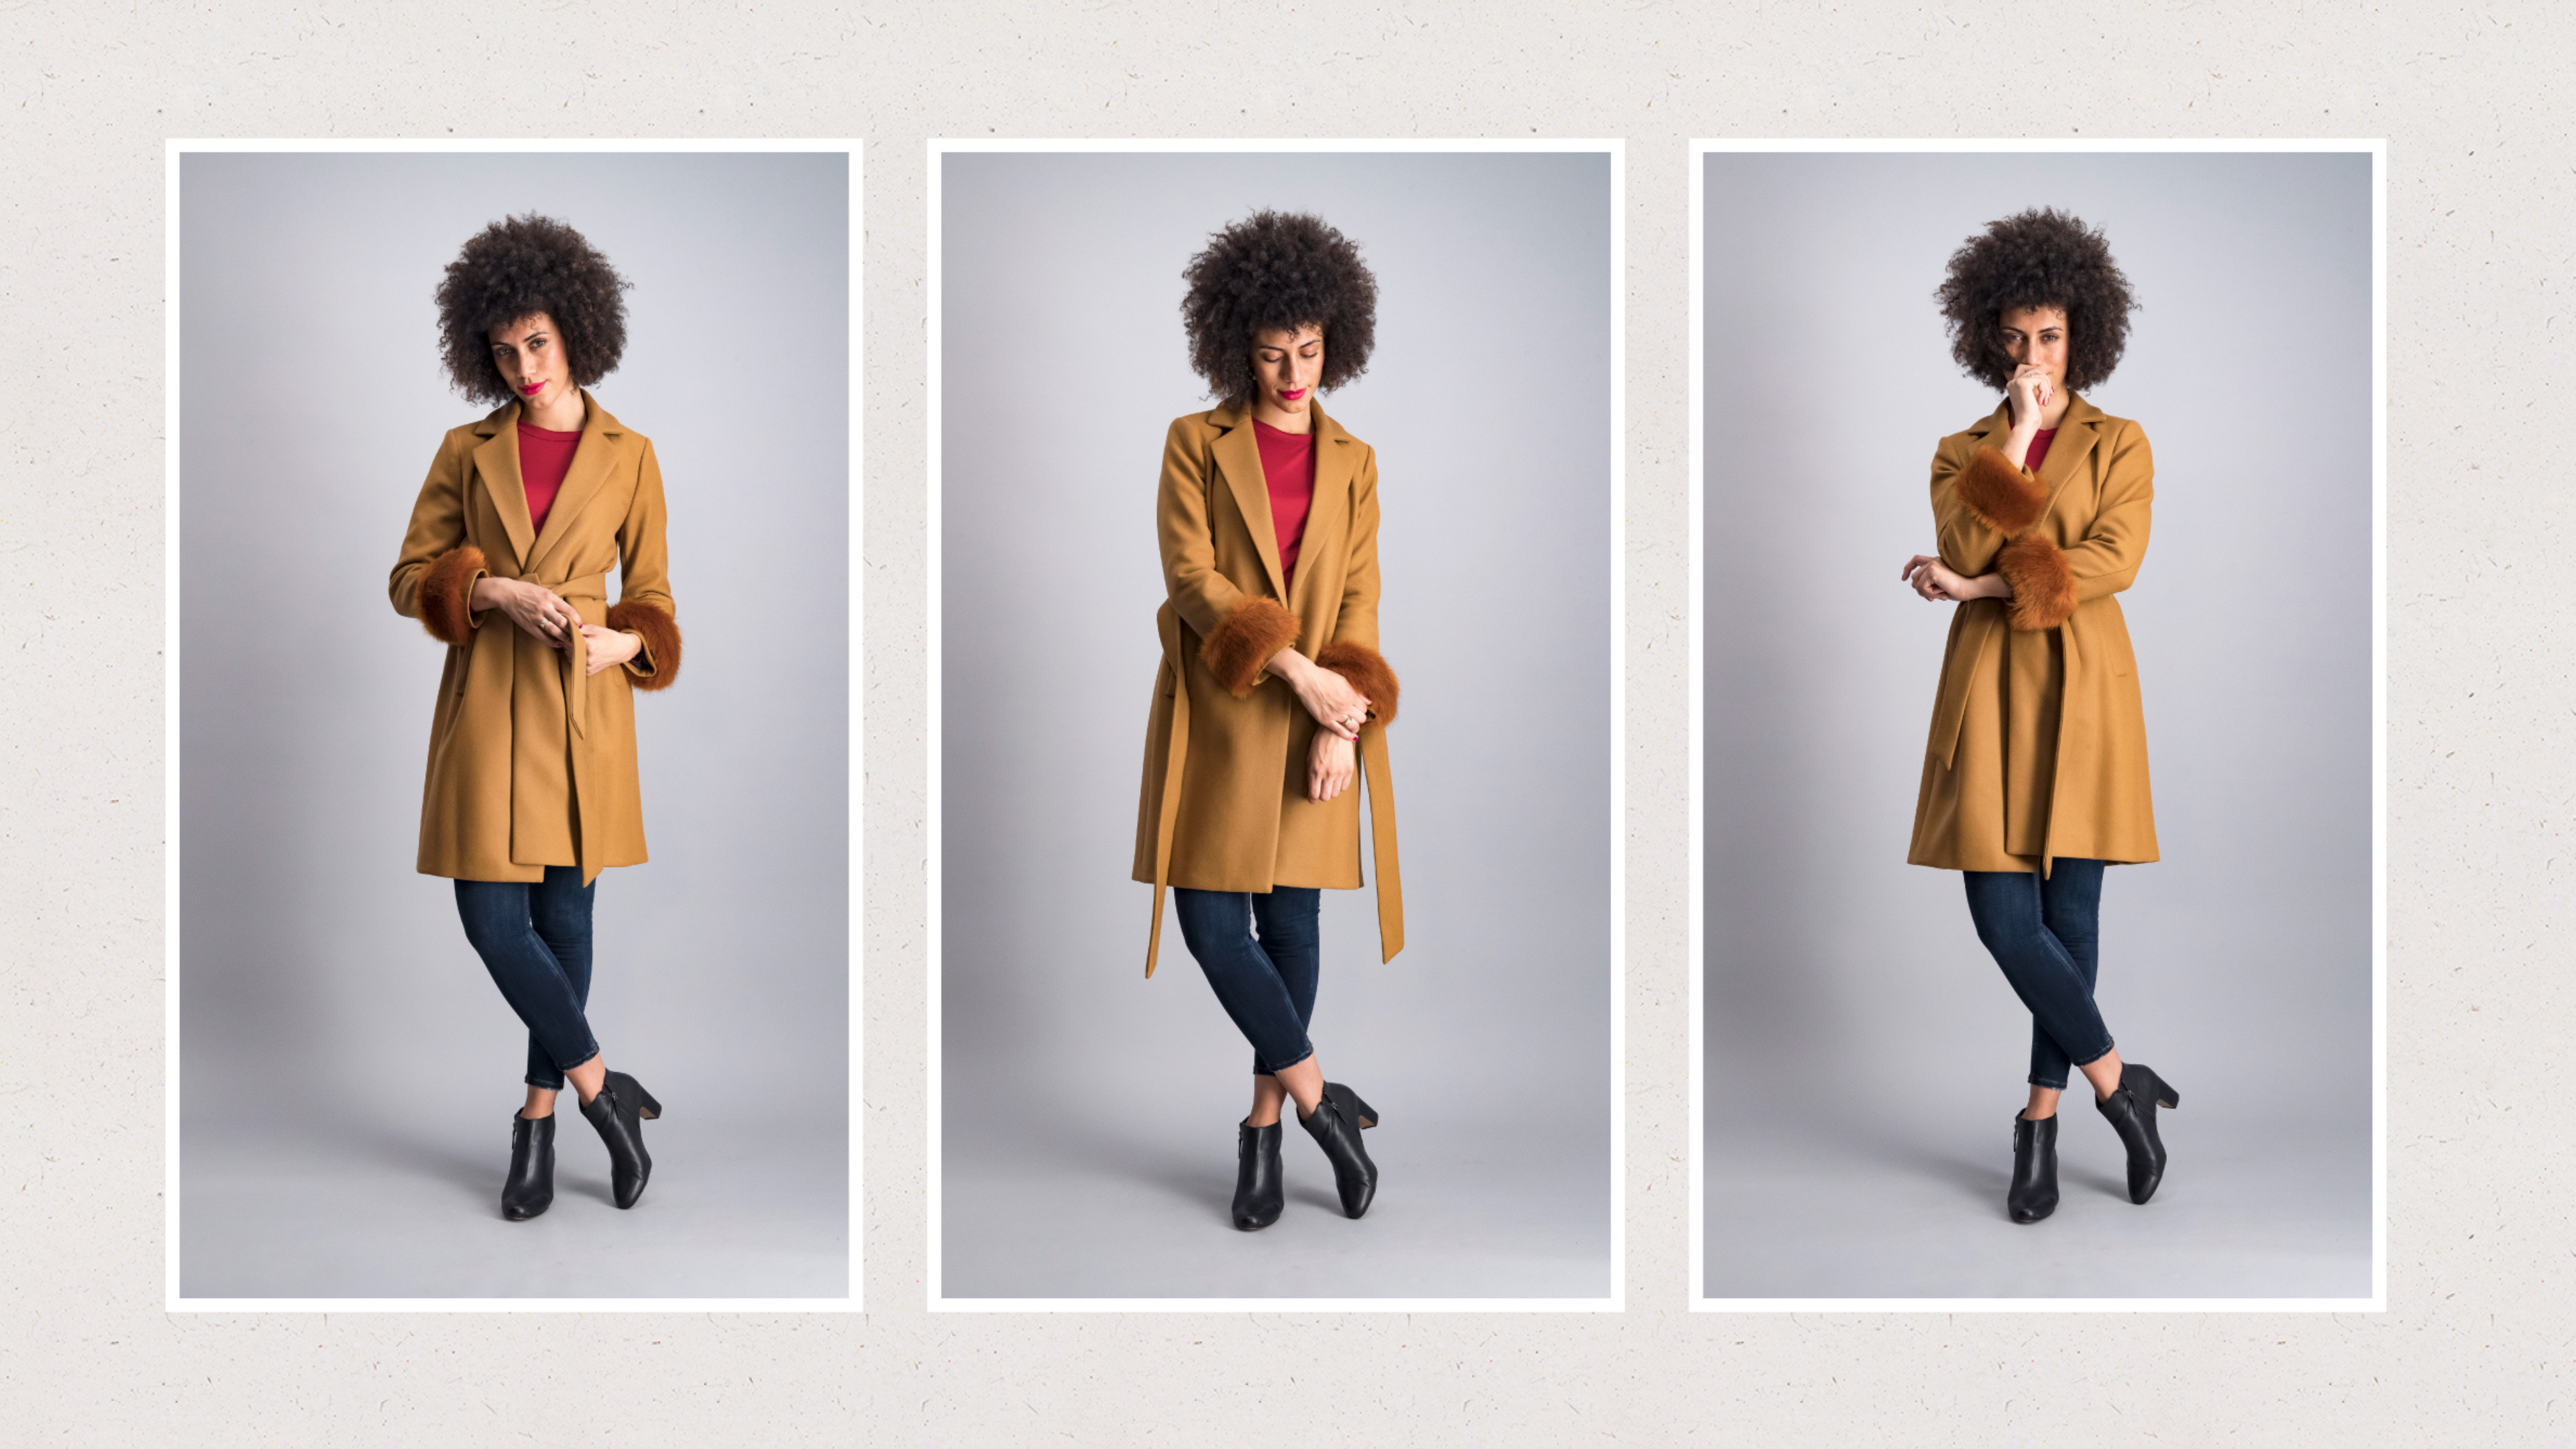
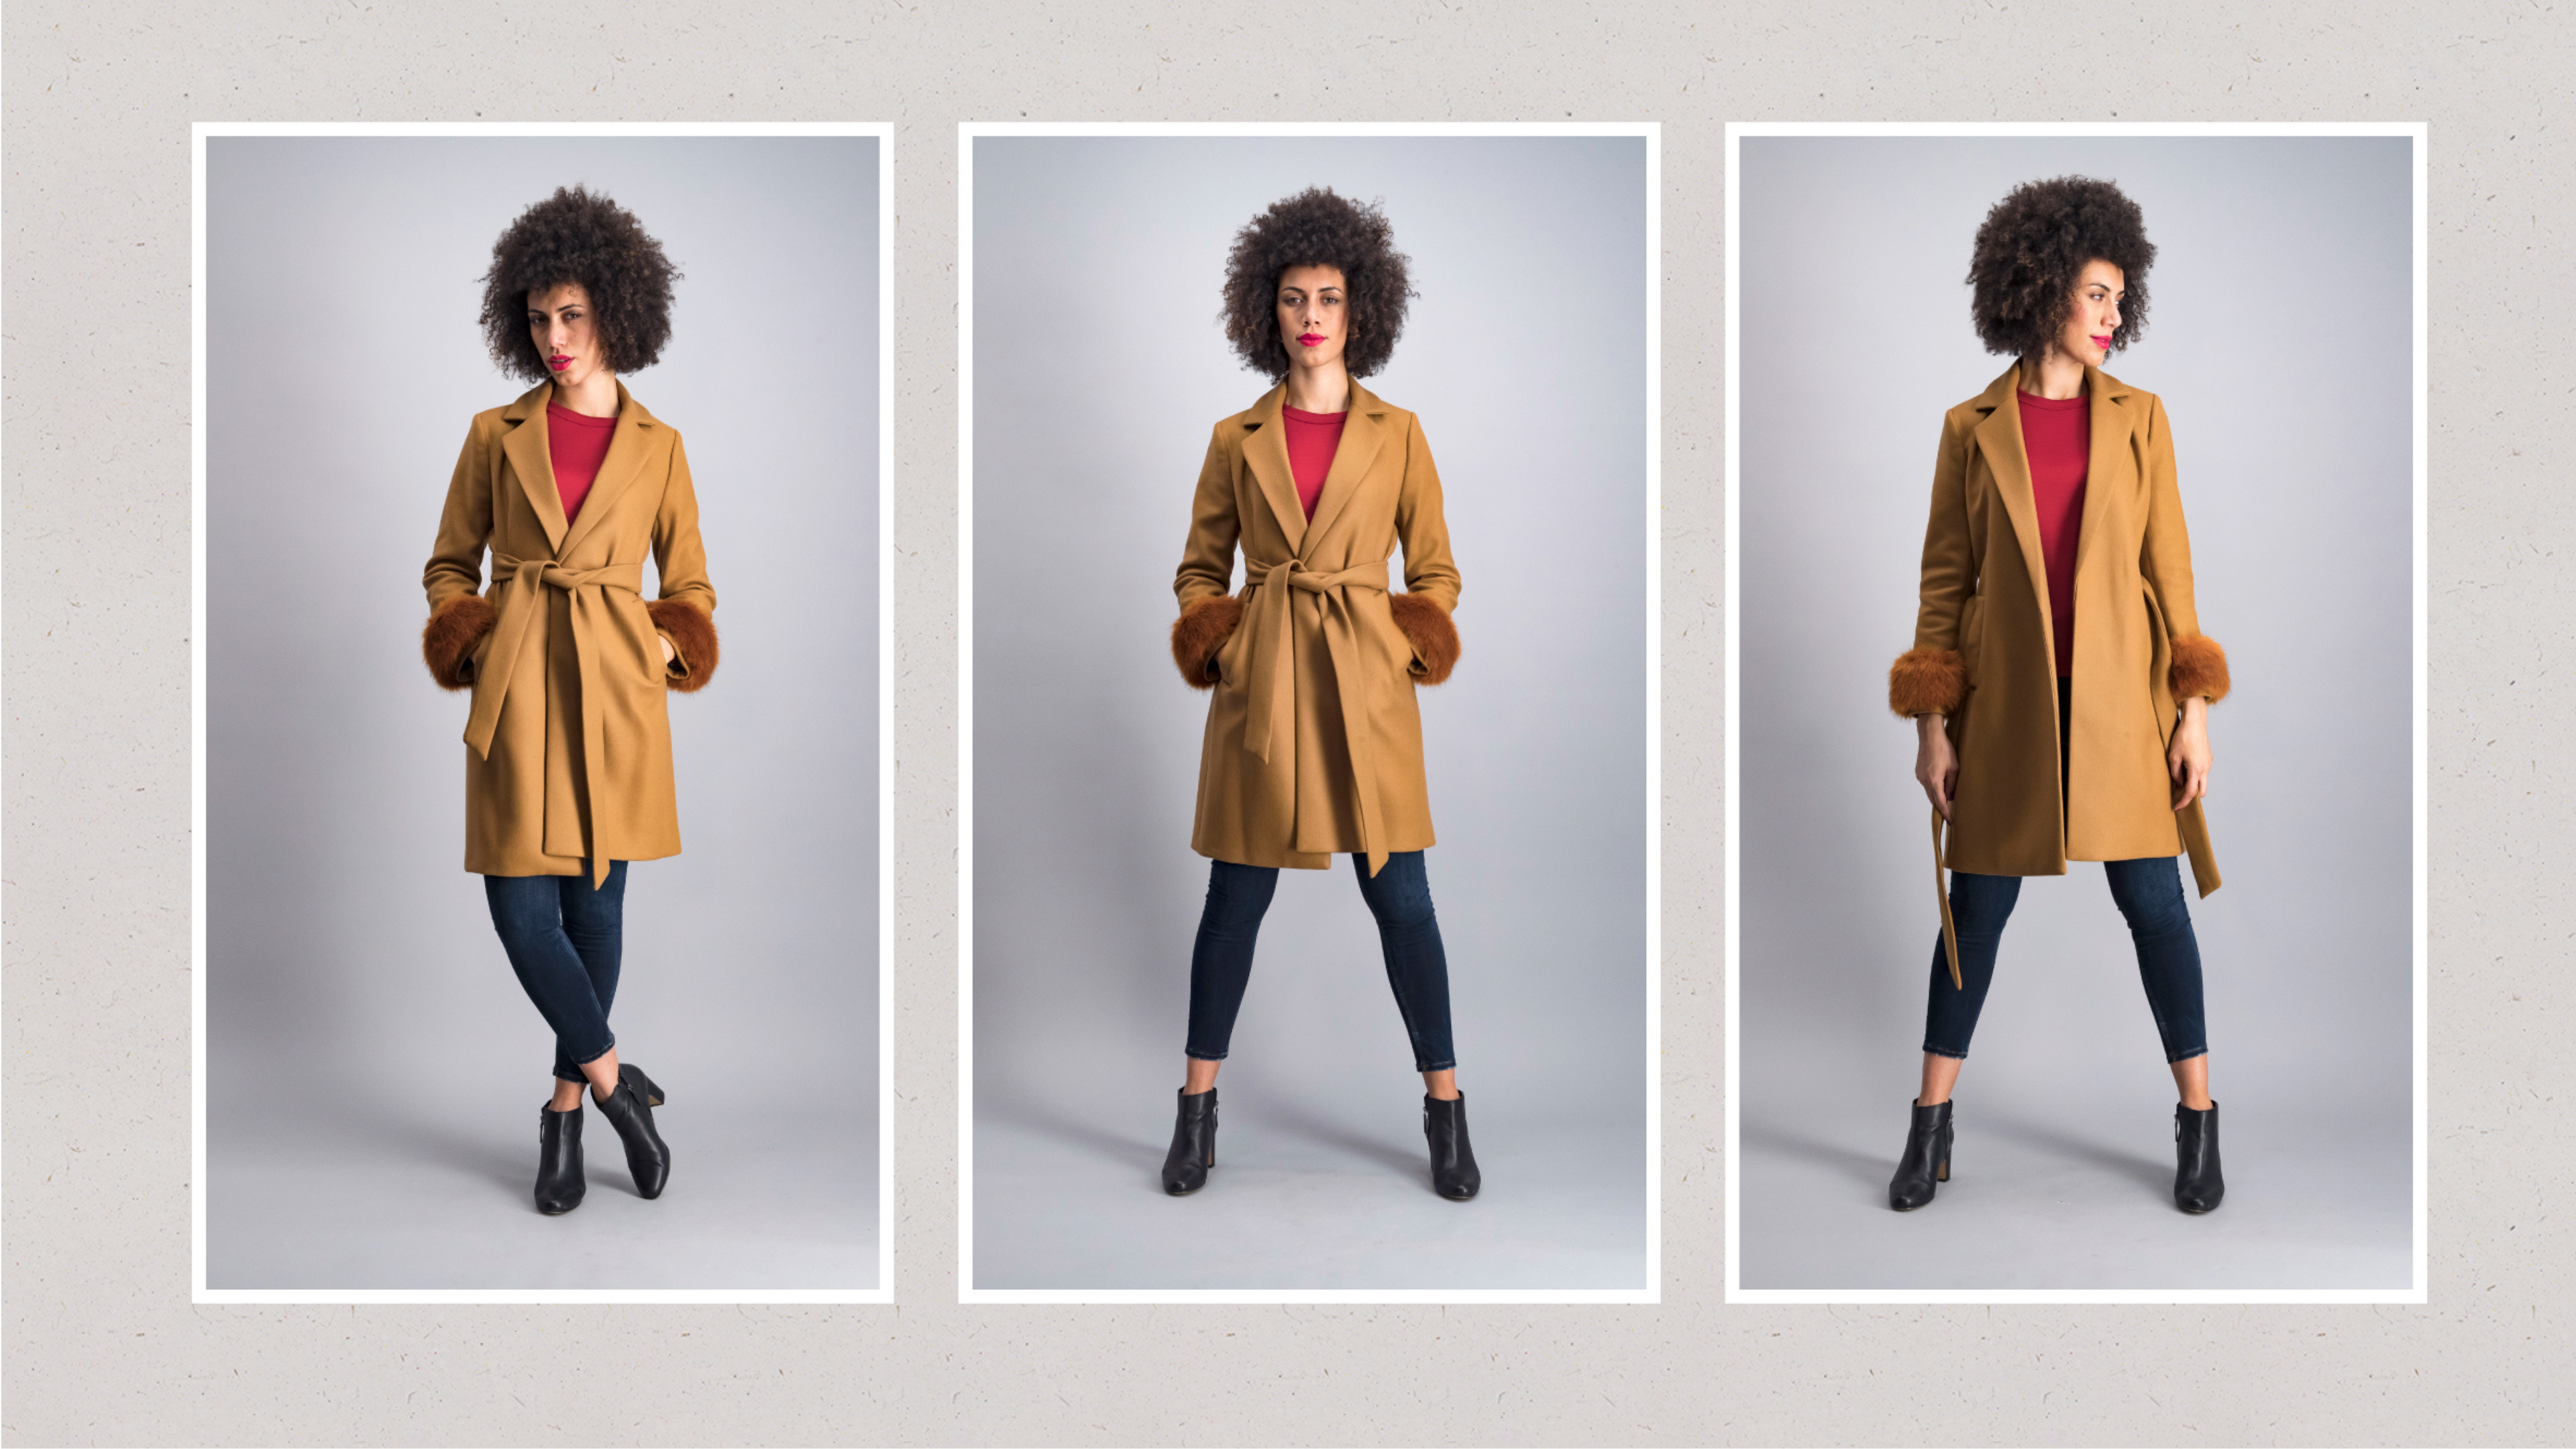
Creating a reserved, intimate look
In this instance, we're asking our model Juliet to drop the head ever so slightly. This gives off a more reserved, intimate feel. Don't forget how important the hands are to pull this look off right.
In the third image, just by our model moving her hands across her face and tilting the head back up, a completely different expression comes out.
Our model is also crossing the legs at the knees to add an extra dynamic feel to the pose.
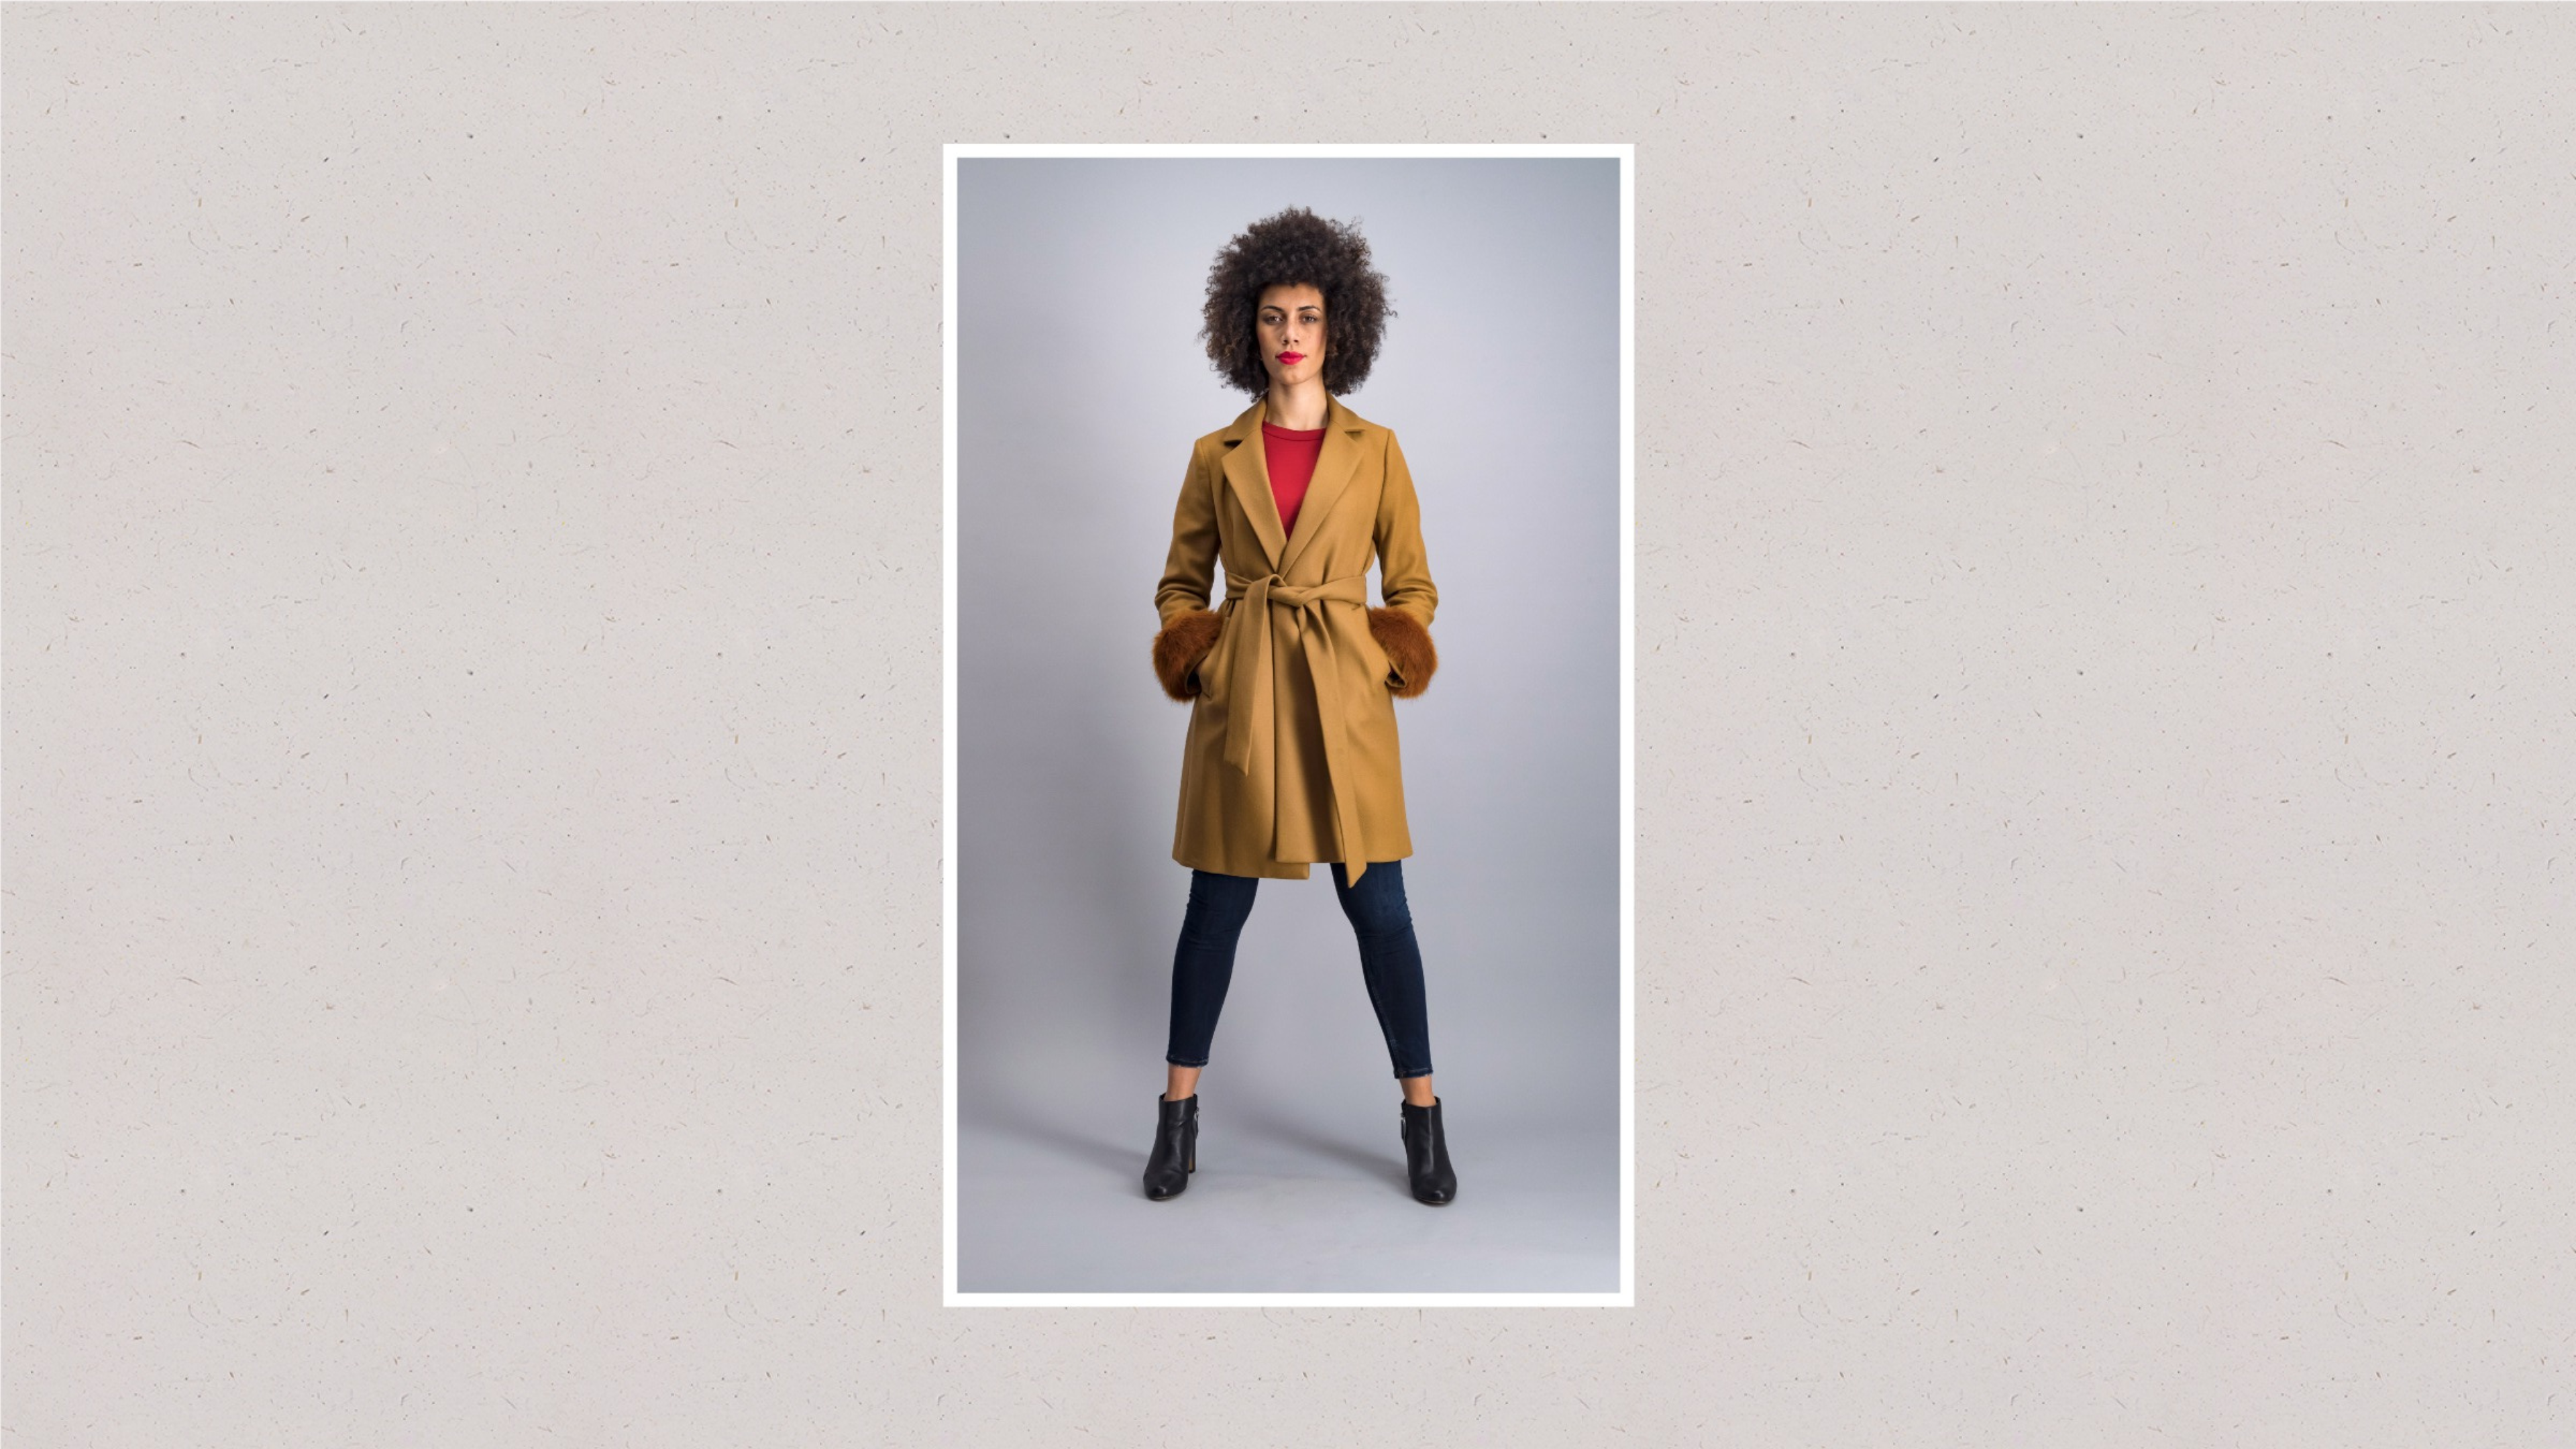
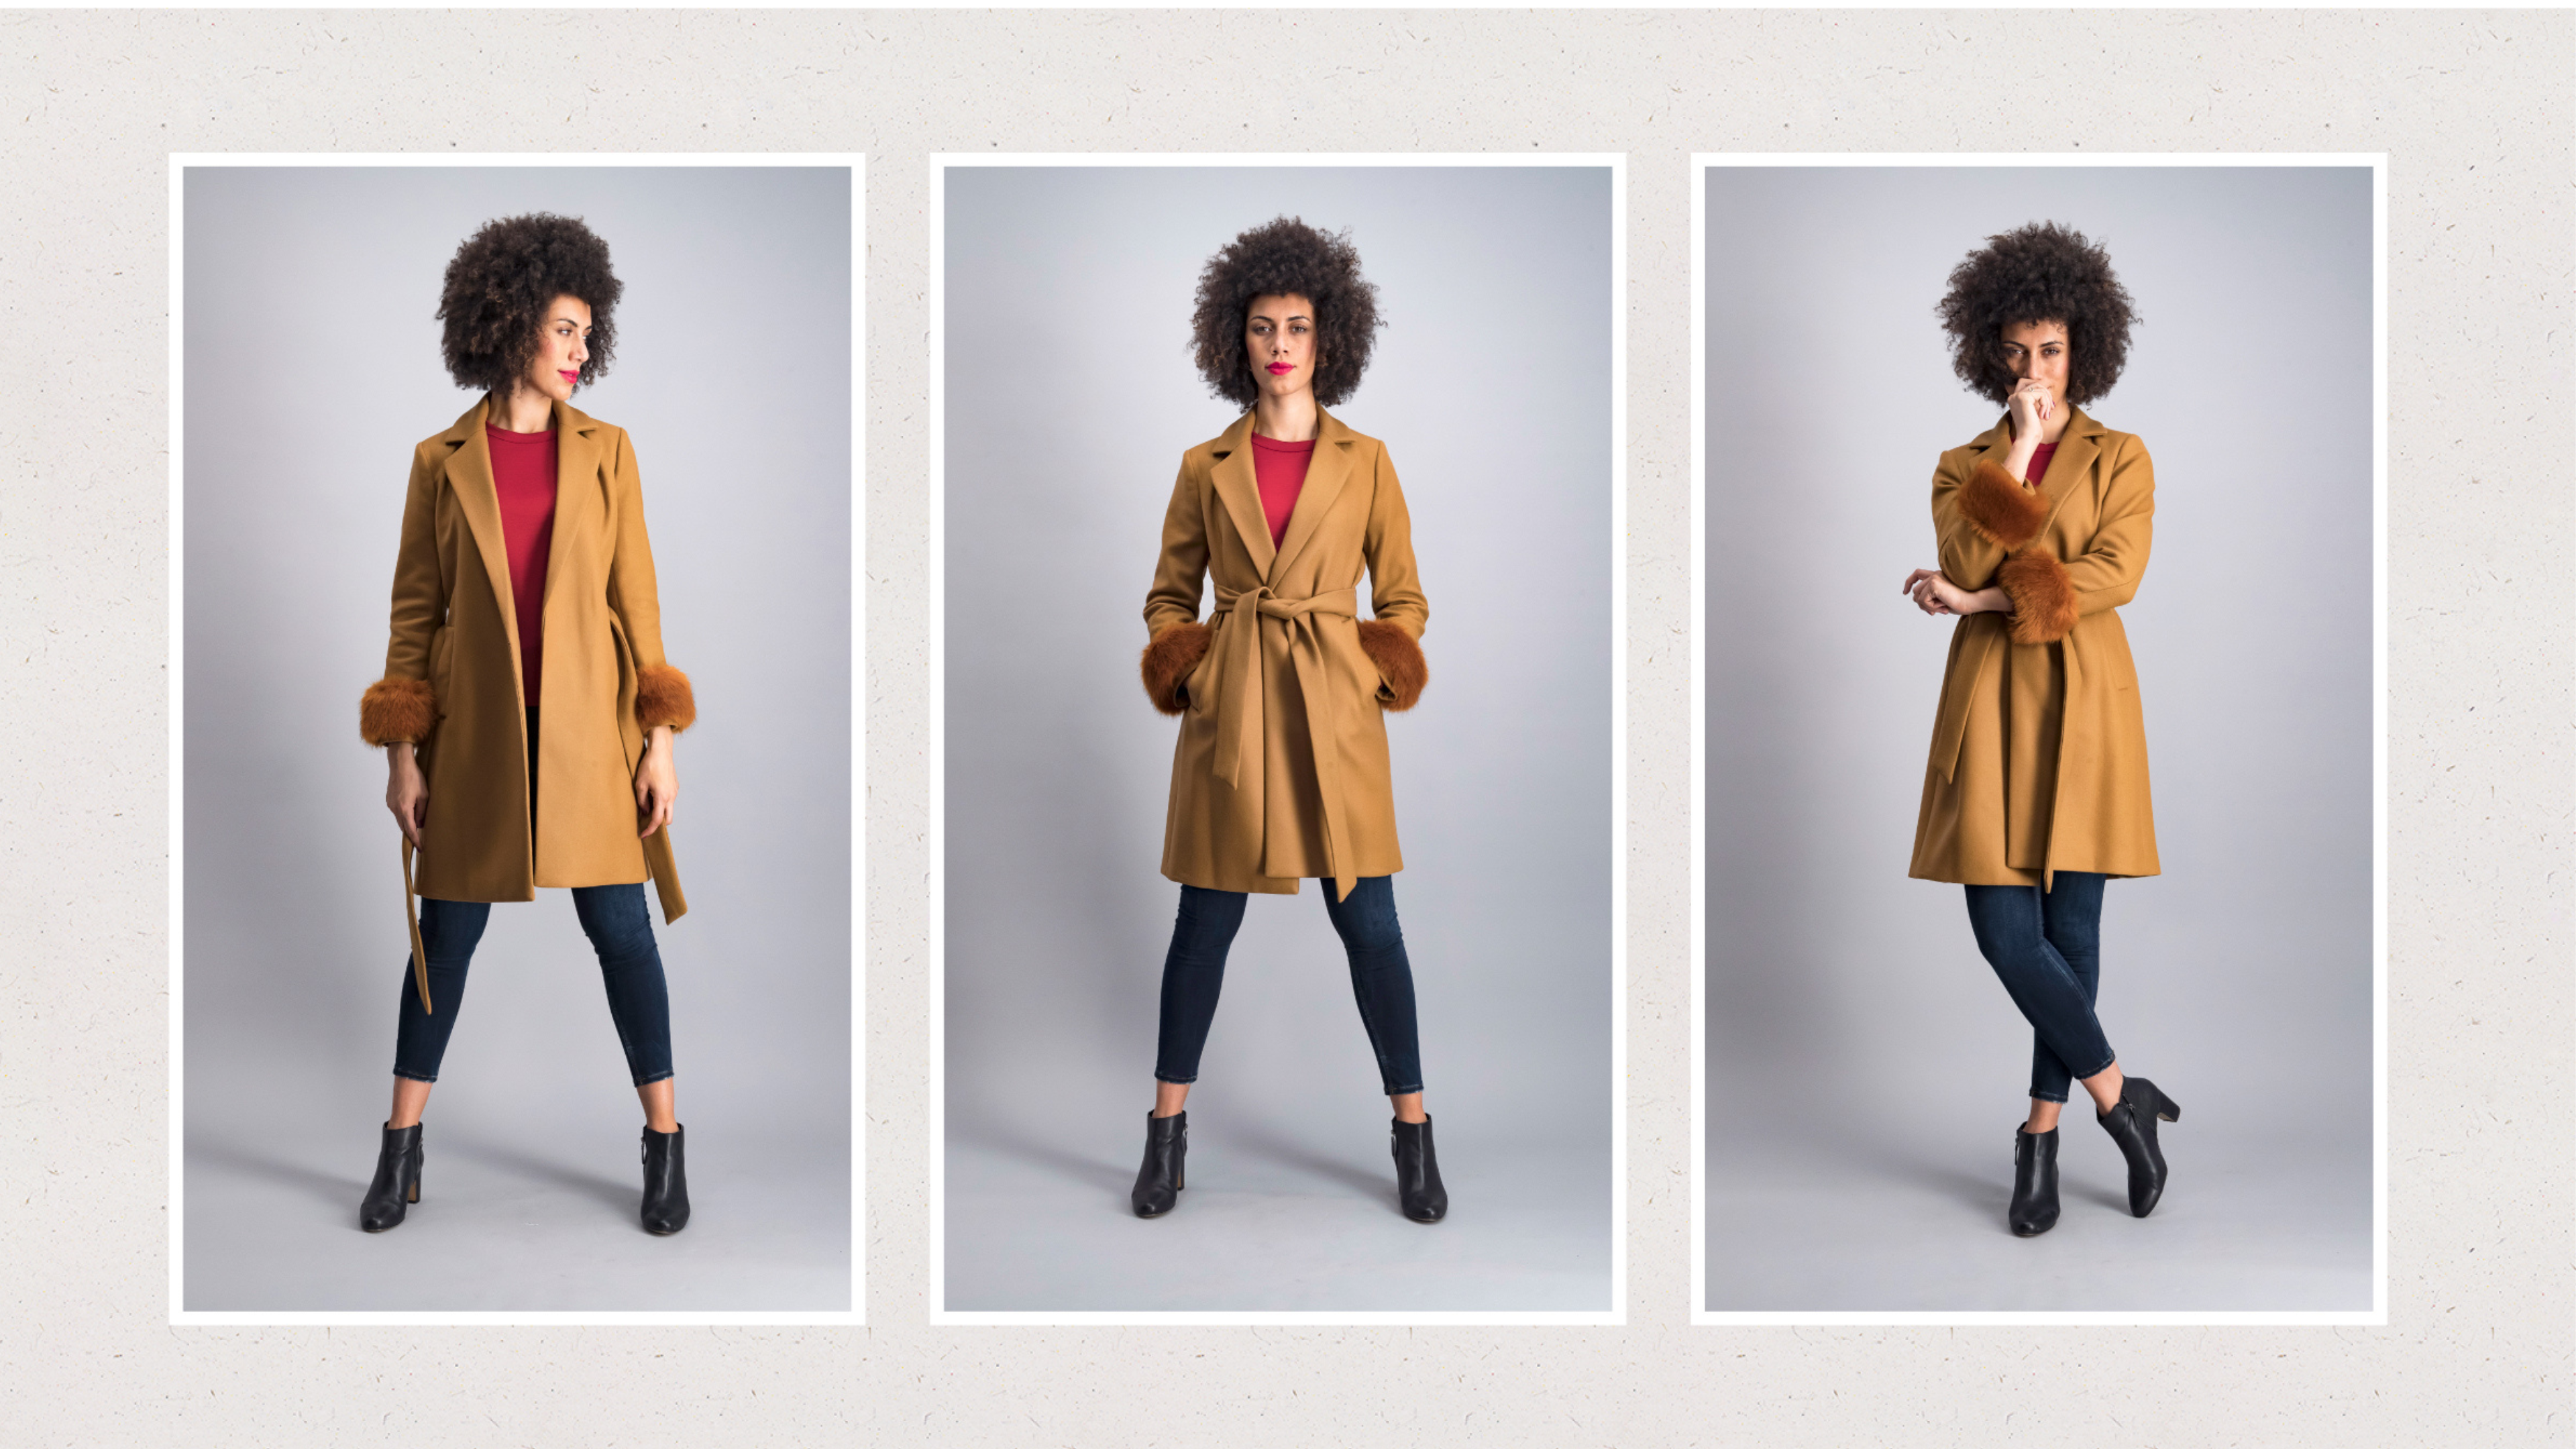
Creating a bold, dramatic look
The first thing to notice is how the positioning of the feet gives a much more confident expression to our model.
Looking directly forward with a confident
expression along with putting the hands in the pockets completes the intended message.
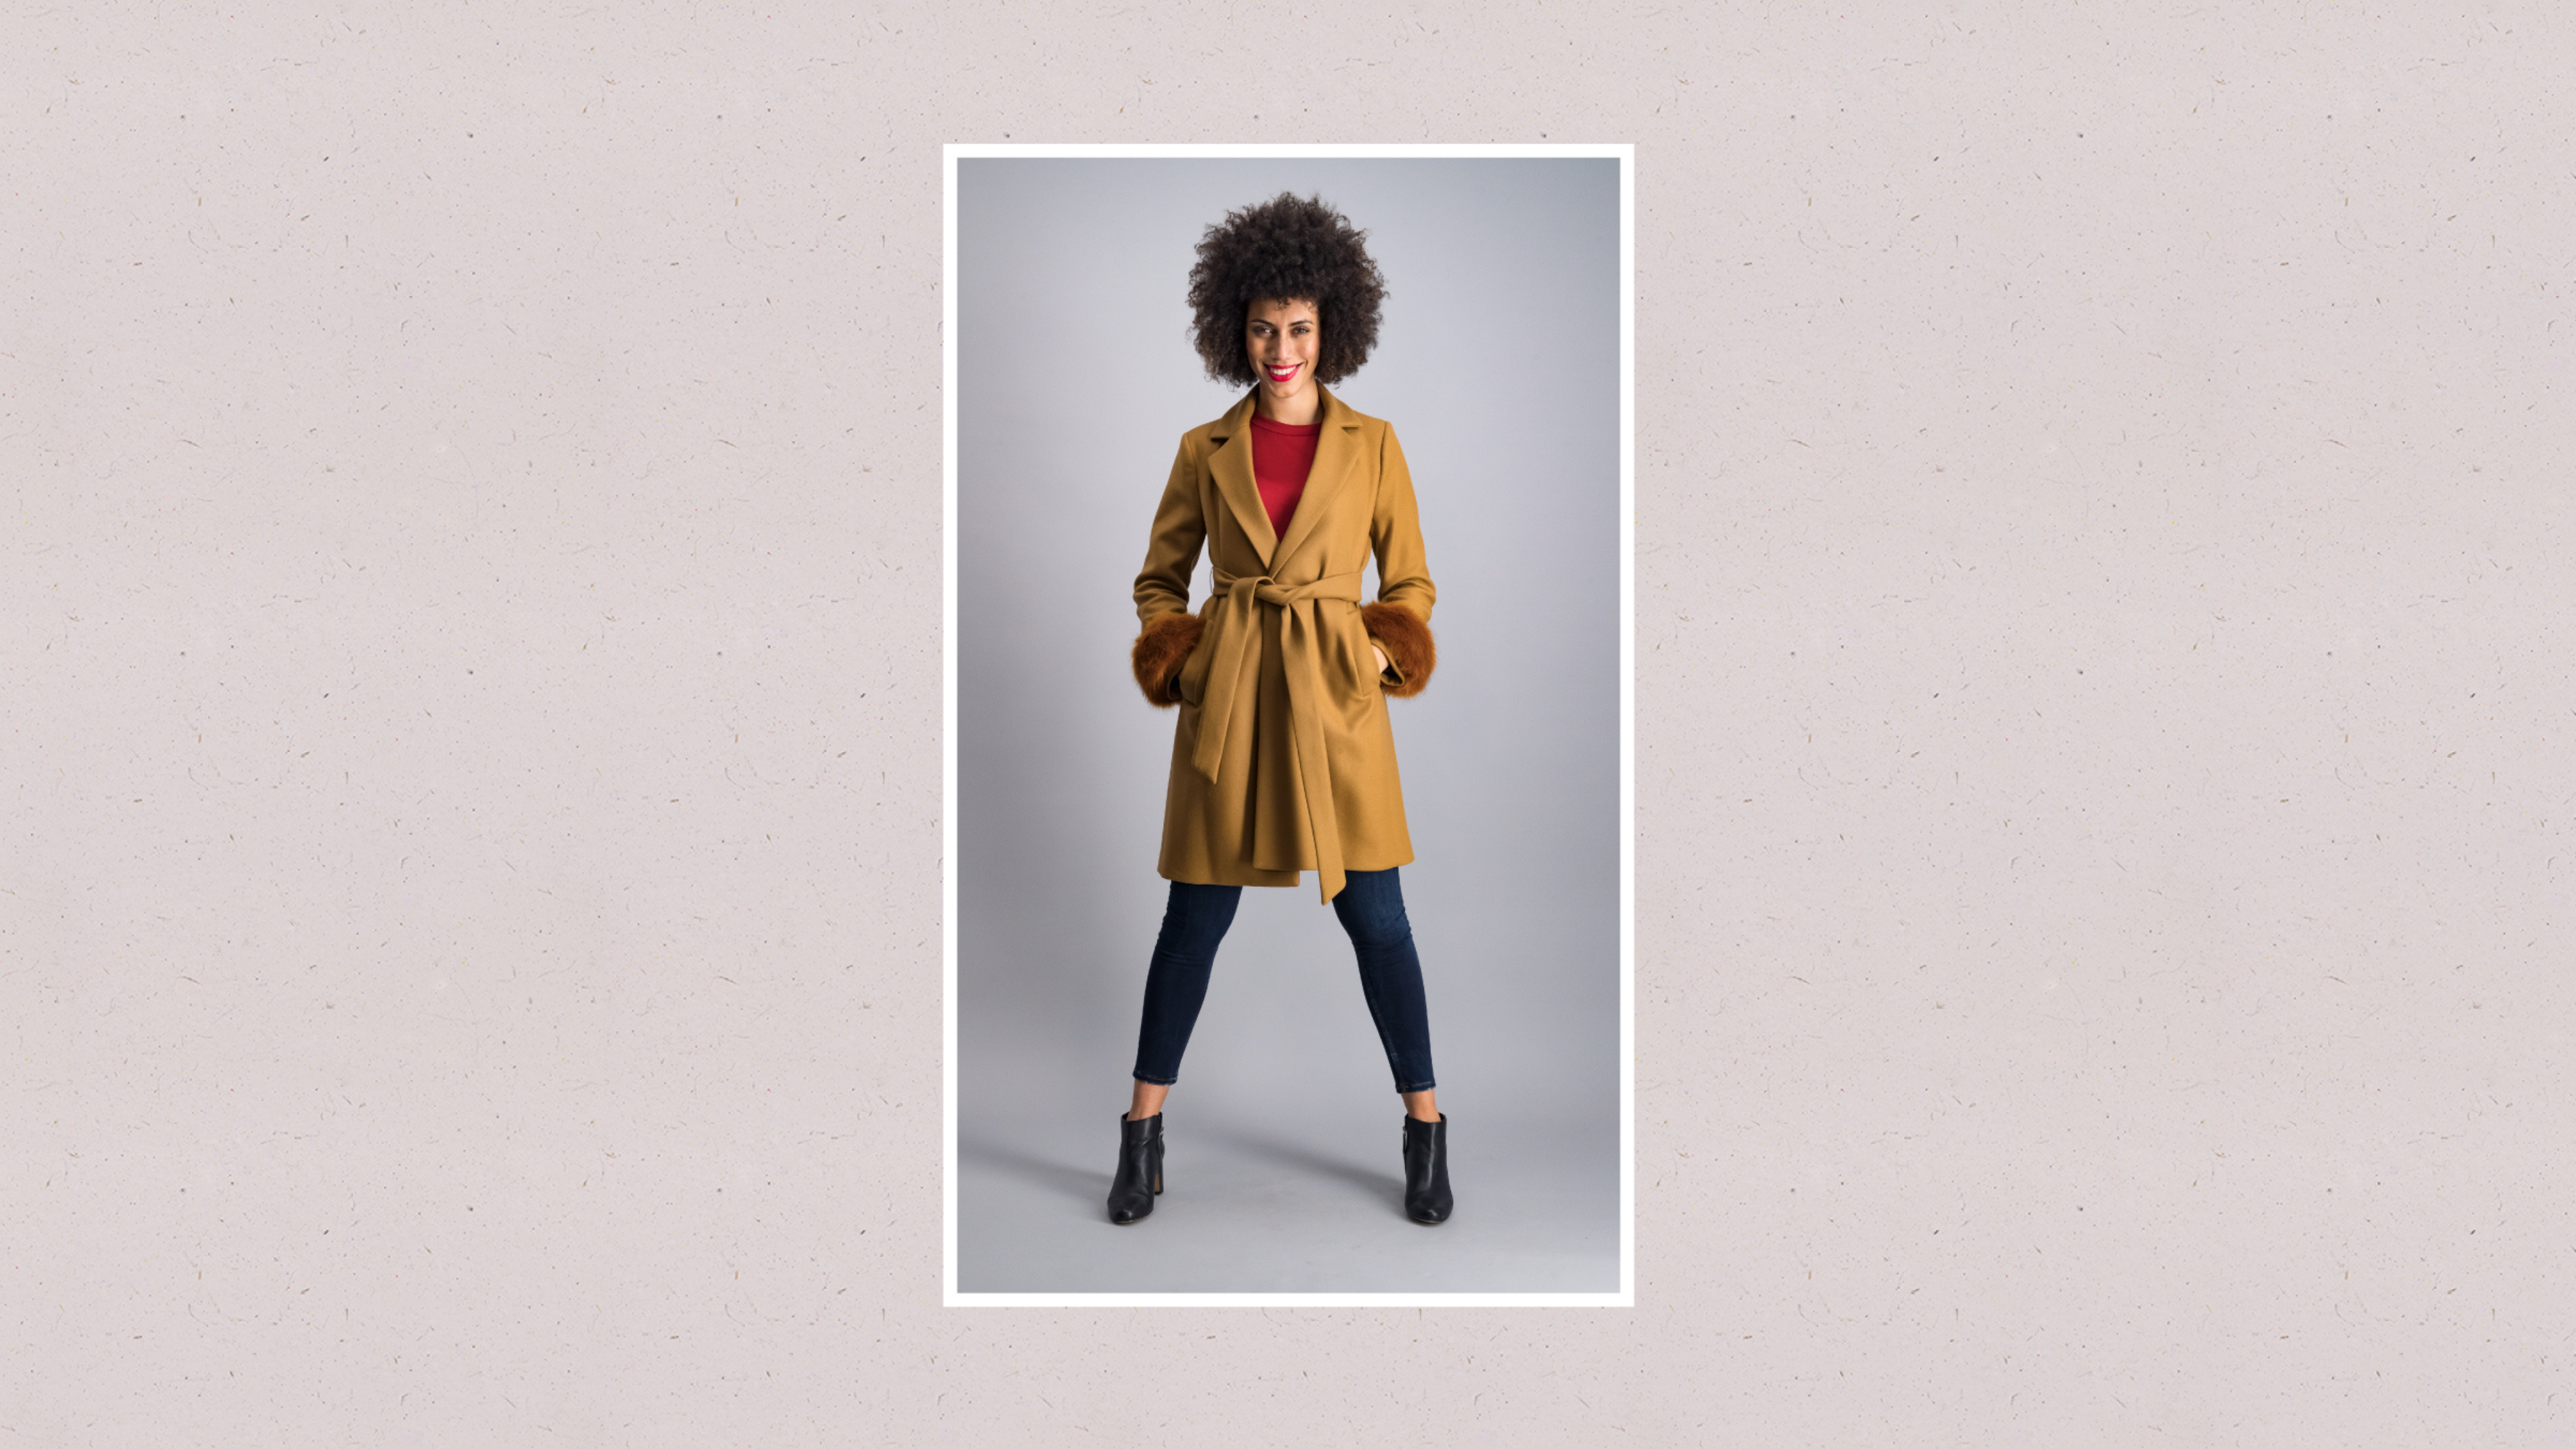
A happy, welcoming pose
Combining the bold, dramatic stance with a big smile gives this look.
Pay attention to where the light is falling across your model's face and do any adjustments as necessary.
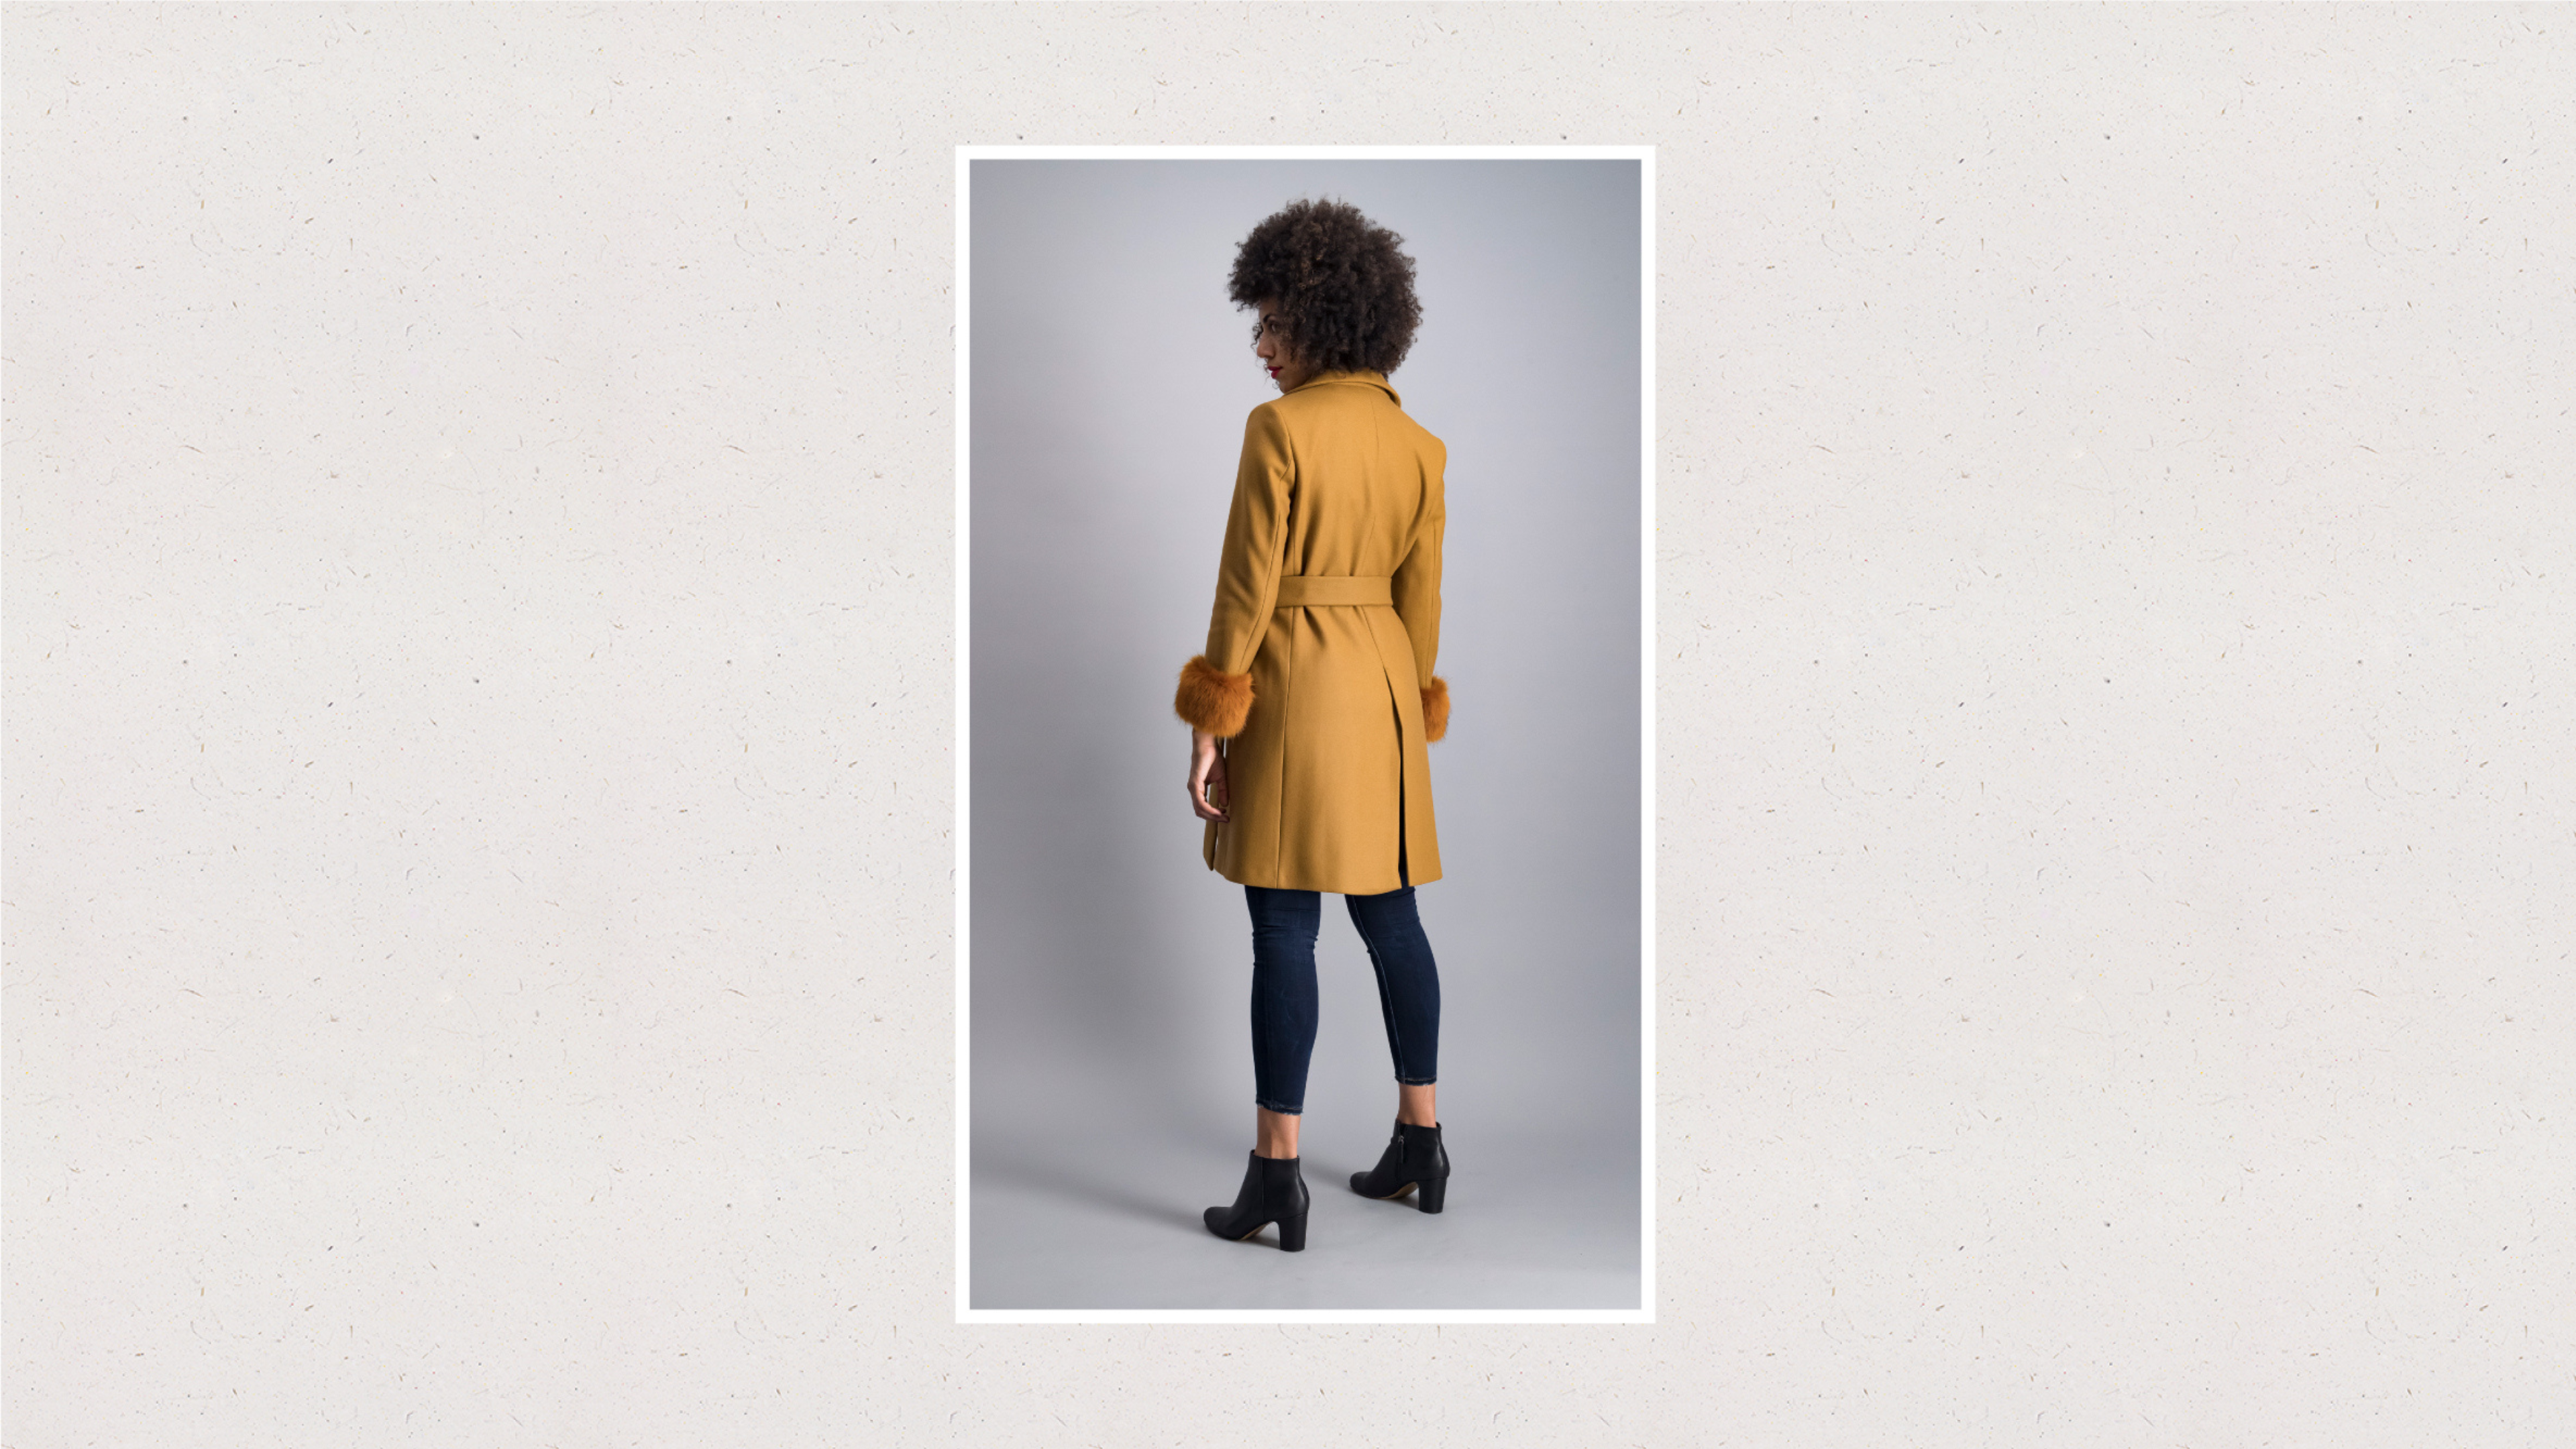
Turn around for the back shot
Customers need to see the coat from behind too. Get your model to turn, while staying in position, and photograph the back.
Remember to spend some time styling the back of your model - there very well might be a lot of creases to tackle.
Get a detail shot
Customers like seeing a close view up of the fabric. Always make sure to shoot a zoomed in image of an important detail like a belt or pocket.
Final tips and tricks
-
Discuss your desired look beforehand
-
Make your model comfortable and happy to be on set
-
Always keep an eye on your styling - that means doing belts up neatly, checking for creases, redoing hair and makeup where necessary and much more.
-
Take a lot of photos - once you're done you'll have a much wider variety of final shots to choose from to start retouching
-
Make sure you have discussed the usage rights with the model's agency. These differ depending on duration and purpose.
-
Put together a great team to work on your shoots. Usually that will involve at least: a hair and makeup artist, model, photographer, and stylist.
Example gallery